A homeowner-friendly guide to spotting thatch vs. compaction, choosing dethatching or core aeration, and timing both for the best fall recovery and overseedi...
lawn care
How to Fix a Bumpy Lawn
 Mark Vance
 is a former professional landscaper and the lead turf enthusiast at Yard Mentor. With over 15 years of experience in soil health, turf management, and residential landscaping, he is dedicated to helping homeowners transform frustrating dead patches into lush, healthy lawns. When he isn't testing new grass seed blends, you can find him enjoying a Saturday morning coffee looking out over his freshly striped yard.
Updated October 17, 2026
Created October 17, 2026
Mark Vance
Mark Vance is a former professional landscaper and the lead turf enthusiast at Yard Mentor. With over 15 years of experience in soil health, turf management, and residential landscaping, he is dedicated to helping homeowners transform frustrating dead patches into lush, healthy lawns. When he isn't testing new grass seed blends, you can find him enjoying a Saturday morning coffee looking out over his freshly striped yard.
Updated October 17, 2026
Created October 17, 2026
A bumpy lawn is one of those problems you feel every time you mow. The wheels bounce, the cut looks uneven, and suddenly you are scalping high spots while leaving the low spots shaggy. The good news is you usually do not need to regrade the whole yard. Most residential lawns can be noticeably smoother in a weekend using a simple topdressing and leveling routine that fills the lows in thin layers without smothering the grass you already like.
This guide focuses on shallow ruts and minor unevenness, not major drainage failures or deep sinkholes. I will walk you through the exact process I used for years on Midwest yards that were equal parts turf, mud, and regret.

Why lawns get bumpy
Before you start hauling soil, it helps to know what you are fixing. Most bumps come from a few repeat offenders:
- Soil settling after construction (especially along trenches for utilities, downspouts, or irrigation).
- Freeze-thaw cycles that heave and settle soil over multiple winters.
- Compaction from foot traffic, kids, pets, or repeated mower paths.
- Earthworms and moles creating small mounds and tunnels.
- Thatch and uneven decomposition that makes the surface feel lumpy even when the soil is fairly flat.
Topdressing works because it gradually reshapes the surface while letting the existing turf grow up through the new material.
Is topdressing enough?
Topdressing and leveling is perfect for general bumpiness and low spots up to about 1 inch deep, as long as you fix them gradually in a few thin applications instead of trying to fill everything in one go.
You may need a different approach if:
- Water stands for hours after normal rain. That is a drainage and grading problem first.
- Low areas are deeper than 2 inches or keep sinking every season. That suggests settling fill, a decaying stump or root pocket, or a broken drain.
- You have a sharp slope toward the house or foundation area. Regrading is the safer move.
One safety line I take seriously: do not add soil in a way that changes drainage toward your foundation. The lawn can be smoother and still slope away from the house.
If you are in the “mostly fine, just annoyingly bumpy” camp, you are in the right place.
Best time to level
Timing matters because you want the grass to recover quickly.
- Cool-season grasses (Kentucky bluegrass, fescues, perennial rye): level in early fall (best) or spring when grass is actively growing and temps are mild.
- Warm-season grasses (Bermuda, zoysia, St. Augustine, centipede): level in late spring to early summer once the lawn is fully green and growing aggressively. In milder climates you can push into mid-summer, but skip it if you are in an extreme heat stretch.
Avoid topdressing during drought stress, extreme heat, or right before your first frost window when growth slows down.
Tools and materials
You do not need fancy equipment, but the right basics make this job cleaner and faster.
Tools
- Landscape rake (stiff metal works best)
- Push broom or stiff shop broom (great for working material into the canopy)
- Shovel
- Wheelbarrow or garden cart
- Leveling rake or lawn lute (optional but very helpful)
- Garden hose with sprinkler or irrigation access
- Mower
Materials
- Topdressing mix (recipe below)
- Grass seed (optional, for thin areas you uncover)
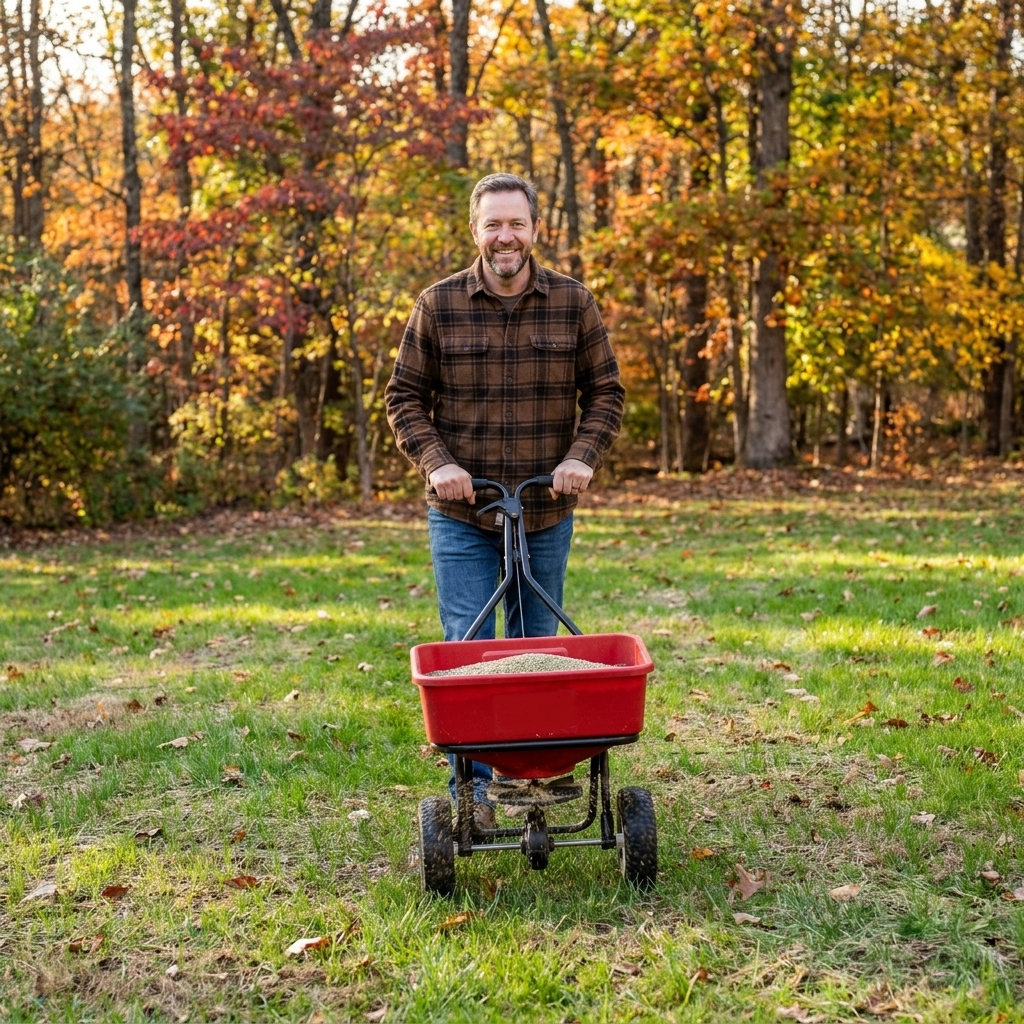
- Starter fertilizer (optional, if you overseed)
Best topdressing mix
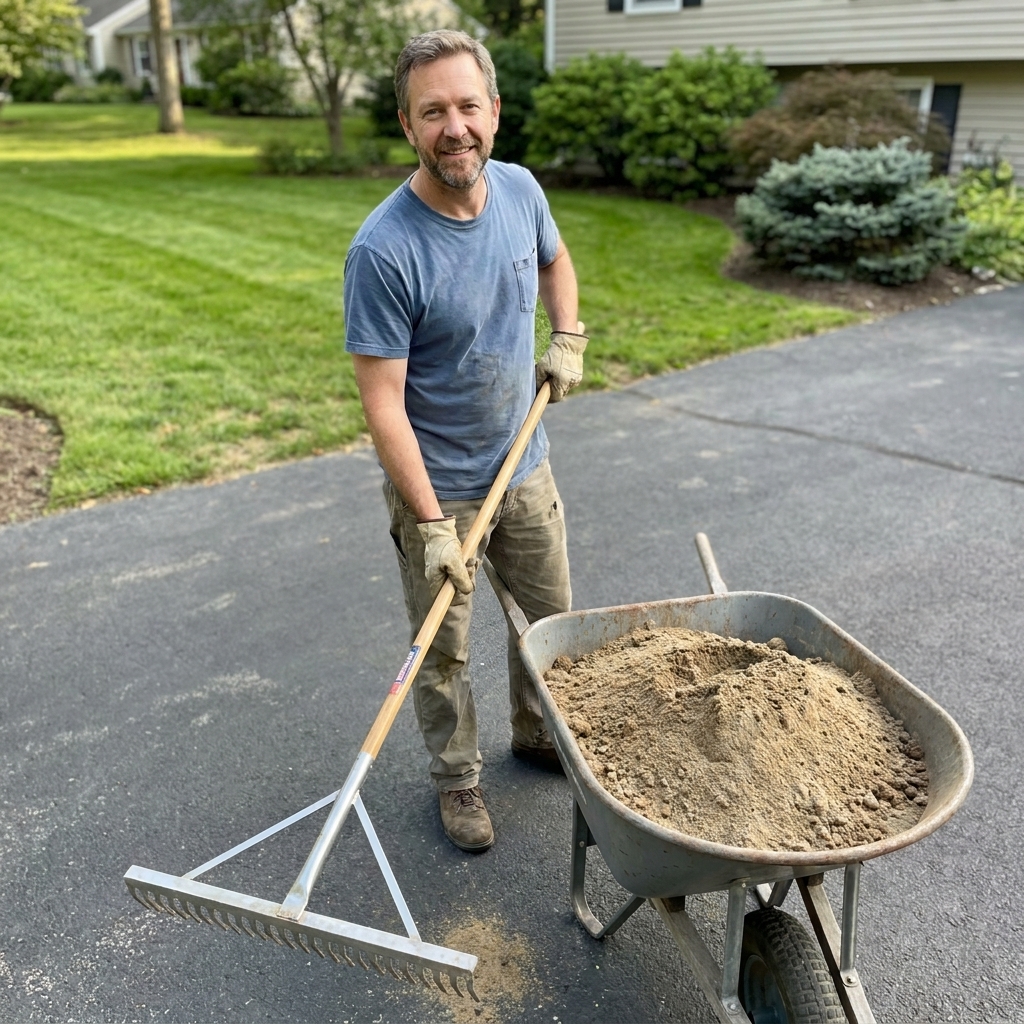
The goal is a mix that spreads easily, does not clump, and lets air and water move so grass can grow through it. My go-to for most home lawns is:
- 50% screened topsoil
- 30 to 40% sand (coarse or mason sand, not play sand)
- 10 to 20% compost (finished, screened)
This blend hits a sweet spot: sand helps leveling and reduces shrinkage, topsoil provides body, and compost adds biology and helps the new layer knit into the existing root zone.
Mix tweaks
- Heavy clay yard: lean a little more sandy (closer to 40% sand) so the mix does not smear.
- Very sandy yard: lean a little more topsoil and compost so the new layer holds moisture.
What to avoid
- 100% compost for leveling. It settles a lot and, if it dries out hard (especially very fine or peaty compost), it can become a bit water-repellent.
- 100% sand unless you are managing a sand-based turf system and know what you are doing. In many home lawns, straight sand can create a layered profile that drains oddly if your underlying soil is much finer.
- Unscreened topsoil full of rocks, sticks, and clods. It will make your lawn bumpier, not smoother.
Step-by-step leveling
Step 1: Find the lows
Walk the lawn slowly and mark the worst areas with small flags or even paper plates. If you want to be more precise, lay a straight 2x4 or a long level on the turf and look for gaps underneath.
Also note whether the bumpiness is mostly mounds (high spots) or ruts (low spots). Topdressing fills lows. High spots sometimes need a little soil removal or core aeration and settling over time.
Step 2: Mow shorter and clean up
Mow the lawn one notch lower than your usual height, then bag or rake up heavy clippings. You want the topdressing to fall into the turf canopy, not sit on a pillow of clippings.
If you have a thick thatch layer, consider dethatching first. Topdressing on top of thatch can “float” and not actually level the soil surface.
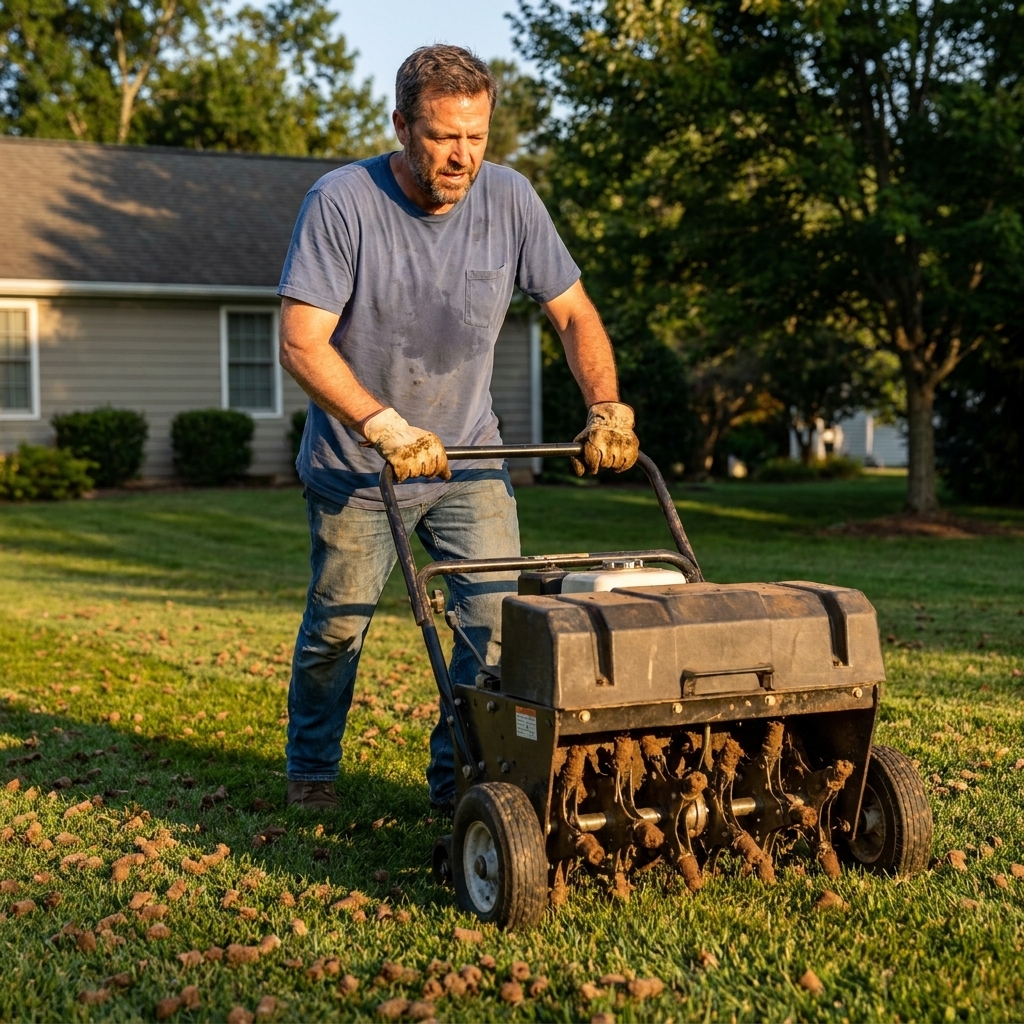
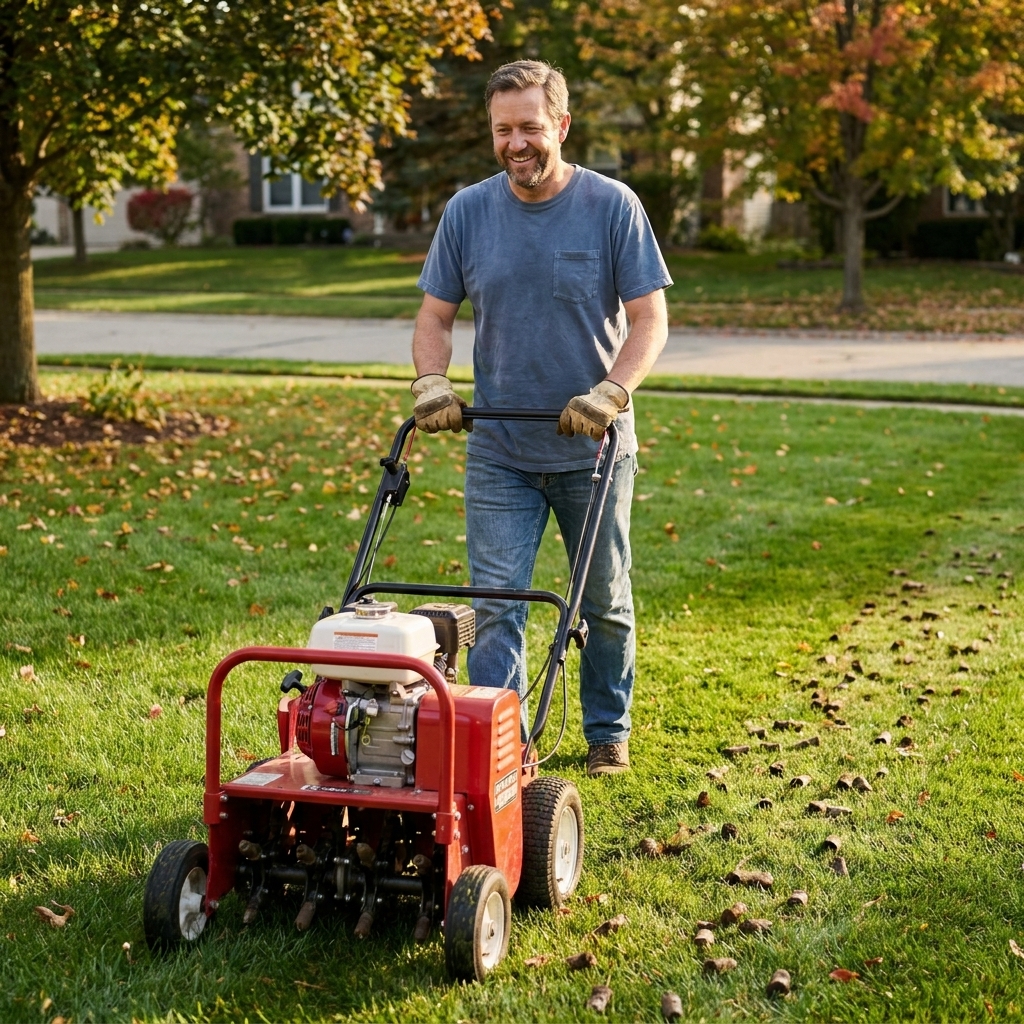
Step 3: Core aerate if needed
If the area feels hard or you get a lot of runoff, core aeration before leveling is a big help. The holes accept topdressing and speed up integration.
Tip: If you aerate, leave the plugs on the lawn. You can break them up with the rake while you topdress.
Step 4: Keep crowns visible
This is the rule that keeps you from killing grass: avoid burying the crowns (the growing points) under one heavy dump.
- For general smoothing: apply about 1/4 inch of mix.
- For low spots: you can go up to 1/2 inch in a single pass if grass is actively growing.
- If a rut is about 1 inch deep: plan on two to four light applications spaced about 2 weeks apart, not one big fill.
Grass can push through a thin layer quickly. It struggles when you bury the crown and block light.
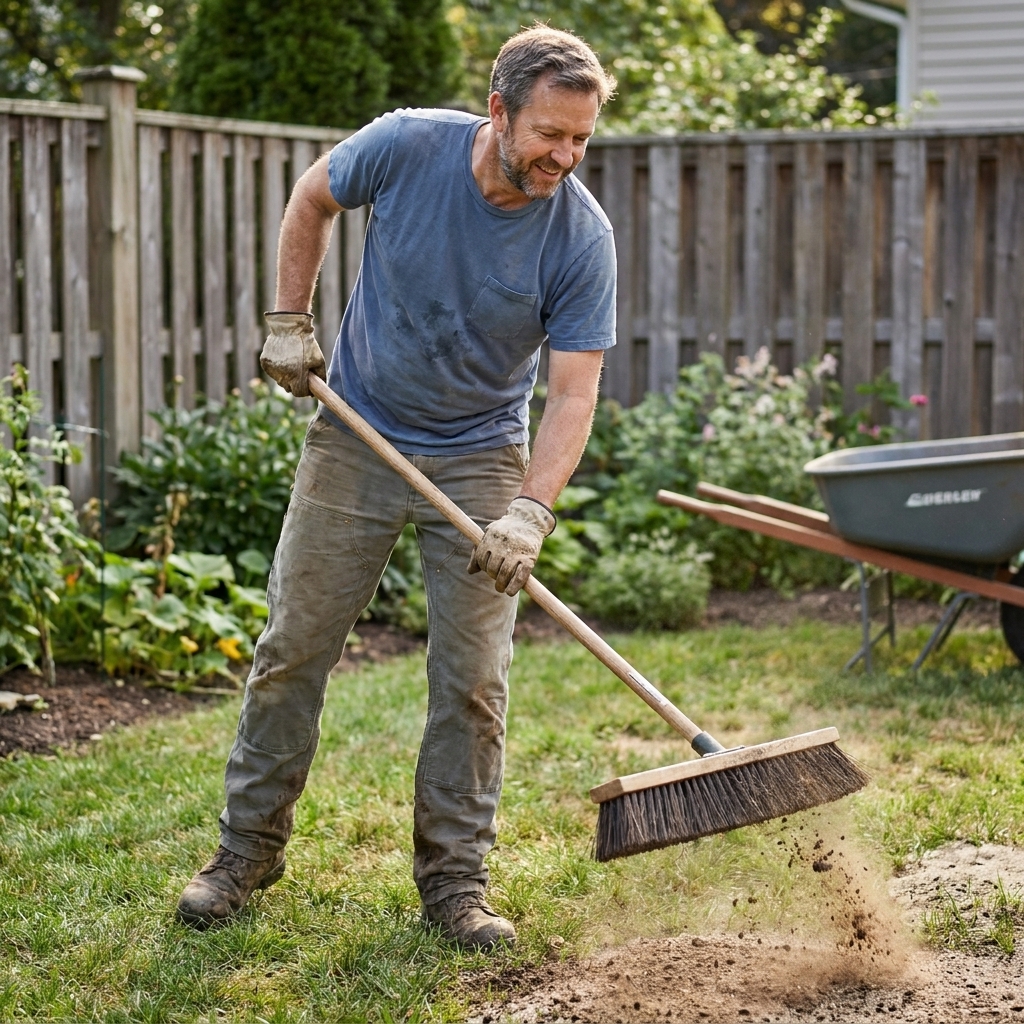
Step 5: Spread and broom it in
Dump small piles around the target area, then use a rake or leveling rake to pull the material across the surface.
- For low spots: focus more material in the depression, then feather the edges so you do not create a hard lip.
- For overall bumpiness: spread evenly and keep checking your depth.
Finish with a push broom to work the mix down between grass blades. You should still see grass tips when you are done.
Step 6: Water lightly
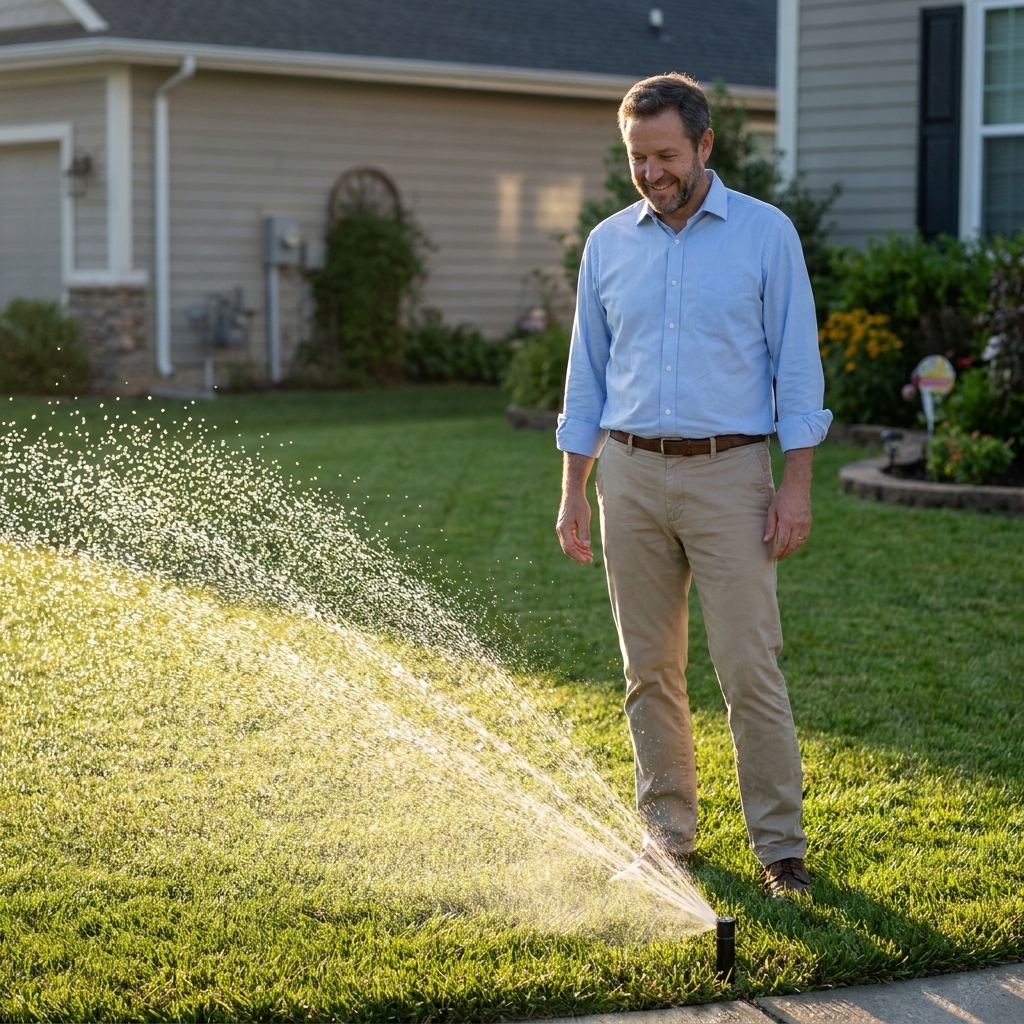
Water right after topdressing to settle the mix and reduce air pockets. Then keep the area lightly moist for the next 7 to 10 days.
Most of the time that looks like 1 to 2 light waterings per day depending on heat, wind, and soil type. You are not trying to create mud. You are helping the grass recover and encouraging roots to grow into the new layer.
Step 7: Mow carefully
Wait until the lawn is dry enough that your footsteps do not leave impressions. For the first couple mows:
- Keep your mowing height at your normal setting (or slightly high).
- Avoid tight turns over freshly leveled areas.
- If you can, use a lighter mower or mow when the soil is firmer.
Step 8: Repeat if needed
Most bumpy lawns improve dramatically after one round, but the best results often come from two lighter passes rather than one heavy one. Recheck after about 2 weeks of growth and do another thin topdress where needed. If you are chasing bigger low spots, you may repeat again after another 2 weeks.
Filling ruts cleanly
If you are filling a rut from a mower track, a downspout trench, or a dog run, here is the cleanest method:
- Loosen the rut gently with a rake so the mix bonds instead of sitting on top like a patch.
- Fill halfway with topdressing mix, then broom it in.
- Water to settle, then reassess depth.
- Top off with another thin layer if needed, keeping crowns and grass tips from disappearing.
- Overseed only if you end up with thin coverage or exposed soil that lasts more than a few days.
Patience wins here. Trying to make a deep rut disappear in one afternoon is how people accidentally create a dead strip that needs full reseeding.
Overseeding after leveling
Leveling sometimes reveals how thin a lawn really is. If you can see soil between plants after you finish topdressing, overseeding can help the new surface knit together.
Quick guidelines
- Cool-season lawns: overseed right after topdressing in early fall, then lightly rake or broom seed into contact.
- Warm-season lawns: many are established from sod or plugs. If you seed Bermuda, do it when nights are warm and growth is strong.
- Apply a starter fertilizer only if you are seeding, and follow the label rate.
Keep watering consistent until seedlings are established, then transition to deeper, less frequent watering.
Common mistakes
- Applying too thick and burying grass crowns. Thin layers beat heavy layers every time.
- Using clumpy, wet soil that cannot be spread evenly.
- Skipping the broom step. If the mix sits on top of grass like frosting, it blocks light.
- Leveling during stress (heat, drought, or dormancy).
- Only filling lows without feathering edges, which creates new ridges.
- Ignoring compaction. If the soil is hardpan, the surface can look better but still feel uneven as it settles again.
FAQ
How much topdressing do I need?
As a rough planning number, 1/4 inch over 1,000 square feet takes about 0.77 cubic yards of material (call it about 0.8 if you like round numbers). Low spots add extra.
Quick cheat sheet per 1,000 square feet:
- 1/8 inch: about 0.4 cubic yards
- 1/4 inch: about 0.8 cubic yards
- 1/2 inch: about 1.5 cubic yards
If you are not sure, buy a bit more than the math says. Running out mid-project is no fun, and batch-to-batch mix differences can show.
Can I level with just topsoil?
You can for small touch-ups, but straight topsoil often clumps and can shrink and crack as it dries. A topsoil-sand-compost blend spreads smoother and tends to settle more predictably.
Will topdressing fix mole hills?
For active moles, topdressing is temporary. Knock down the mounds, roll or tamp lightly, then topdress thinly. If the moles are still active, you will be chasing new bumps until you address the tunnels.
Should I roll the lawn to flatten bumps?
I almost never recommend heavy rolling as a primary fix. Rolling can compact the soil and make future bumpiness and drainage worse. Light rolling after filling and watering can help minor settling, but topdressing is the safer long-term play.
How long until the lawn looks normal again?
In active growth, most lawns look better in 7 to 14 days. Full “disappear into the turf” results usually show up after a few mowing cycles, especially if you did multiple thin applications.
Neighbor takeaway
If you remember just one thing, make it this: level in thin layers and let the grass breathe. A bumpy lawn usually is not a one-and-done dump truck problem. It is a controlled, methodical smoothing job. Take your time, keep crowns from getting buried, and you will be surprised how quickly your yard starts mowing like a brand-new lawn.