A simple, homeowner-friendly guide to testing lawn soil pH and adjusting it with lime or sulfur for healthier turf and better fertilizer results.
lawn care
Prep Your Soil Before Seeding a New Lawn
 Mark Vance
 is a former professional landscaper and the lead turf enthusiast at Yard Mentor. With over 15 years of experience in soil health, turf management, and residential landscaping, he is dedicated to helping homeowners transform frustrating dead patches into lush, healthy lawns. When he isn't testing new grass seed blends, you can find him enjoying a Saturday morning coffee looking out over his freshly striped yard.
Updated October 17, 2026
Created October 17, 2026
Mark Vance
Mark Vance is a former professional landscaper and the lead turf enthusiast at Yard Mentor. With over 15 years of experience in soil health, turf management, and residential landscaping, he is dedicated to helping homeowners transform frustrating dead patches into lush, healthy lawns. When he isn't testing new grass seed blends, you can find him enjoying a Saturday morning coffee looking out over his freshly striped yard.
Updated October 17, 2026
Created October 17, 2026
If there is one lawn lesson I learned the hard way, it is this: grass seed does not fail because the seed is “bad” most of the time. It fails because we ask it to sprout in soil that is compacted, crusty, too acidic (or too alkaline), or stripped of the organic matter that holds moisture.
The good news is you can do the right prep in a weekend. Some fixes (like compost, grading, and aeration) are immediate. Others (like pH correction) start the process now and pay off over the next several weeks and months.
Below is the exact soil-prep sequence I use when I want fast germination and a lawn that thickens up instead of fizzling out.
Start with a quick site check
Before you touch a rake, walk the area and note what is really going on. A five-minute inspection saves hours of rework later.
- Drainage: Where does water puddle after rain or sprinklers? Mark low spots with a shovel or small flags.
- Compaction: If you cannot push a screwdriver 3 to 4 inches into the ground with moderate pressure, you likely need core aeration (or deeper renovation in severe cases).
- Sun and shade: Seed choice matters, but so does soil prep. Shady areas stay wetter and can crust over if you overwater.
- Weeds and thatch: If you have thick thatch or a carpet of weeds, seed-to-soil contact will be poor until you address it.
Clear the area the right way
Remove debris and loosen the surface
Rake out sticks, stones, dead grass, and matted leaves. If you are repairing bare patches inside an existing lawn, rake aggressively enough to expose some soil. Seed needs contact with soil, not a layer of dried stems.
Handle thatch if it is in the way
A little thatch is normal. A thick, spongy layer is a problem because seed hangs up and dries out.
- If thatch is heavy: Dethatch with a dethatching rake for small spots, or rent a power rake for larger areas. Rake up the debris so you are not seeding into a mat.
- If the lawn is already thin and stressed: Do not go nuclear. Light raking and core aeration are often safer than tearing everything up.
Deal with weeds before you seed
Seedlings cannot compete with established weeds. If the area is weedy, you have two realistic options:
- Physical removal: Best for small areas. Dig out perennial weeds including roots. For annual weeds, raking and removal may be enough.
- Non-selective herbicide: For full renovations. If you use glyphosate, follow the label and wait the required time before seeding. Some products allow seeding the same day or within a few days, while others require a longer wait depending on formulation and rates.
Important: Avoid “weed and feed” products anywhere you plan to seed soon. Most crabgrass preventers and many broadleaf herbicides will reduce germination and stunt new grass.
Core aerate for oxygen, water, and root space
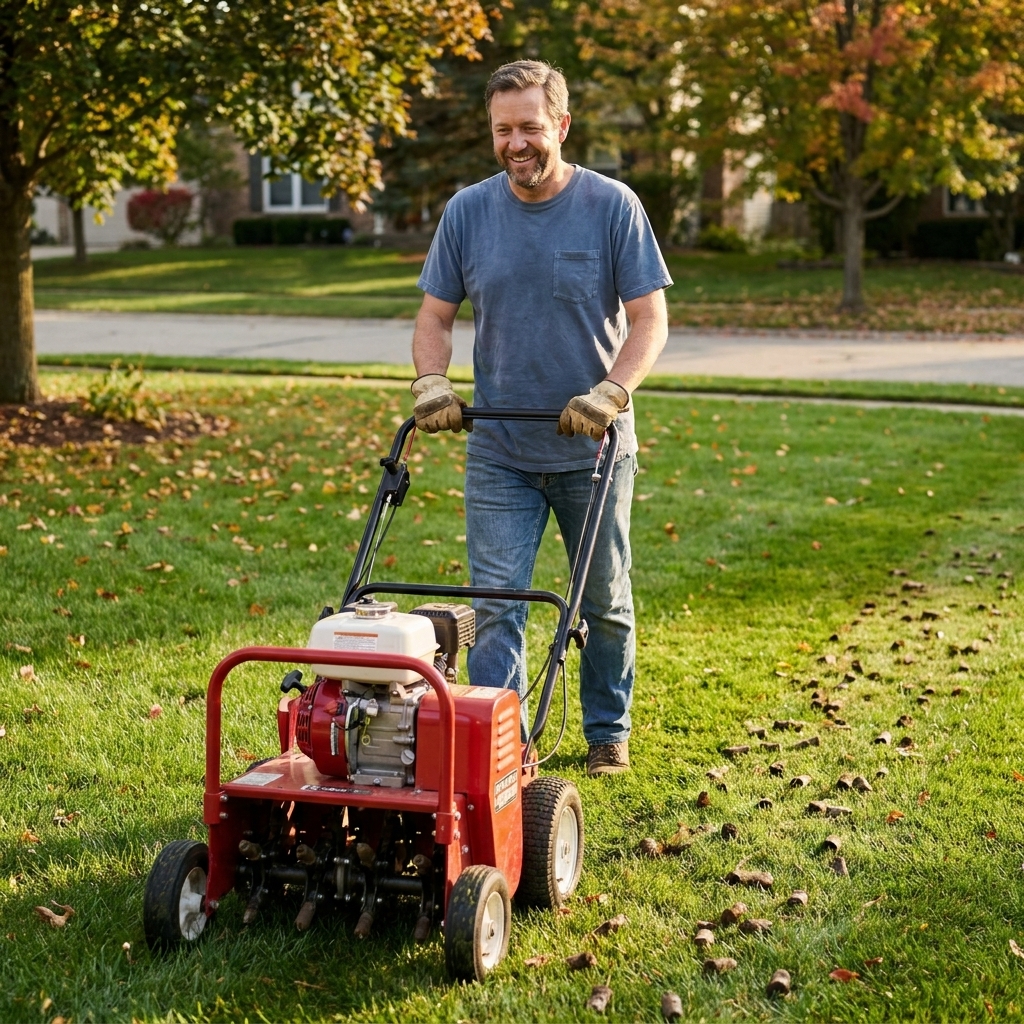
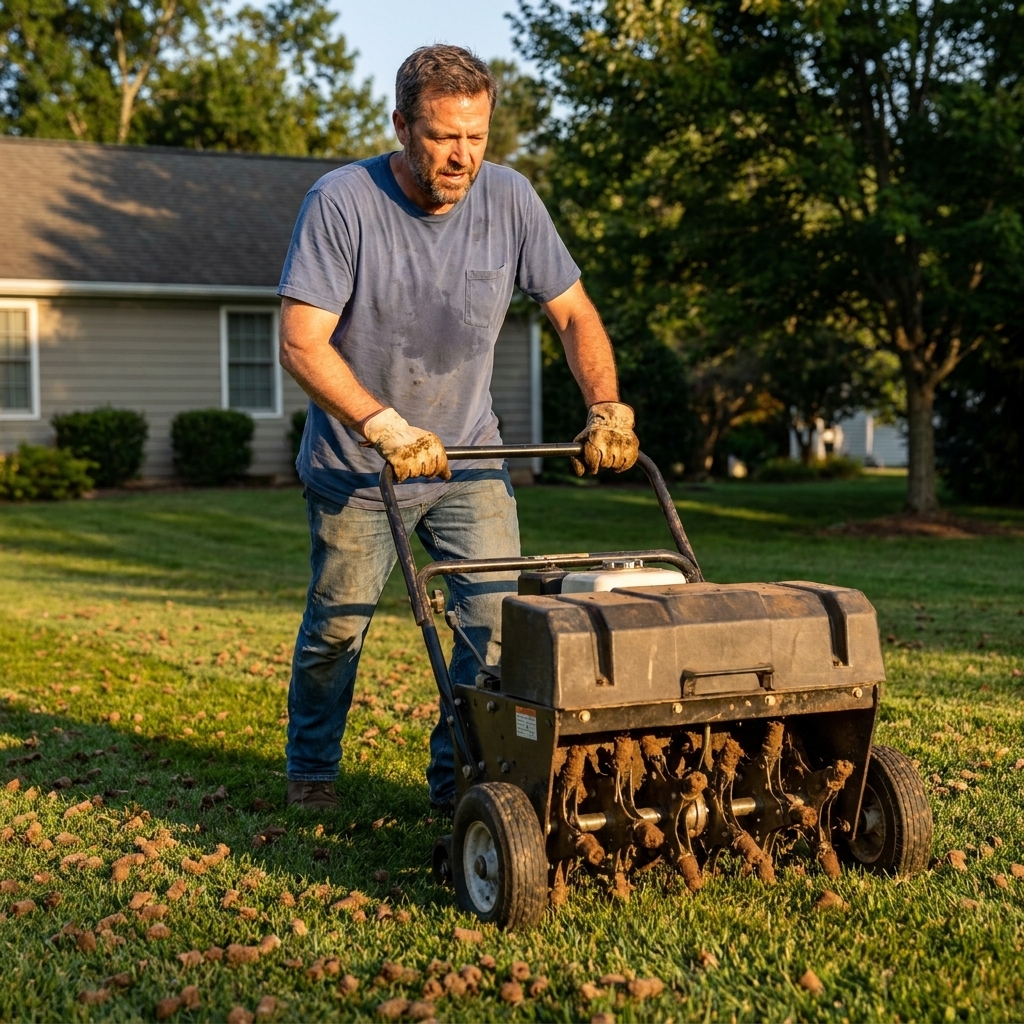
Core aeration is one of the biggest multiplier steps for seed success, especially in clay soils and high-traffic yards. The goal is to pull plugs, not poke holes. Plugs create real space for air and water and give roots an easier path down.
When aeration is worth it
- Soil feels hard and sealed, especially after rain dries.
- Water runs off instead of soaking in.
- Your lawn gets heavy foot traffic, pets, or kids playing.
- You have clay soil or new construction soil.
How to aerate for best results
- Aerate when soil is moist, not muddy. The day after a soaking rain is often perfect.
- Make two passes in different directions in the areas you are seeding.
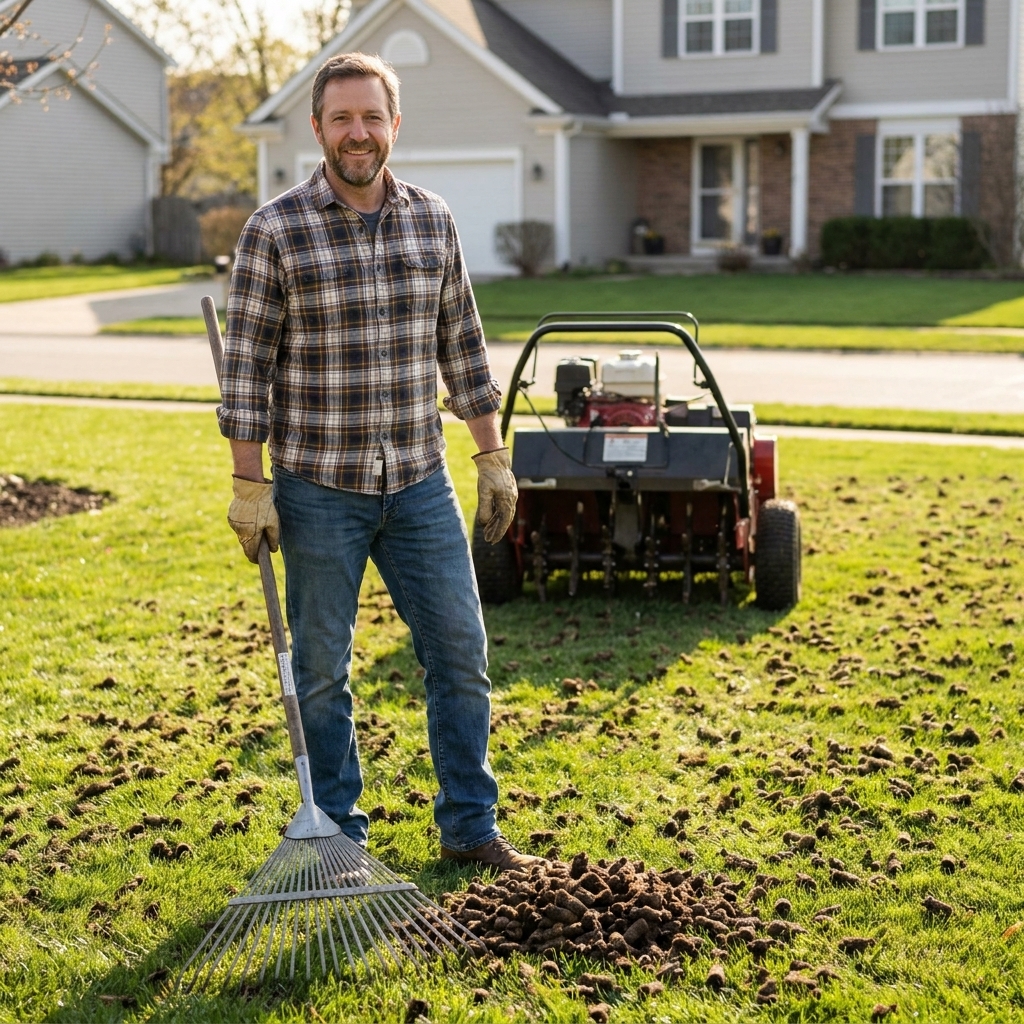
- Usually, leave the plugs on the surface to break down. On most established lawns they crumble quickly and help the top layer. If your plugs are mostly hard clay or rocky subsoil (common in new construction), break them up with a rake or remove the worst piles so you can get a smoother seedbed.
Test your soil pH (and fix it before you seed)
If I could only pick one grown-up step that separates a so-so lawn from a great lawn, it is a soil test. Grass can germinate in a wider range than it can thrive in. If the pH is off, nutrients lock up and seedlings struggle even if you fertilize.
How to test
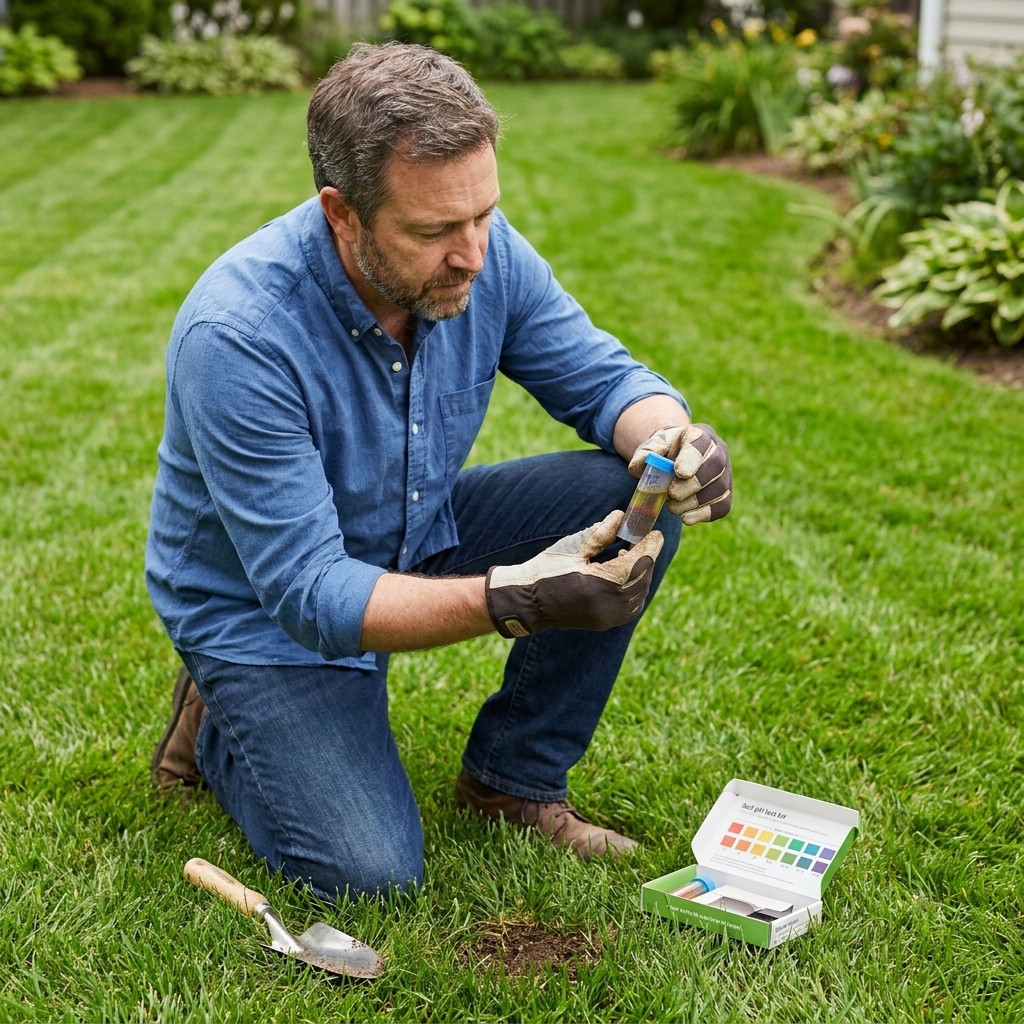
- Best: A lab soil test through your local extension office or a reputable lab. You will get pH plus nutrient levels and specific recommendations.
- Good for a quick check: A quality at-home pH test kit, especially if you are troubleshooting a problem area.
Target pH ranges (general lawn guidance)
- Cool-season lawns (Kentucky bluegrass, fescues, ryegrass): commonly do best around pH 6.0 to 7.0.
- Warm-season lawns vary more by species. Many do well around pH 6.0 to 7.0, but some prefer it a bit more acidic. Centipedegrass, in particular, is often happiest closer to pH 5.0 to 6.0. When in doubt, let your soil test and your grass type guide the target.
Your lab report is the final word for your yard.
How to adjust pH
- If pH is low (acidic): Use lime (calcitic or dolomitic depending on magnesium needs). Lime works gradually, so think in seasons, not days. Apply at the recommended rate and water it in.
- If pH is high (alkaline): Lowering pH is harder. Elemental sulfur can help, and adding organic matter helps over time. This is another reason lab guidance matters.
My neighbor-to-neighbor advice: Do not guess with lime or sulfur. Too much can cause new problems that take a long time to unwind.
Add compost for better moisture and better germination
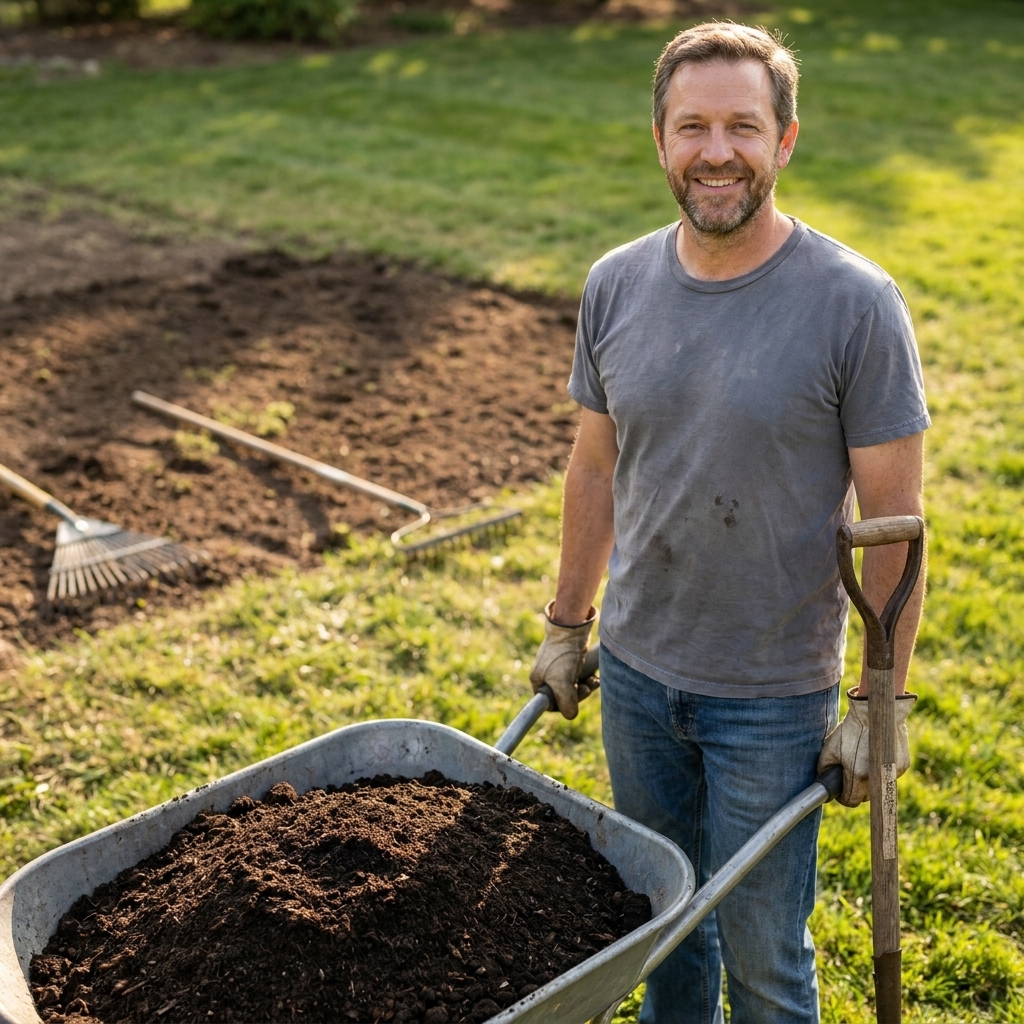
Compost is my favorite cheap insurance for seeding. It improves contact with the soil, holds moisture near the surface, and helps sandy soils retain nutrients while loosening clay over time.
How much compost to use
For most seeding projects, a thin topdressing is plenty:
- Topdress 1/4 to 1/2 inch of finished compost over the area.
- Rake it in lightly so you still see some soil texture and you are not burying the surface under clumps.
If you are overseeding into existing grass, stay on the thin side. A heavy topdressing can smother what is already alive.
If you are establishing a new lawn on poor soil, you can work compost into the top few inches, but keep grading in mind so you do not create drainage issues near sidewalks, driveways, or the foundation.
What compost to buy
- Look for finished, screened compost that is dark, crumbly, and earthy-smelling.
- Avoid compost that is full of big wood chunks. It dries out fast and can create uneven coverage.
Fix grading and create a smooth seedbed
Seed loves an even, lightly firm seedbed. Water also loves it, because it soaks in instead of running to the lowest corner of the yard.
Level low spots
- Fill shallow depressions with a mix of topsoil and compost (or your preferred leveling mix).
- Feather the edges out gradually. Sharp edges create scalping and dry-out zones later.
- Lightly compact with your feet or a lawn roller so the area does not settle dramatically after the first heavy rain.
Break up crusted soil
If the surface is sealed or crusty, lightly rake or use a stiff garden rake to create shallow grooves. You are not trying to till deep. You are creating texture for seed to nestle into.
Do the footprint test
After you rake and level, walk across the area. Ideally your footprints are visible but shallow. If you sink in, it is too soft. If you barely mark it, it may be too hard and needs a touch more loosening or compost.
Time it right
Soil prep is not a one-and-done task if the weather is uncooperative. A pounding rain after you rake can crust the surface. A windy, sunny day can dry out compost fast.
- If you can: Prep the soil the day before or the same day you seed.
- If rain is coming: Either seed right before a gentle rain (great) or wait it out if you expect a downpour that could wash seed around (not great).
- If it is hot and dry: Get irrigation ready first so you can keep the top 1/2 inch consistently moist.
Best seeding windows
- Cool-season grasses: Late summer to early fall is the sweet spot. Spring can work, but weeds and summer heat make it tougher.
- Warm-season grasses: Late spring into early summer is usually best, when soil is warm and growth is ramping up.
Set up watering before you spread seed
New seed fails fast when the surface dries out. Once you seed, you want your only job to be watering and staying off the area. That means your sprinklers and hoses should be ready ahead of time.
Watering goal for germination
- Keep the surface consistently moist, not soggy.
- Many lawns need light waterings 2 to 4 times per day during germination, but adjust for weather and soil. In cool, cloudy, or humid conditions (or heavy clay), you may need less. In heat, wind, or sandy soil, you may need more.
- Once seedlings are up, shift gradually toward fewer, deeper waterings to encourage roots to chase moisture down.
If you have irrigation coverage gaps, fix them now. Hand-watering a missed corner for three weeks gets old fast.
Seed and lock in contact
All this prep is leading to one moment: getting seed in contact with a moist, friendly surface and keeping it there.
Finish the seedbed
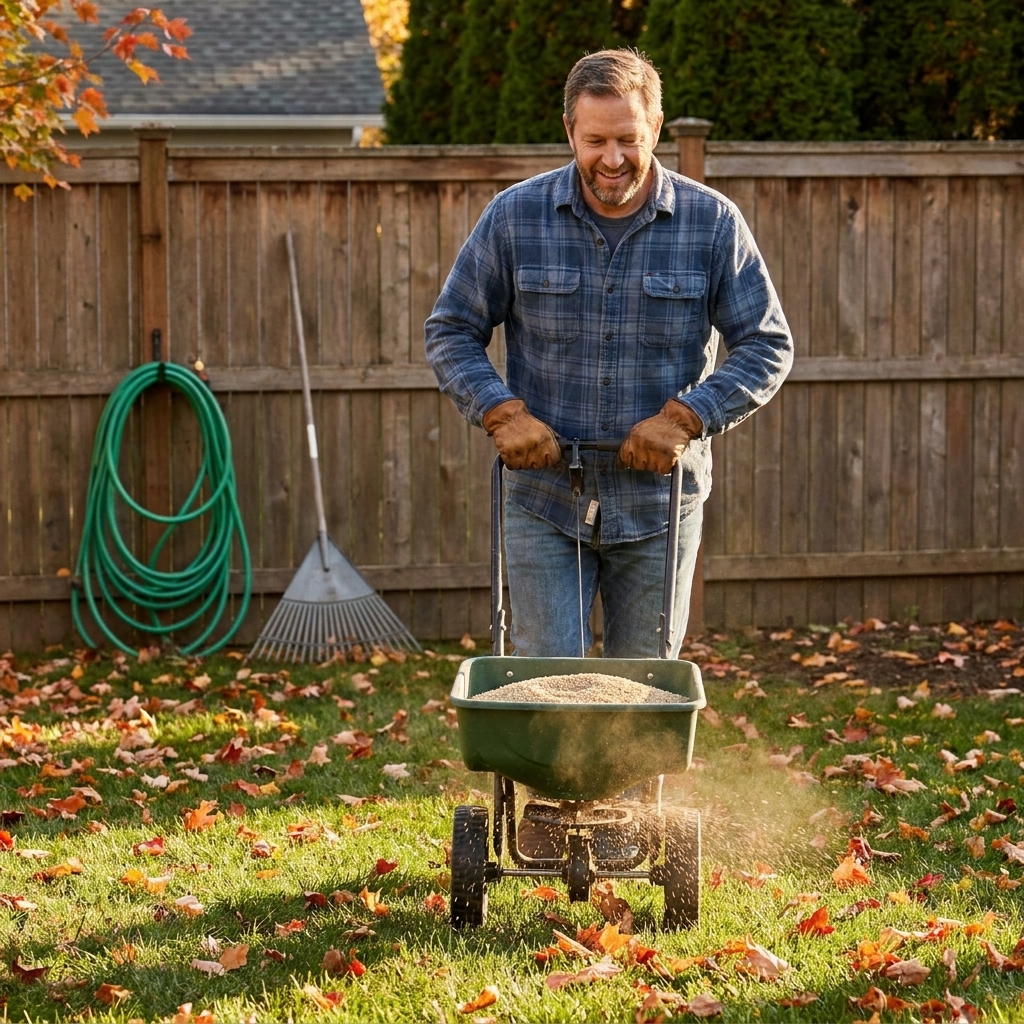
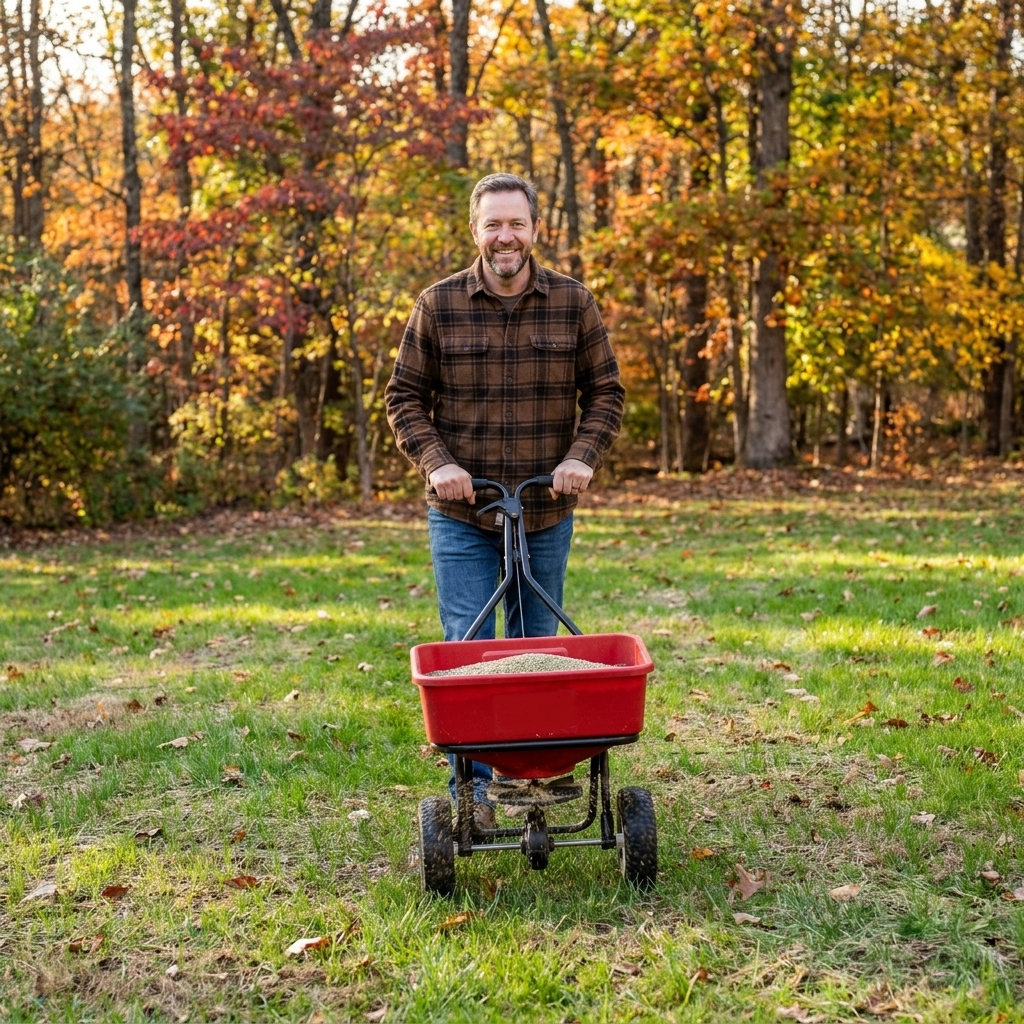
- Spread seed evenly (a broadcast spreader makes life easier on larger areas).
- Lightly rake or drag the area so seed settles into the top 1/4 inch or so, not an inch deep.
- Press the seed in with a light pass of a lawn roller or by carefully walking the area. You are aiming for contact, not compaction.
Cover lightly if needed
A light cover can reduce drying and bird activity. Keep it thin so light and air still get through.
- Good options: A dusting of compost, a very thin layer of clean straw, or a seed blanket on slopes.
- Skip the blanket effect: Thick straw or mulch can block light and make it harder for seedlings to push through.
Starter fertilizer (optional, but helpful)
If your soil test calls for nutrients, a starter fertilizer can help seedlings establish faster. The key is choosing the right product.
- Use a starter fertilizer labeled for new seeding when appropriate.
- Avoid weed-and-feed or anything with pre-emergent herbicide if you want grass seed to germinate.
- Follow the label rate. More is not better, especially with young grass.
Soil prep checklist (print-it-in-your-head version)
- Rake out debris and expose soil in thin areas
- Dethatch if a thick thatch layer is blocking the soil surface
- Remove or kill weeds, then respect any label waiting periods
- Core aerate compacted ground (two directions is best)
- Test soil pH (lab if possible)
- Apply lime or sulfur only as recommended
- Topdress 1/4 to 1/2 inch compost and rake it smooth
- Fix low spots and create a lightly firm seedbed
- Confirm sprinklers cover the whole area
- Seed, rake in lightly, and press for good contact
Common soil-prep mistakes I see all the time
Skipping pH and “just fertilizing”
If pH is off, fertilizer is like buying groceries and leaving them on the porch. The nutrients are there, but the plant cannot use them efficiently.
Seeding on fluffy soil
When soil is too loose, seed settles too deep after watering or rain. You want a seedbed that is smooth and lightly firm.
Burying seed under a thick layer
A little cover can help, but thick layers block light and make it harder for seedlings to push through. Keep compost or straw applications thin and even.
Overworking the soil into dust
Powdery soil crusts over easily. Aim for crumbly texture with small aggregates, not a fine dust layer.
FAQ
Do I need topsoil before planting grass seed?
Not always. If you already have 3 to 6 inches of decent topsoil, compost and aeration can be enough. You typically need new topsoil when you are dealing with subsoil, heavy construction fill, or severe grading problems.
Should I aerate before or after adding compost?
Aerate first, then topdress compost. Aeration opens the soil, and compost helps keep the surface moist and seed-friendly.
Can I seed right after applying lime?
Often yes, but follow your soil test recommendation and product label. Lime changes pH gradually, so you are not usually burning seed with lime the way you can with some fertilizers. Still, correct rates matter.
How deep should the soil be loosened for grass seed?
For most overseeding and repairs, you only need the top 1/4 to 1/2 inch receptive so seed can nestle in. For brand-new lawns on poor ground, improving the top few inches with compost helps, but keep the final grade and firmness in mind.
If you take anything from this, take this: great lawns start with boring prep. Aerate when you need it, test pH so you are not guessing, and give seed a compost-rich, evenly graded surface that stays consistently moist. Do that, and your seed has a fighting chance to turn into the kind of thick turf you actually want to mow.