A homeowner-friendly, step-by-step guide to diagnosing brown lawn patches, repairing dead spots with seed, sod, or plugs, and preventing them from coming back.
lawn care
How to Plant Grass Plugs in Bare Warm-Season Lawn Areas
 Mark Vance
 is a former professional landscaper and the lead turf enthusiast at Yard Mentor. With over 15 years of experience in soil health, turf management, and residential landscaping, he is dedicated to helping homeowners transform frustrating dead patches into lush, healthy lawns. When he isn't testing new grass seed blends, you can find him enjoying a Saturday morning coffee looking out over his freshly striped yard.
Updated October 18, 2026
Created October 18, 2026
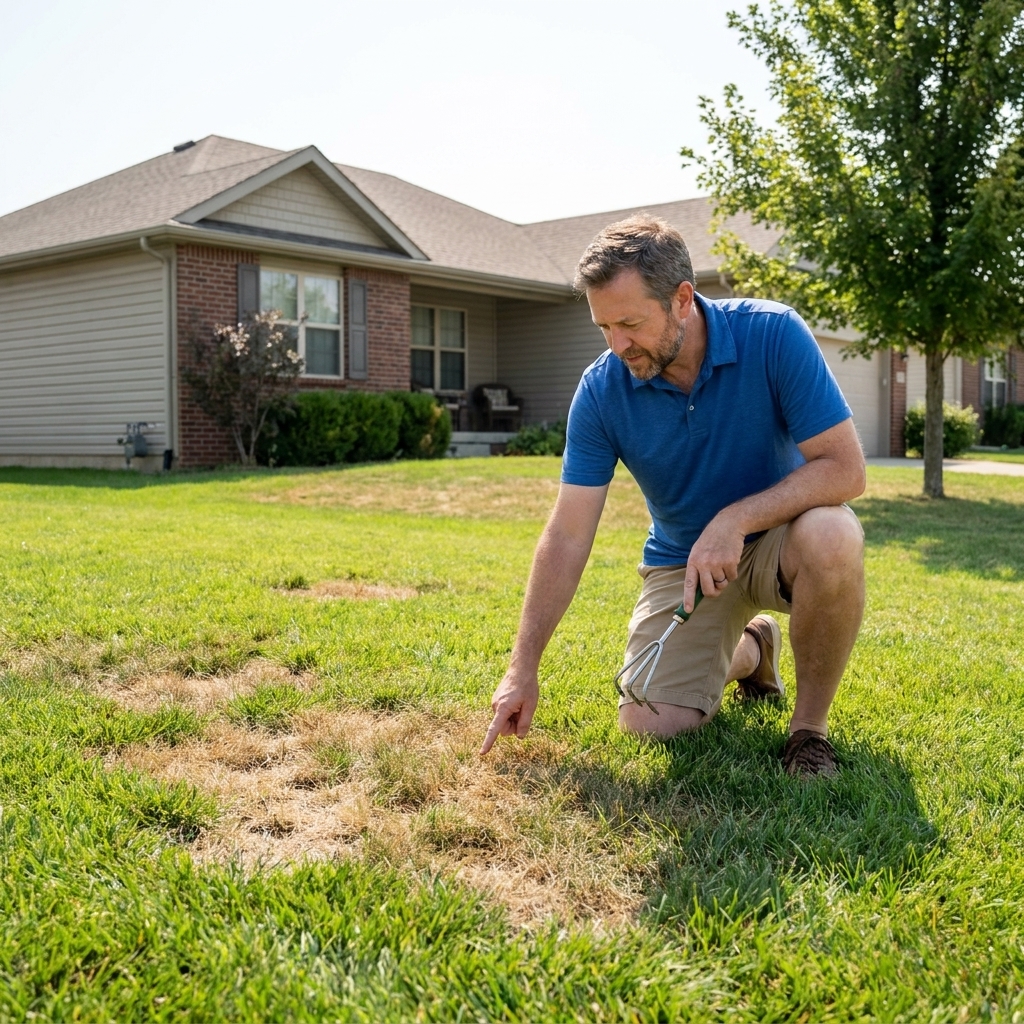
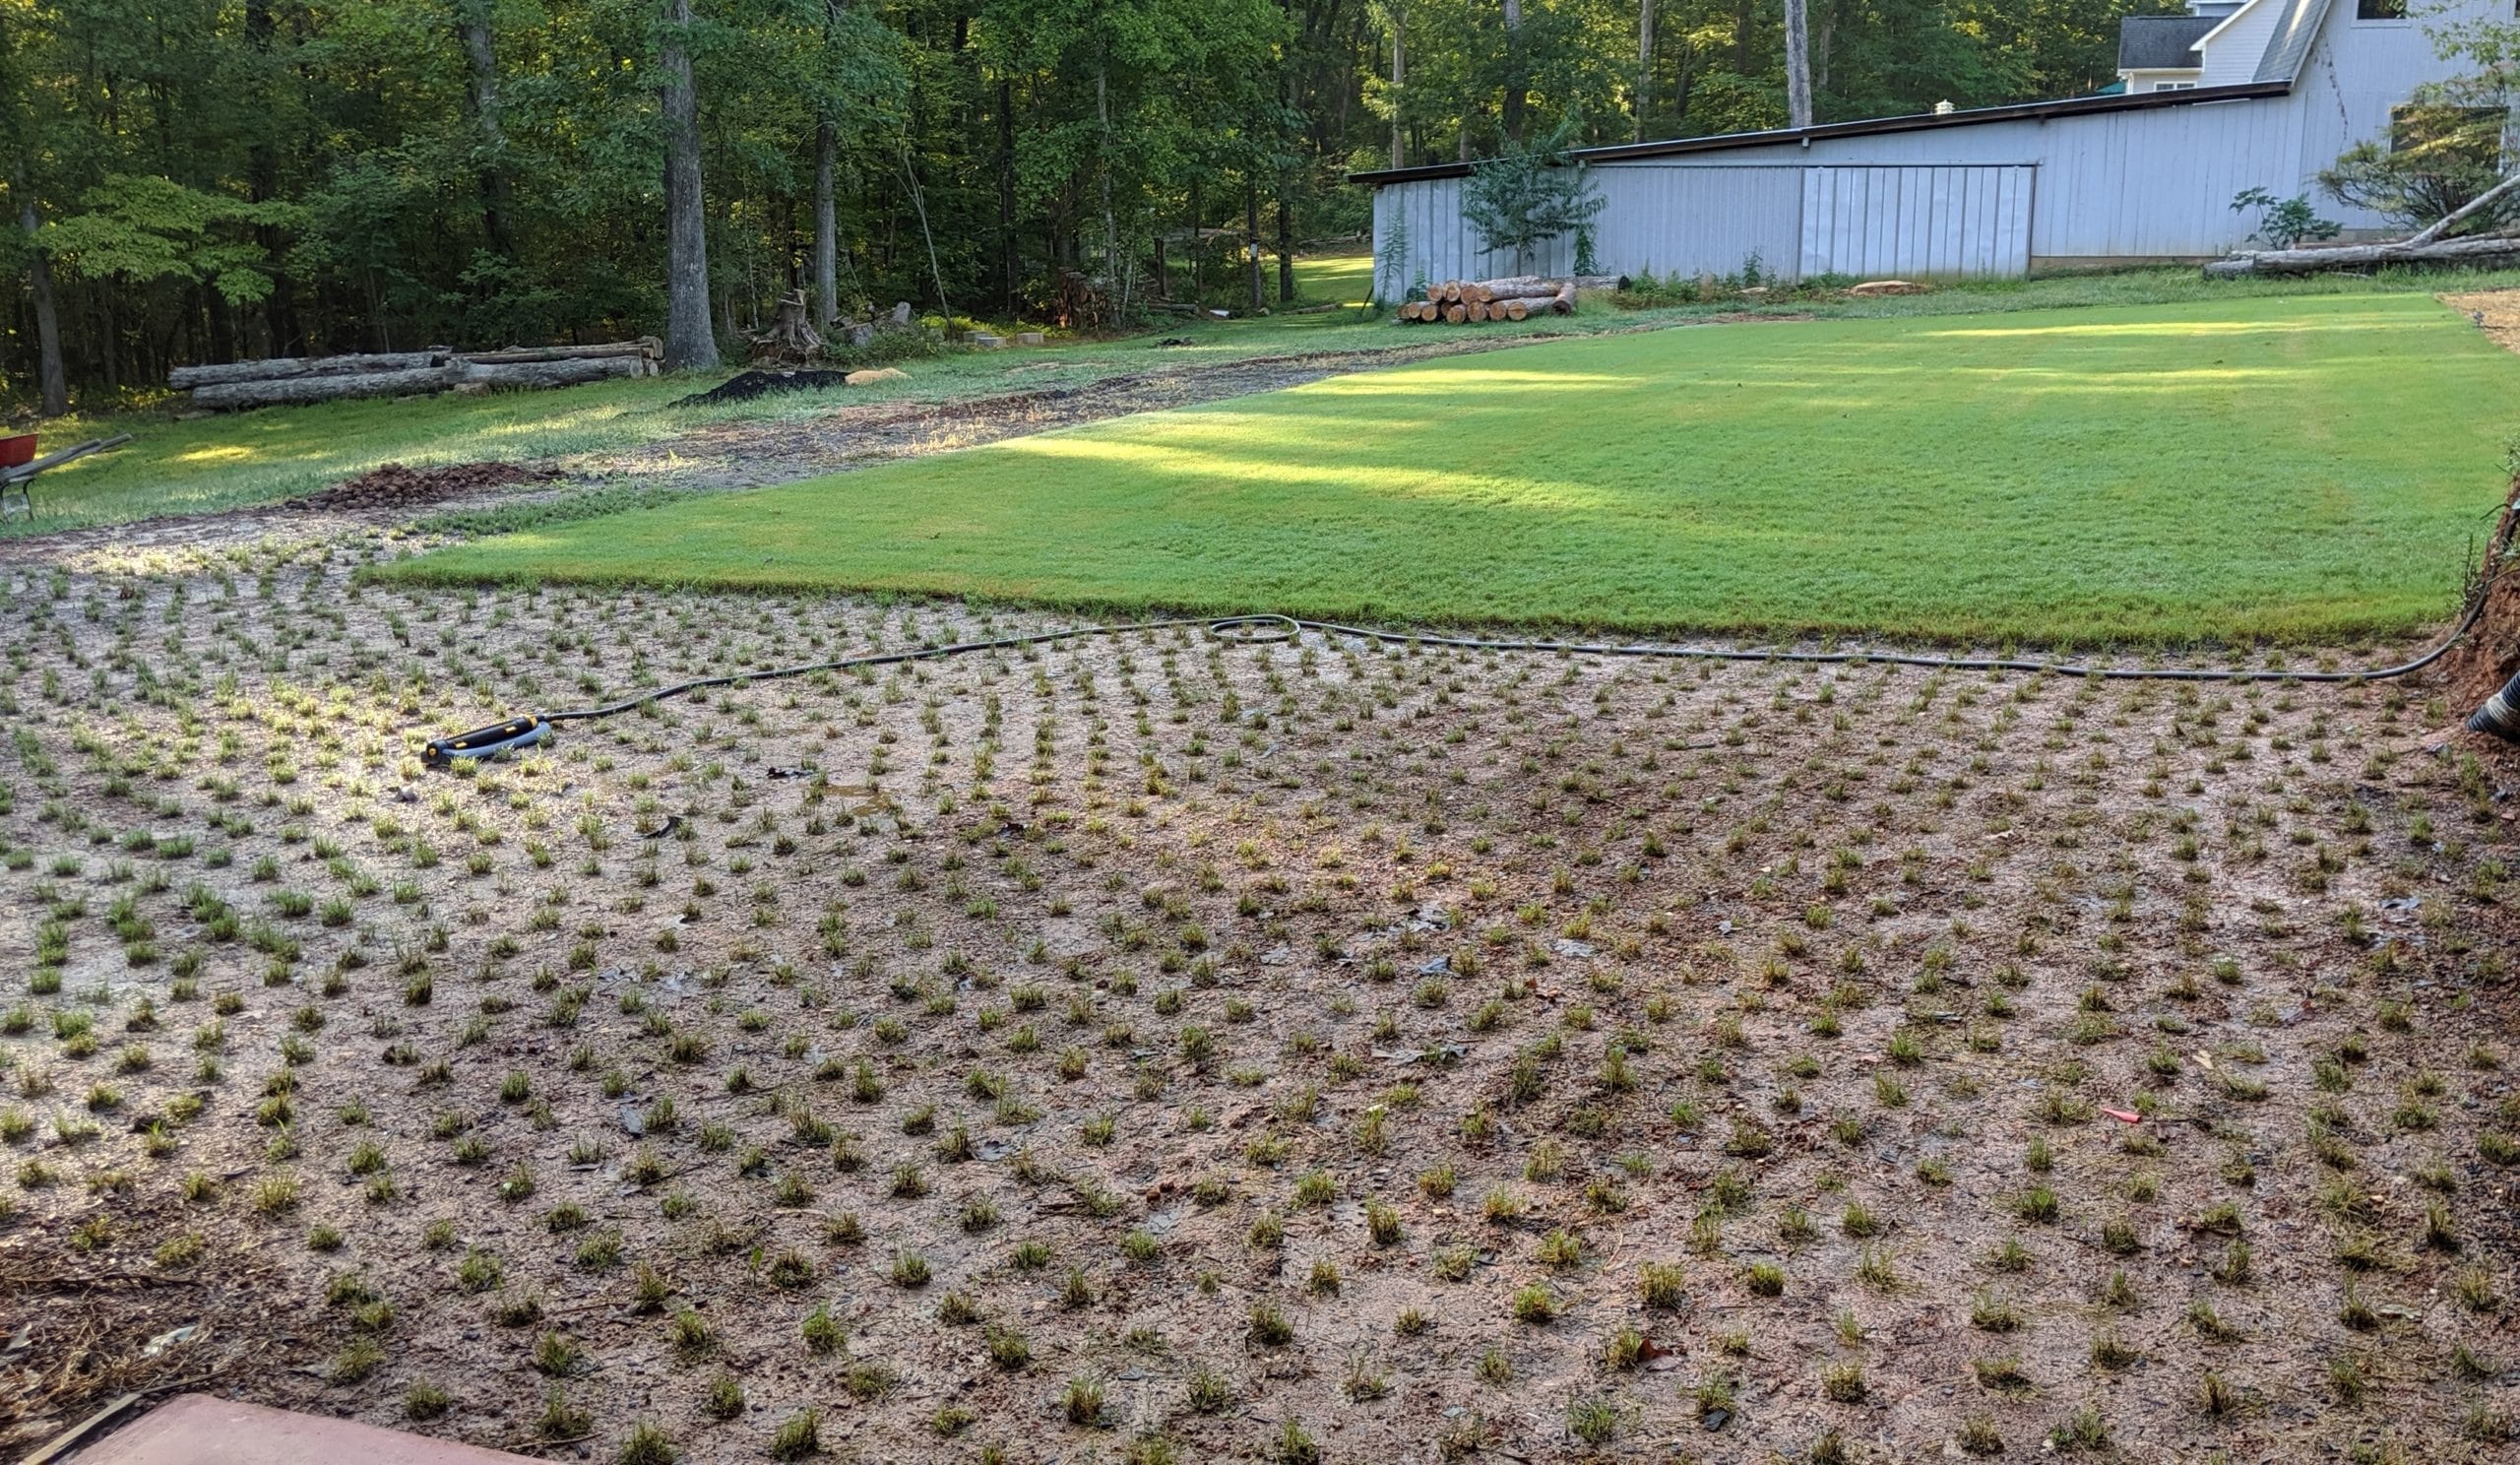
If you have a warm-season lawn and you are staring at a few bare spots that just refuse to grow back in, grass plugs are one of the most reliable fixes. You are basically transplanting small pieces of living turf (roots, runners, and all) into the thin area, then letting that grass spread laterally until everything knits together.
I like plugs because they are methodical. You can see your progress, you can control the spacing, and you are not gambling on seed germination during hot weather. The key is installing them correctly and then watering consistently until they root.
When plugs make sense (and when they do not)
Plugs are best for bare or thin areas in an established warm-season lawn where the surrounding grass is healthy enough to spread.
Great uses for plugs
- Dog spots, sprinkler misses, and compacted footpaths after you fix the underlying cause
- Construction damage where topsoil was scraped or buried
- Patchy areas in full sun where seedlings struggle in heat and surface drying (and where seed may not match your existing turf anyway)
- Matching an existing lawn when you cannot find seed that truly matches your cultivar (common with St. Augustine)
Plugs are a poor fit if
- The area stays shady and your grass type is a sun-lover (Bermuda in shade is a losing battle in most yards)
- Drainage is bad and the soil stays soggy for days after rain or irrigation
- You have not solved the cause of the bare spot (grubs, compaction, scalping, pet urine patterns, irrigation problems)
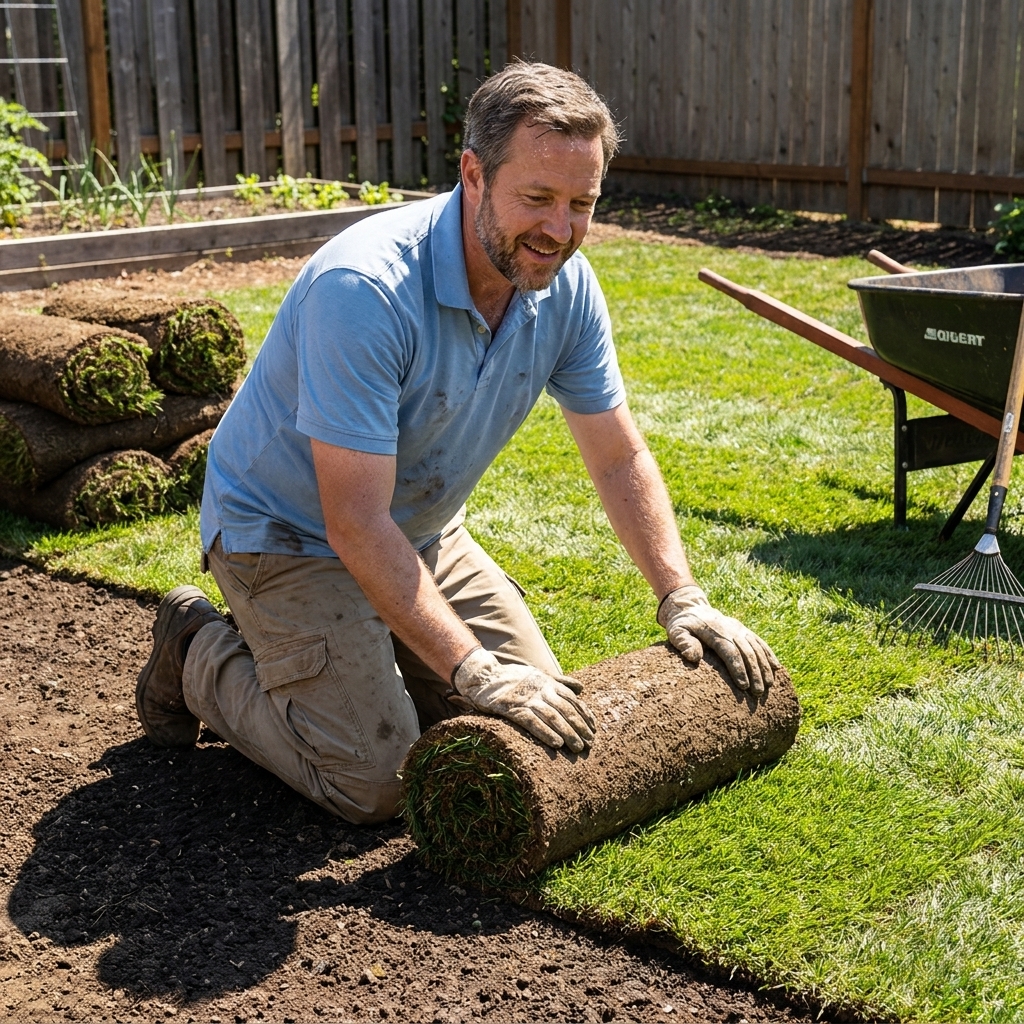
- The bare zone is huge and you need instant coverage (that is a job for sod, not plugs)
- It is not active growing season; plugs can survive, but they often stall and can be more prone to rot in cool, wet, or poorly drained conditions
Plugs vs sprigs vs sod
If you are deciding between repair options, here is the simple breakdown:
- Plugs: best for small to medium bare areas where you want a reliable take and are fine waiting for runners to fill in.
- Sprigs: best for larger areas on a budget if you can keep the soil consistently moist. Sprigs establish well, but they are less forgiving if they dry out.
- Sod: best when you want instant coverage or you need to stabilize soil quickly. It costs more, but it looks finished immediately.
Match the plug to your warm-season grass
The rule is simple: plug the same species you already have. Mixing warm-season grasses usually looks patchy and often leads to one type eventually taking over.
- Bermudagrass: Spreads aggressively by stolons and rhizomes, plugs fill in fast when watered and fertilized correctly.
- Zoysiagrass: Slower spread than Bermuda, but makes a dense, carpet-like lawn. Plugs work great, just plan for a longer fill time.
- St. Augustine: Typically planted vegetatively (sod, plugs, sprigs). Plugs are a go-to repair method.
- Centipedegrass: Spreads by stolons, plugs work well, but go easy on fertilizer and avoid pushing it too hard.
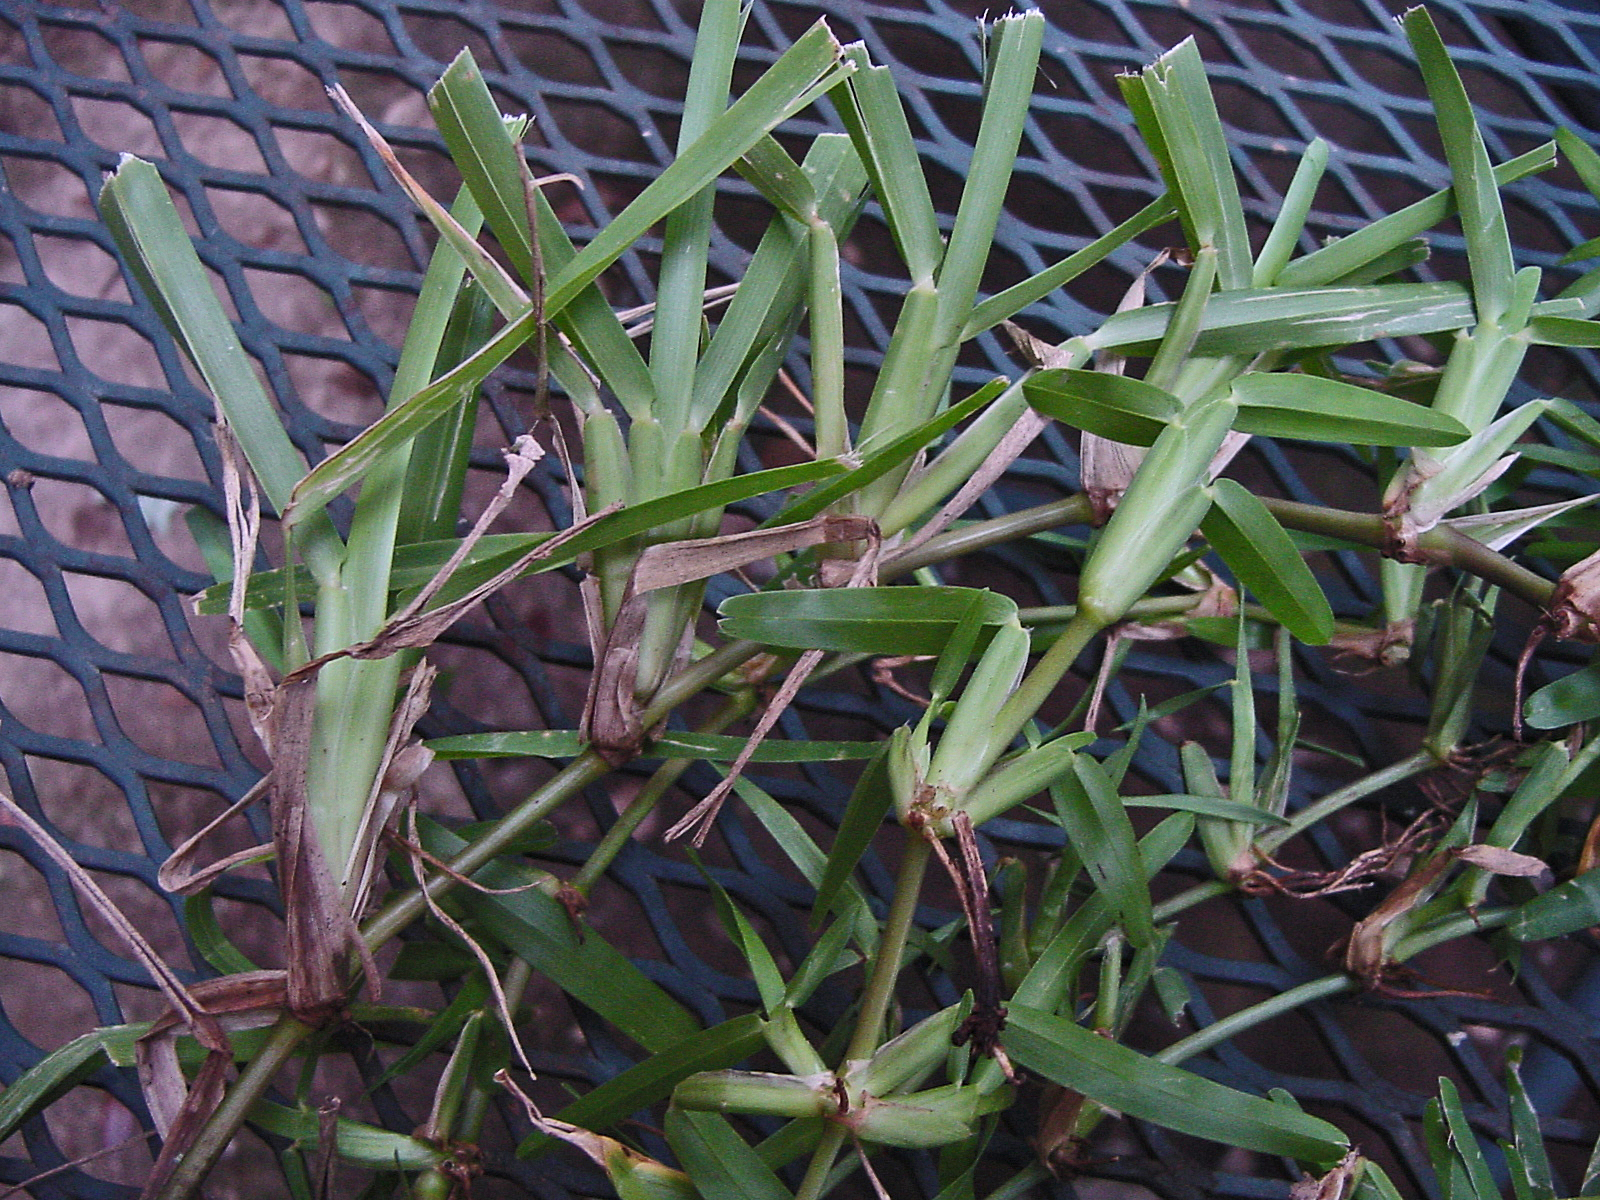
If you are not sure what you have, look at the runners. St. Augustine has thick, above-ground stolons and broad blades. Bermuda has finer blades and wiry runners. Zoysia is medium-fine with a stiffer feel. Centipede often has an apple-green color and stolons with wider spacing between nodes.
Timing: plant plugs during active growth
For warm-season turf, the sweet spot is late spring through summer, when soil is warm and the grass is actively producing runners.
- Best window: after the lawn has fully greened up and you are mowing regularly
- Be careful in early spring: cool soil slows rooting and can increase rot risk if the site stays wet or drainage is poor
- Avoid late fall: plugs may not root deeply before dormancy, and winter stress can heave or thin them
Practical test: if the surrounding lawn is growing enough that you are mowing at least once a week, plugs usually take off. Even better, use the soil as your cue: when it stays consistently warm and the lawn is in full growth mode, plugging is usually on the table.
What you need
- Grass plugs (purchased tray or harvested from a healthy donor area)
- Plug tool or bulb planter, or a small hand trowel
- Garden rake
- Topsoil or sandy loam for minor leveling (optional)
- Compost (optional, use lightly)
- Starter fertilizer or a light, balanced fertilizer (optional, depends on grass type and soil test)
- Hose-end sprinkler or oscillating sprinkler, plus a timer if you have one
- Sharp knife if you need to trim plugs to fit holes
If you are harvesting your own, take plugs from an inconspicuous area where the grass can recover, and never scalp that donor zone bare.
Pick a plug size
Most homeowner plug trays come in 2-inch or 3-inch plugs (and you can harvest similar sizes from your own lawn).
- 2-inch plugs: usually cheaper per plug and easier to plant in bulk, but they can take a bit longer to fill the gaps.
- 3-inch plugs: cost more, but you start with more turf and they typically knit together faster at the same spacing.
Either size works. Your watering and patience matter more than the diameter.
How to plant grass plugs
1) Fix the reason the area went bare
Before you plant anything, correct the problem that created the bare spot.
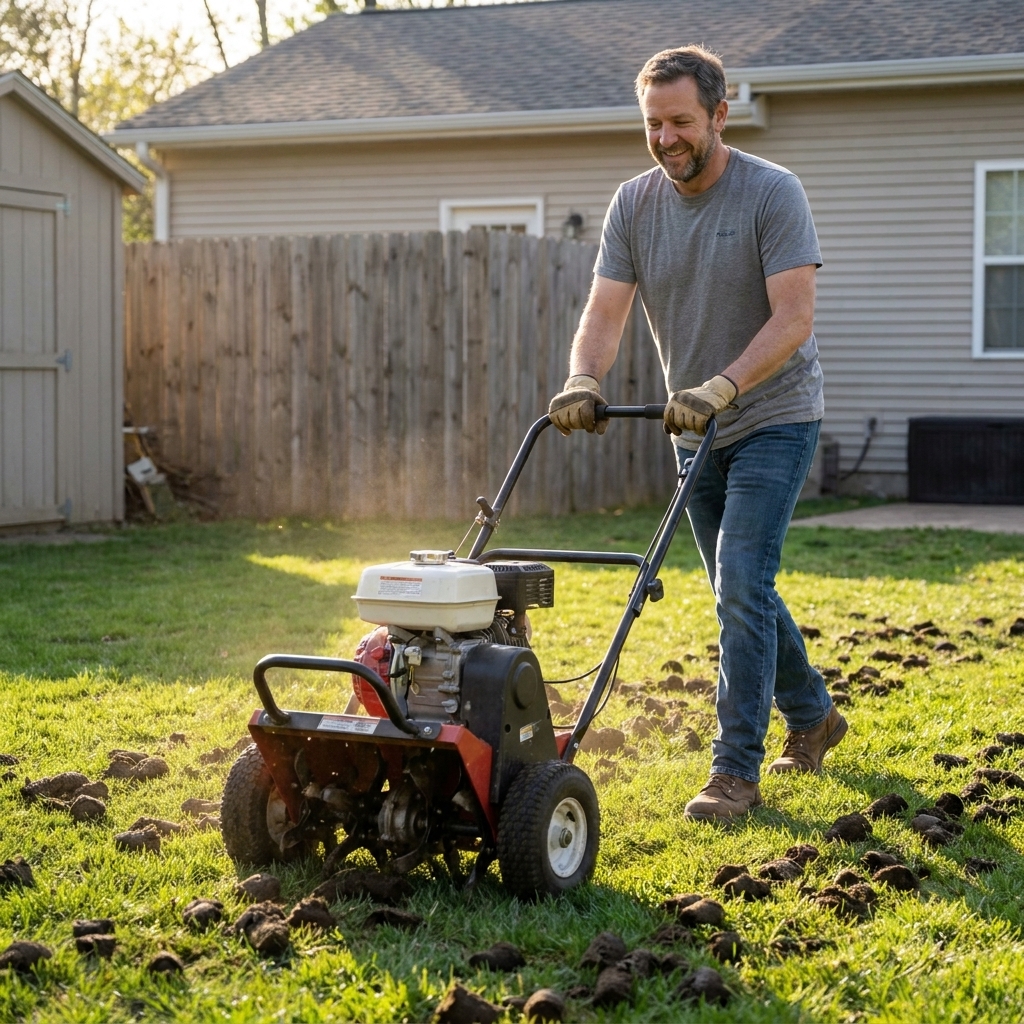
- Compaction: core aerate or loosen the top 2 to 3 inches with a hand cultivator
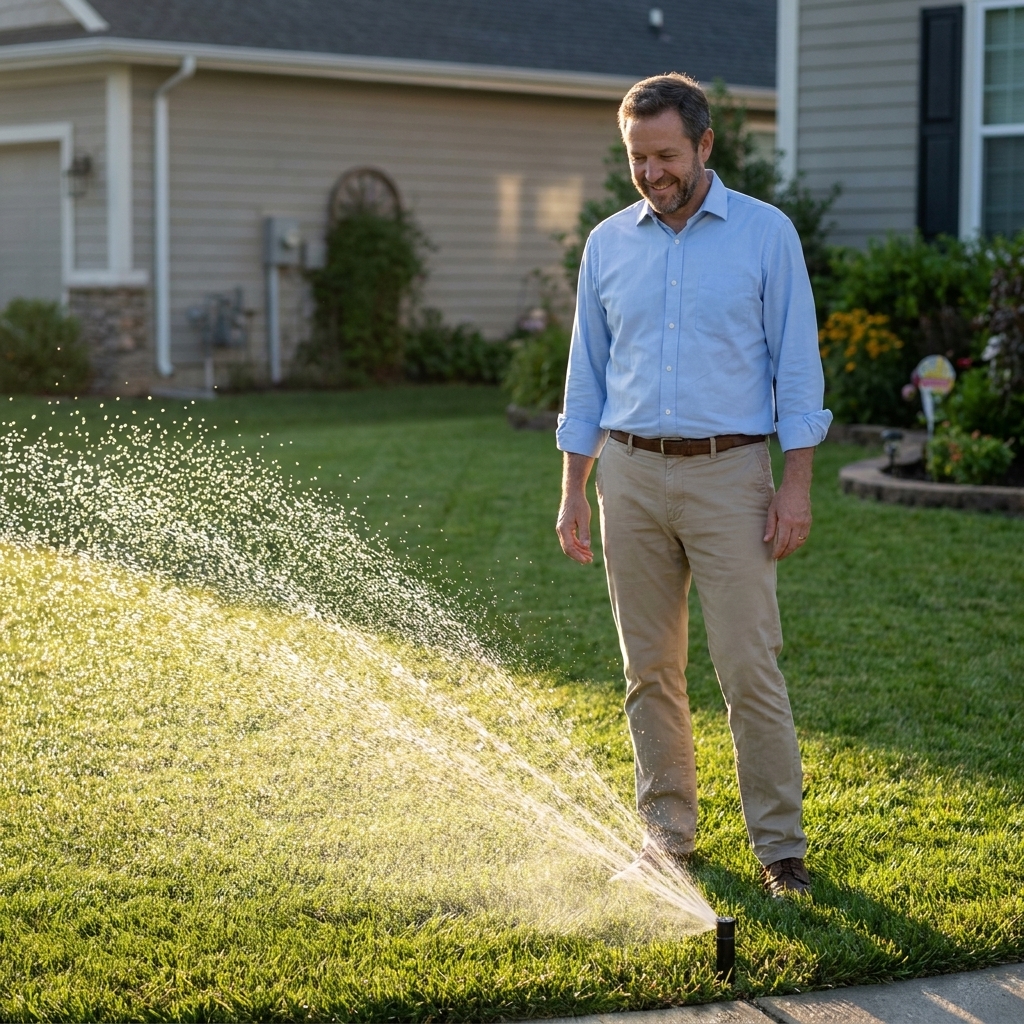
- Irrigation: confirm coverage with a tuna-can test and adjust heads
- Pet spots: flush the area with water after use and consider training boundaries
- Grubs: use wilted, easy-to-lift turf as a symptom check, then confirm by peeling back a section of sod and inspecting the top few inches of soil (heavy infestations are often several grubs per square foot)
- Scalping: raise mowing height and avoid taking more than one-third of the blade at a time
2) Prep the site
Rake out dead grass, thatch, and loose debris until you can see soil. If the area is depressed, bring it up now with a thin layer of soil so water does not puddle.
Ideally, you want loose soil at the surface so new roots can bite in.
3) Decide plug spacing
Spacing is where most homeowners either waste money (too close) or lose patience (too far).
- 4 to 6 inches apart: fast fill, best for small bare spots and high-visibility areas
- 6 to 12 inches apart: common good-balance range for most repairs
- 12 to 18 inches apart: budget spacing that can work for aggressive Bermuda in full sun with solid watering, but expect a longer wait (often months, not weeks)
Zoysia and Centipede generally appreciate closer spacing than Bermuda because they fill slower. St. Augustine spreads well, but it still benefits from reasonable spacing, especially if the area is stressed.
4) Make holes slightly larger than the plug
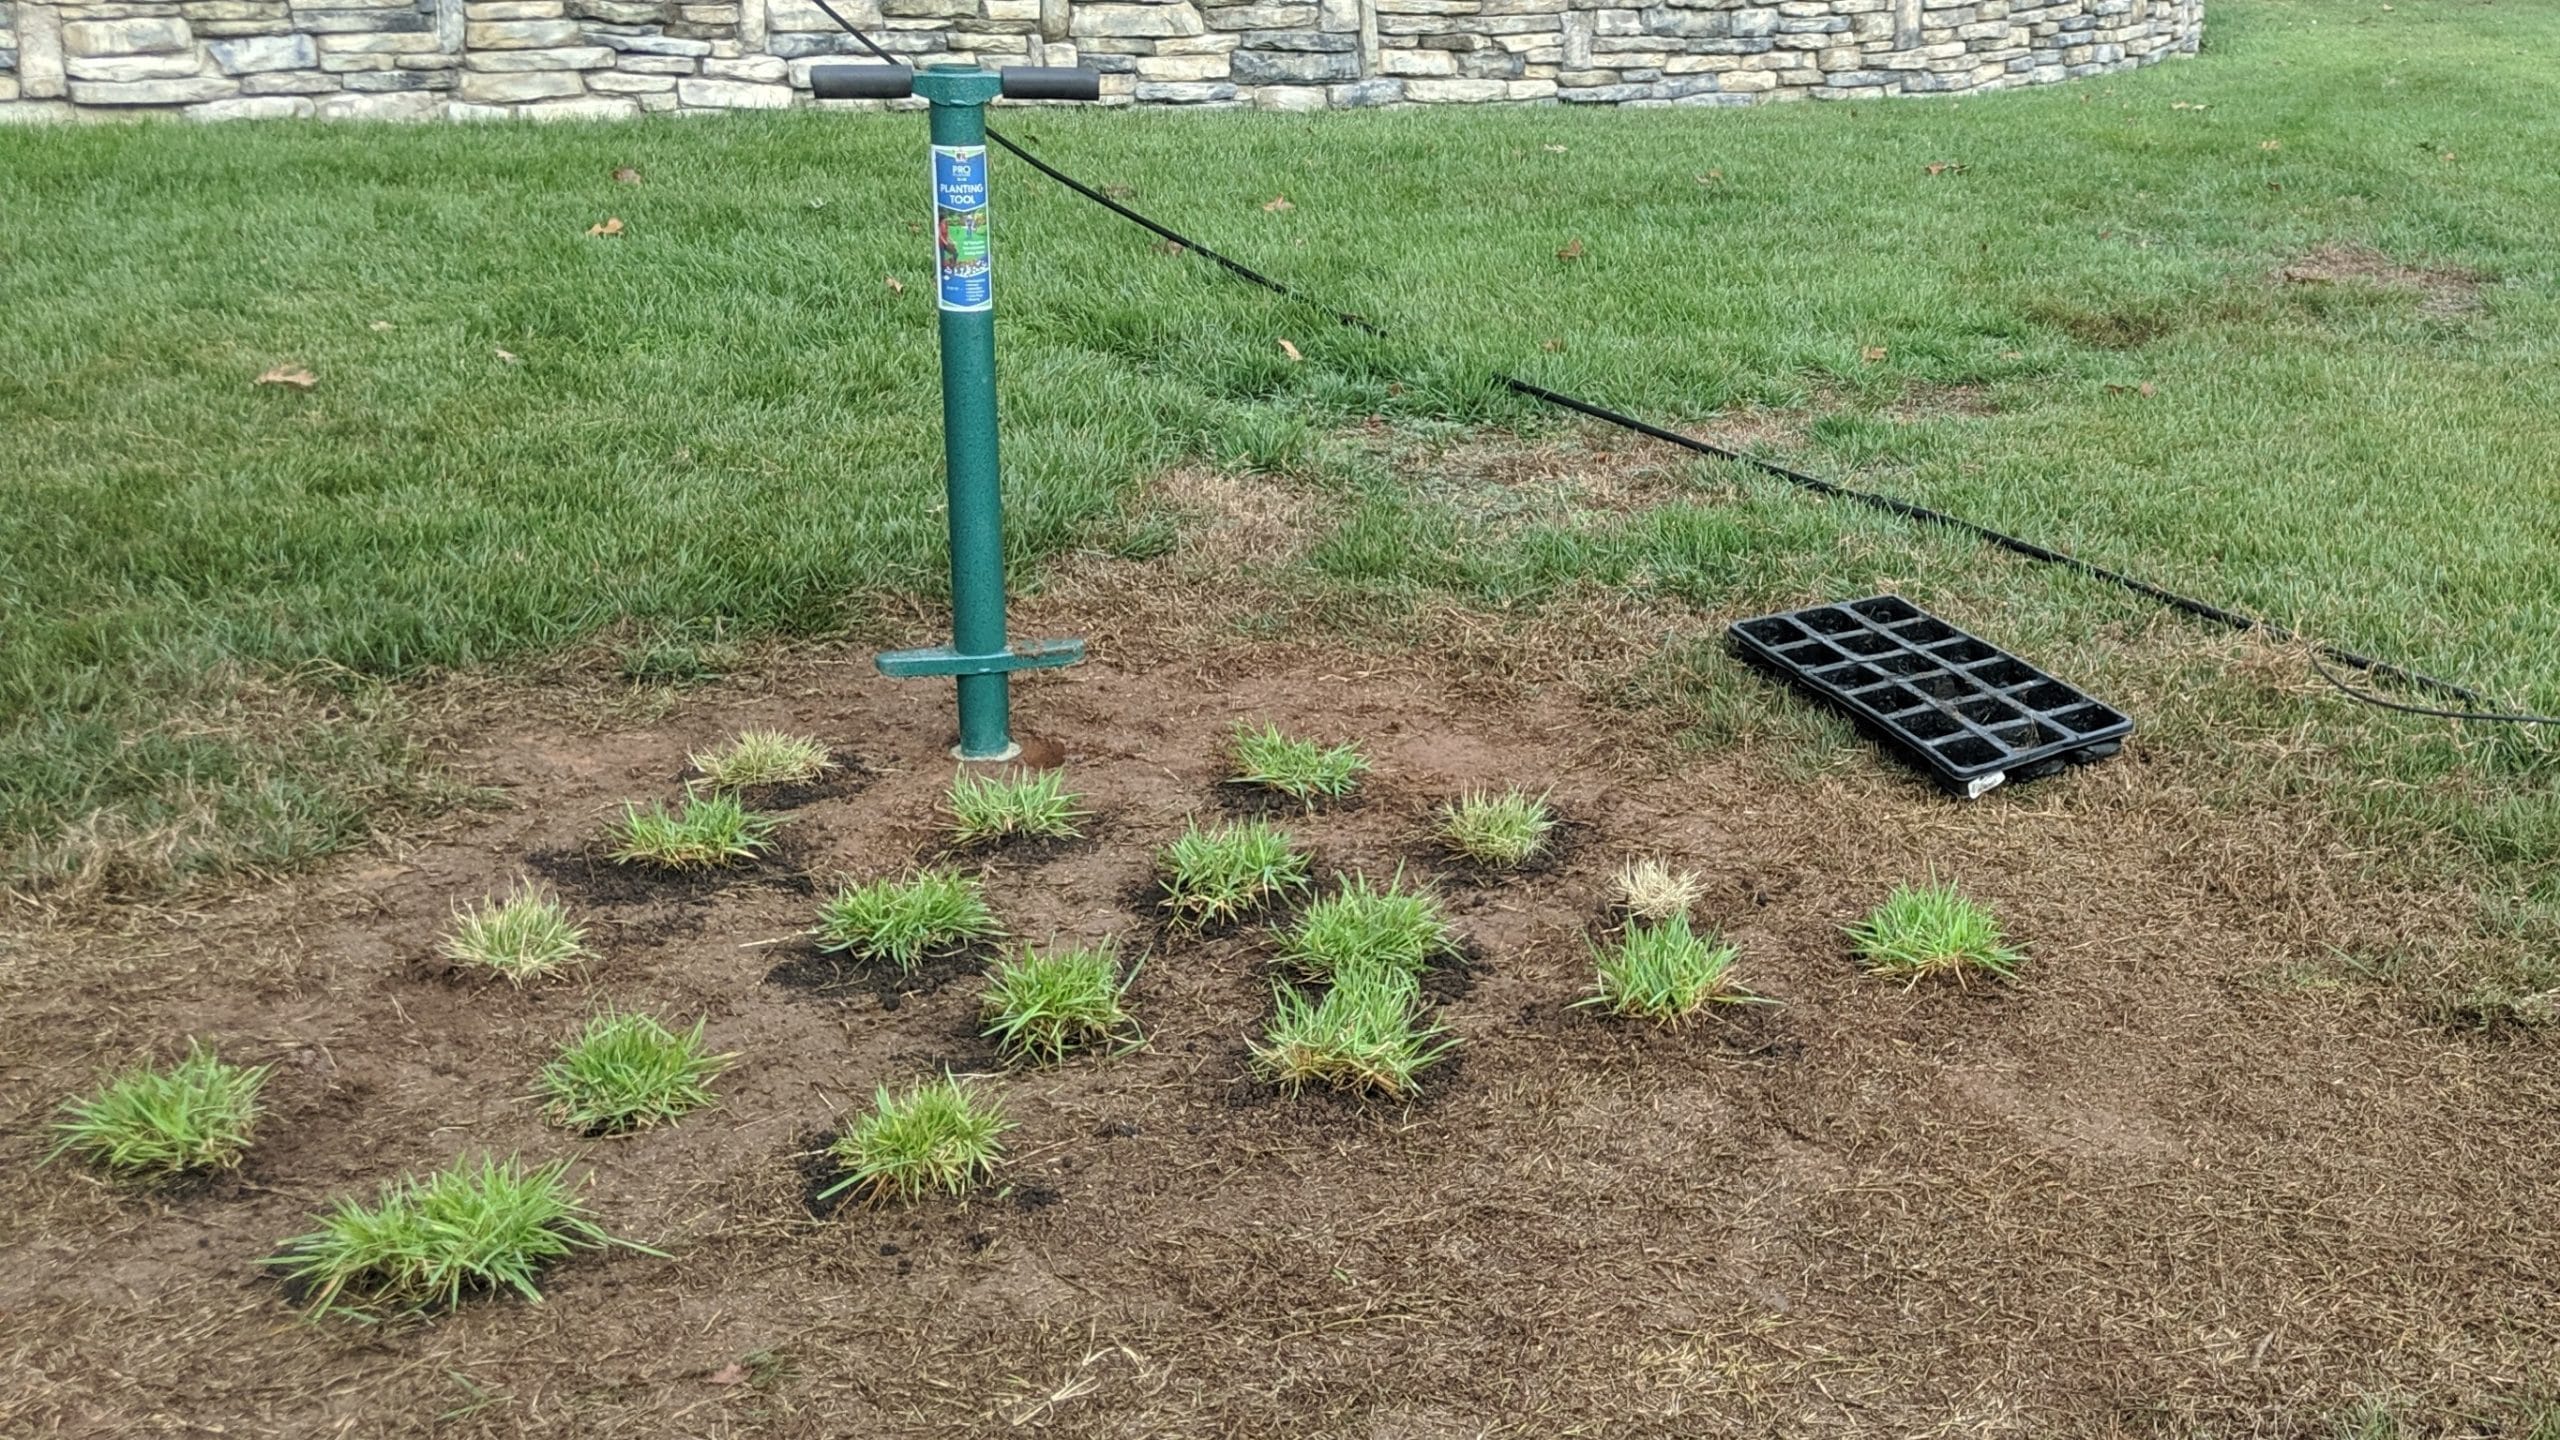
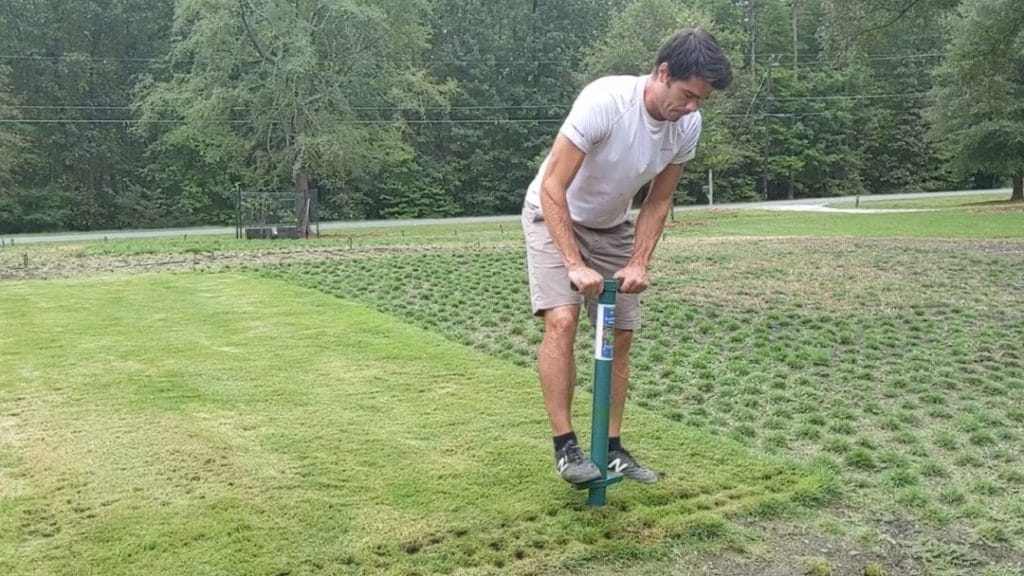
If your plugs are 2-inch or 3-inch, use a matching plug tool when possible. Twist, pull the core, and set it aside.
Important detail: loosen the bottom of each hole with your tool so the plug is not sitting on a hardpan shelf. Roots hate that.
5) Set each plug at grade
This is the most important installation detail.
- Top of plug level with surrounding soil: perfect
- Too high: it dries out and gets scalped by the mower
- Too low: it can hold water and rot, and it becomes a depression later
Drop the plug in, then firm the soil around it with your fingers or the heel of your hand. You want good soil-to-root contact, like a transplant in a garden bed.
6) Topdress lightly if needed
If you have gaps around the plug, sprinkle in a little soil to snug everything up. Keep the grass blades exposed. You are not trying to bury the plug, just eliminate air pockets.
If you have a leaf rake or the back of a garden rake handy, a light brush-in helps settle soil into the edges without smothering the crown.
7) Water immediately
Right after install, water long enough to wet the soil around the plugs a few inches deep. This first watering sets the soil and reduces transplant shock.
Watering schedule
Plugs fail for one main reason: inconsistent moisture during rooting. New plugs have limited roots, so they cannot go find water yet.
The schedule below is a starting point. Adjust for heat, wind, shade, and soil type. Sandy soil dries fast and may need more frequent cycles. Clay holds water longer and can get waterlogged if you follow a one-size plan.
Week 1 (root initiation)
- Water 2 to 4 short cycles per day to keep the top 1 to 2 inches moist.
- In hot, windy weather, you may need an extra quick cycle.
- Avoid puddling or constantly saturated soil. That is where rot and fungus problems start.
Week 2 (start stretching roots)
- Drop to 1 to 2 waterings per day, slightly longer.
- Goal: moisture moving deeper, not just surface dampness.
Weeks 3 to 4 (transition)
- Water every other day (or as needed), but water deeper.
- Start matching your normal lawn schedule once plugs resist a gentle tug.
Simple rooting test: after about 10 to 21 days, lightly pull a plug. If it holds firm, roots are anchoring. If it lifts easily, keep babying the moisture.
Fertilizer: light help, not a heavy push
Plugs spread by producing runners. Once they root, a modest feed can help them knit together.
- If you have a soil test, follow it. That is always my first pick.
- Bermuda and St. Augustine can usually handle a light application during active growth.
- Zoysia prefers moderation. Too much nitrogen can invite thatch and disease.
- Centipede is famous for liking less. Over-fertilizing can cause more problems than it solves.
If you fertilize, wait until you see signs of establishment (new green growth from the plug and some resistance when you tug). Then use a light rate and water it in well.
Mowing and traffic
Mowing
- Wait to mow the repaired area until plugs are rooted enough not to shift.
- Keep your mower height appropriate for your grass type and your usual lawn standard.
- Avoid sharp turns on the repaired zone for the first few weeks.
Foot traffic
New plugs are like freshly set pavers. They will move if they get kicked, stepped on, or played on too early. If kids or pets use the yard heavily, rope off the area or set a few temporary stakes as a visual reminder.
How long until it fills in?
Fill time depends on grass type, spacing, sunlight, soil health, and water consistency.
- Bermuda: often the fastest, especially in full sun, sometimes filling small areas in a few weeks when spaced tightly
- St. Augustine: moderate to fast with good moisture and warmth
- Centipede: moderate, steady spread when not pushed too hard
- Zoysia: slowest of the group, but worth it for the density
If you want a realistic mental model, think in terms of lateral spread. The plug itself does not expand much. The runners do the work. Your job is to keep the plug alive, rooted, and comfortable enough to run.
Troubleshooting
Plugs turning brown a few days after planting
- Most likely: not enough water, or plugs dried out before planting
- Fix: increase frequency (short cycles), water immediately after installing, keep plugs shaded and moist until they go in the ground
Plugs feel mushy or smell sour
- Most likely: overwatering, poor drainage, holes acting like little cups
- Fix: reduce watering frequency, improve drainage, make sure plugs are set at grade and not buried
Plugs are alive but not spreading
- Most likely: planted too early or late, too much shade, low fertility, compacted soil, or mowing too short
- Fix: confirm sun needs for your grass, loosen soil, consider a light feeding after rooting, raise mowing height
Weeds popping up between plugs
This is normal. Bare soil invites weeds.
- Hand-pull early weeds while they are small.
- A very light topdressing can reduce bare-soil exposure, but do not bury crowns.
- Use herbicides only if you are confident they are labeled safe for your grass type and timing. Young plugs can be more sensitive than an established lawn.
Using donor plugs from your own lawn
Harvesting your own plugs is a great budget move, as long as you do not create a new problem while fixing the old one.
- Take plugs from areas that are already dense and vigorous.
- Spread out your harvest spots so you do not leave one obvious crater.
- Backfill donor holes with soil and keep them watered. In warm-season lawns, donor areas usually recover well.
If your lawn has a named cultivar and you want a perfect match, donor plugs are often the best match you can get.
Quick checklist
- Grass type matches existing lawn
- Plugs installed during active growth
- Soil loosened and underlying problem corrected
- Plugs set exactly at grade
- Watering plan in place for the first 2 to 3 weeks
- Traffic limited until plugs resist a tug
- Patience for lateral fill, especially for zoysia
If you follow that list, plugs are one of those repairs that feels almost too straightforward. A month later, you will walk past that old bare spot and have to think for a second to remember where it even was.
FAQ
Can I plant plugs in the heat of summer?
Yes, and warm-season grasses can handle it, but the watering demand goes way up. If you cannot water reliably (even for a week), wait for a more manageable stretch of weather.
Should I add compost or topsoil before plugging?
If the area is compacted or low, yes, lightly. Keep it simple. You want a firm, well-drained base and good soil contact. Avoid creating a fluffy layer that dries out quickly.
How deep should a plug hole be?
Deep enough that the plug sits level with the surrounding soil. Hole depth usually matches plug depth. What matters most is grade and contact, not extra depth.
Do I need to cover plugs with straw?
Usually no for warm-season plugs. Straw is more common for seeding, and plugs do not need full coverage. If you use it to cut evaporation, keep it very light and make sure the crowns and blades are not smothered, especially in humid weather.
Can I use a pre-emergent after planting plugs?
Be cautious. Some pre-emergents can slow rooting or lateral spread. A practical rule is to wait until plugs are rooted and starting to run, then follow the product label for your specific grass species and timing.
When is it safe to use a post-emergent herbicide?
For spot weeds, hand-pulling is the safest early on. If you want to spray, wait until plugs are clearly established (rooted and putting out new growth) and only use a product labeled for your grass type. When in doubt, test a small area first and avoid spraying during extreme heat.