Exact mowing heights and schedules for popular cool-season and warm-season lawns, with seasonal tweaks that build deeper roots and crowd out weeds.
lawn care
How to Sharpen Your Mower Blades (And Why Dull Blades Hurt Grass)
 Mark Vance
 is a former professional landscaper and the lead turf enthusiast at Yard Mentor. With over 15 years of experience in soil health, turf management, and residential landscaping, he is dedicated to helping homeowners transform frustrating dead patches into lush, healthy lawns. When he isn't testing new grass seed blends, you can find him enjoying a Saturday morning coffee looking out over his freshly striped yard.
Updated October 17, 2026
Created October 17, 2026
Mark Vance
Mark Vance is a former professional landscaper and the lead turf enthusiast at Yard Mentor. With over 15 years of experience in soil health, turf management, and residential landscaping, he is dedicated to helping homeowners transform frustrating dead patches into lush, healthy lawns. When he isn't testing new grass seed blends, you can find him enjoying a Saturday morning coffee looking out over his freshly striped yard.
Updated October 17, 2026
Created October 17, 2026
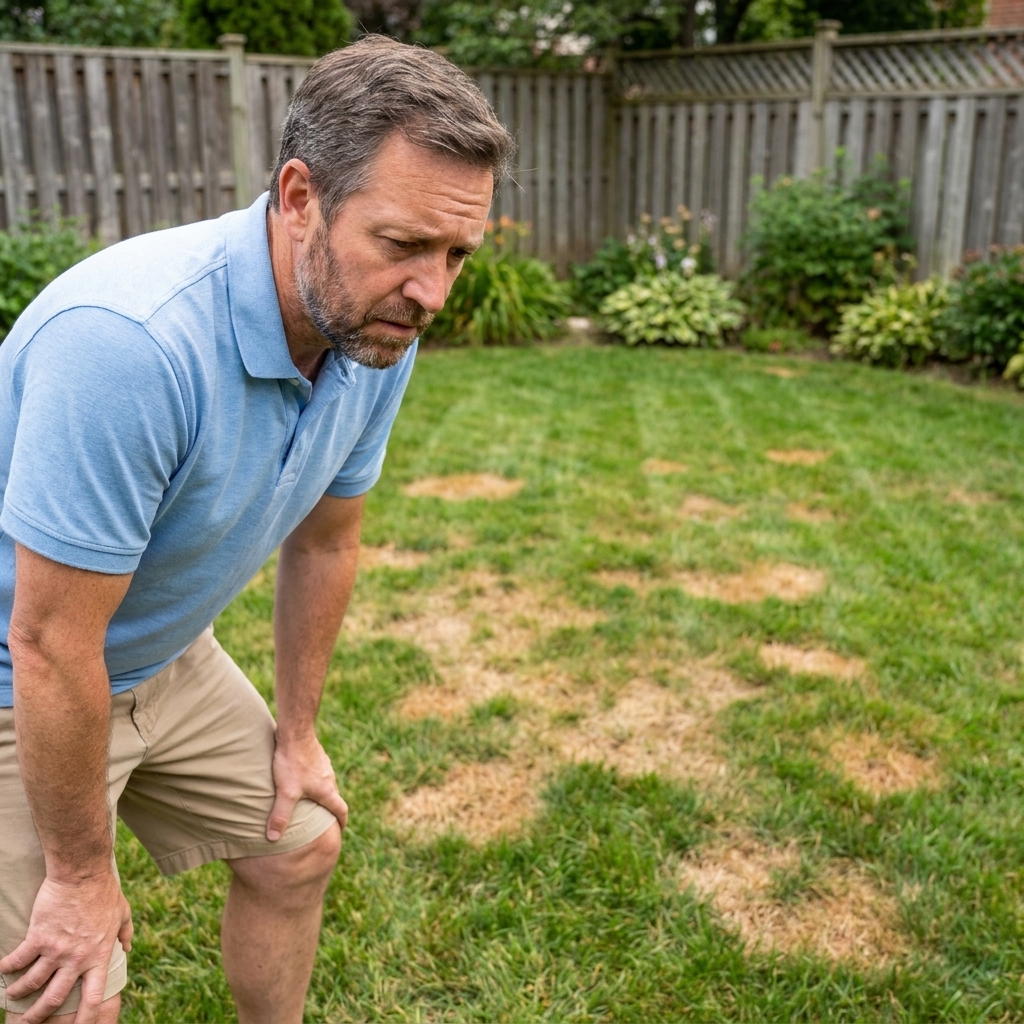
If your lawn looks a little “frayed” after mowing, you can water and fertilize perfectly and still end up with brown tips and thin patches. Often, the culprit is not your grass. It is your mower blade.
A sharp blade slices a grass plant cleanly so it heals fast. A dull blade tears the leaf like a ripped piece of paper. That torn edge loses moisture quickly, turns tan or brown (sometimes whitish), and becomes an open door for turf diseases. The good news: sharpening mower blades is one of the cheapest, most satisfying maintenance jobs you can do, and you can absolutely handle it at home.
Why dull mower blades hurt grass
A dull blade tears instead of cuts
Grass blades are living tissue. When you tear the tip, you leave a ragged edge that takes longer to seal over. That delay shows up as:
- Tan or brown tips (sometimes whitish) a day or two after mowing
- A hazy, scorched look across the lawn, especially in summer heat
- Slower recovery after mowing, which can look like thinning turf
Torn tips invite disease and stress
That shredded leaf edge is more vulnerable to fungal issues like leaf spot and red thread, particularly when your lawn is already under stress from heat, drought, or heavy foot traffic. Sharpening is not a cure-all, but it removes a major source of repeated injury.
Dull blades also waste fuel and strain your mower
A dull blade makes the mower work harder. You may notice:
- More vibration
- Clumping or uneven clipping discharge
- Extra passes needed to get a decent finish
How often to sharpen mower blades
For most homeowners, a solid guideline is every 20 to 25 mowing hours, which often works out to 2 to 4 times per season. If you mow lightly, at least plan on once per season and again anytime you hit something hard.
You may need to sharpen more often if you:
- Mow sandy soil, newly graded areas, or near construction dust
- Nick the blade on rocks, roots, edging, or sprinkler heads
- Mulch lots of leaves in fall (it dulls edges faster)
My simple rule: if you see consistent brown tips after mowing and your height and watering are reasonable, sharpen the blade before changing anything else.
Tools and supplies you will need
- Work gloves and eye protection
- Socket wrench or breaker bar (blade bolts can be tight)
- Wood block or blade holder to keep the blade from spinning
- Wire brush or stiff brush for cleaning
- File (10 to 12 inch mill bastard file) or an angle grinder with a flap disc
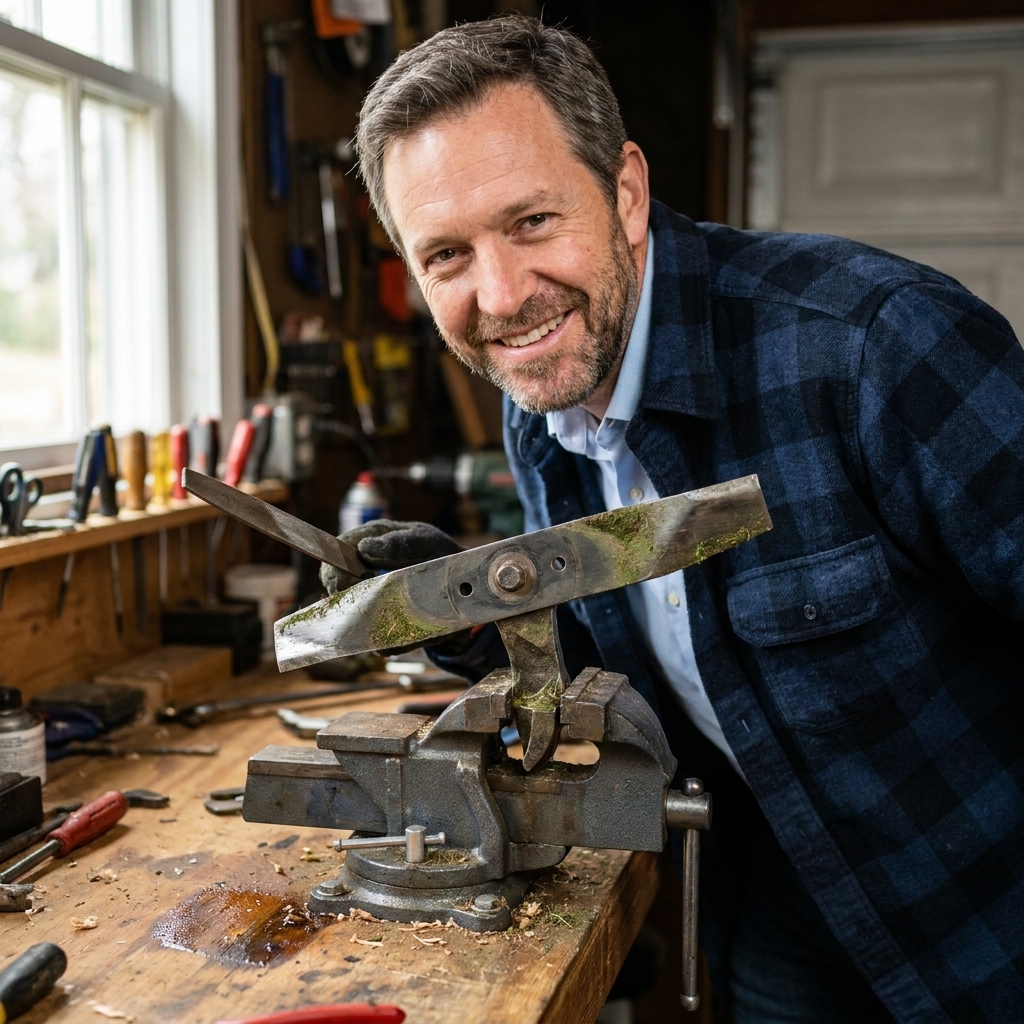
- Bench vise (helpful, not required but strongly recommended)
- Blade balancer (cheap and worth it) or a nail in the wall as a backup method
- Torque wrench if you have one
- Penetrating oil (optional, for stubborn bolts)
Safety: power down the mower
Before you touch the underside of any mower, take 60 seconds to make it impossible for the engine to start.
For gas mowers
- Disconnect the spark plug wire and tuck it away from the plug.
- If you will tip the mower, close the fuel shutoff (if equipped) or run the tank low.
For battery electric mowers
- Remove the battery.
- Remove the safety key if your model has one.
For riding mowers and zero turns
- Remove the key.
- Disconnect the spark plug wires or battery per your manual.
- Engage the parking brake.
- If you are working under a raised deck or lifted machine, support it with jack stands or solid blocking. Never rely on a jack alone.
Tipping tip: Check your manual first, since designs vary. For many walk-behind mowers, tipping with the air filter and carburetor facing up helps reduce the chance of oil or gas leaking into places it should not be.
How to sharpen mower blades
This guide is for the common rotary mower blade found on most walk-behind mowers and mower decks. Reel mowers and some specialty blades use different sharpening methods.
1) Remove the blade
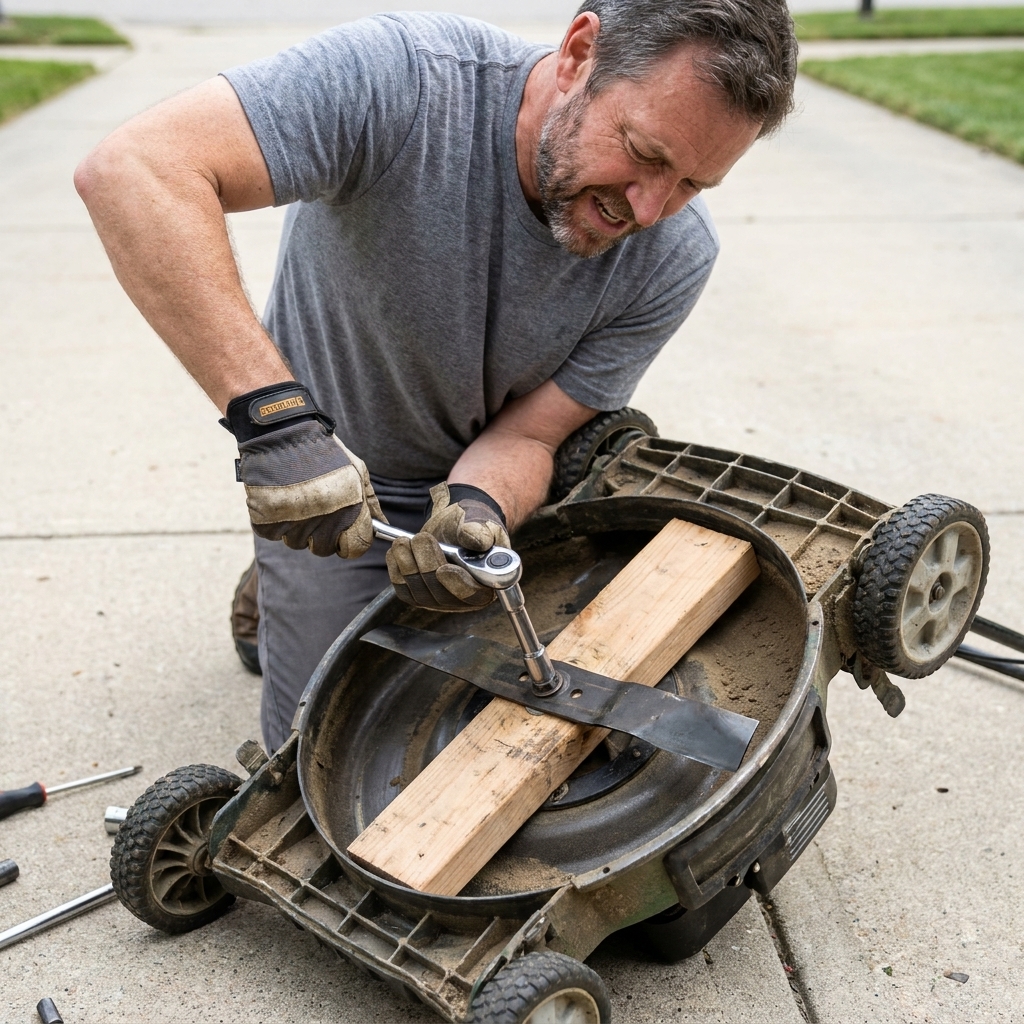
Tip the mower safely, then block the blade with a chunk of wood so it cannot spin. Remove the bolt holding the blade on. If it is stubborn, a shot of penetrating oil and a longer breaker bar can help.
One important catch: some models use a reverse-thread (left-hand) blade bolt. If the bolt will not loosen in the expected direction, stop and check your manual.
Mark the blade orientation before removal. A quick photo with your phone is perfect. Installing a blade upside down is more common than you would think, and it leads to poor cut quality.
2) Clean the blade
Scrape and brush off stuck grass and rust so you can see what you are working with. If the blade is heavily caked, that buildup alone can cause vibration.
While you clean, inspect for:
- Cracks (replace the blade, do not sharpen)
- Severe bends (replace)
- Big chunks missing from hitting rocks (replace)
3) Clamp the blade and match the bevel
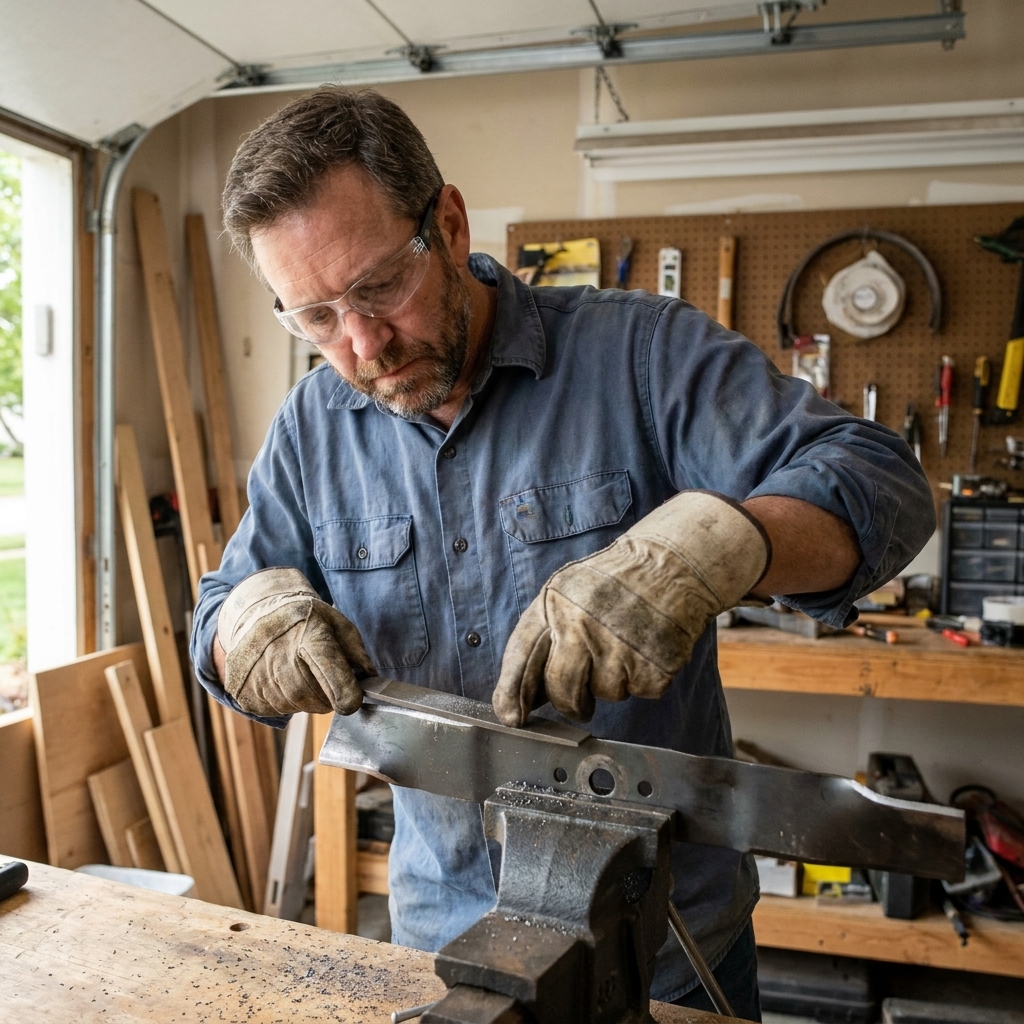
Clamp the blade in a vise with the cutting edge facing up. Your goal is to sharpen the existing beveled edge, not create a new angle.
Many rotary mower blades are ground somewhere around 30 to 40 degrees, but it varies by manufacturer and blade style (mulching, high-lift, medium-lift). The best approach is simple: match the factory bevel that is already there.
4) Sharpen with a file (best for beginners)
A file is slower than a grinder, but it is forgiving and safer for most homeowners.
- Push the file across the cutting edge in one direction, following the bevel.
- Use steady strokes and even pressure.
- Stop when the edge is clean and consistent.
What “sharp enough” looks like: You want a crisp edge, but not razor-thin. A mower blade should feel sharp to the touch, like a good butter knife.
Easy visual check: look for a consistent edge with no big shiny flat spots. If you feel a burr after filing, make one or two very light passes to knock it down.
5) Sharpen with an angle grinder (fast, use a light touch)
If you are comfortable with a grinder, it is quick work. Use a flap disc and make light passes, staying on the bevel. Try not to overheat the metal. If you see the edge turning blue, you may have overheated the steel, which can reduce hardness and make it dull faster.
A good habit is to grind for a second or two, pause, and repeat. Let the tool do the work.

6) Balance the blade (do not skip this)
An unbalanced blade causes vibration that can chew up spindle bearings, shake bolts loose, and leave an uneven cut.
- Hang the blade on a blade balancer cone.
- If one side drops, that side is heavier.
- Remove a small amount of metal from the heavy side and recheck.
No balancer? You can hang the blade on a nail through the center hole, but a dedicated balancer is more reliable and costs about as much as a fast-food lunch.

7) Reinstall the blade correctly
Reinstall the blade in the same orientation it came off. On most mowers, the “lift” wings and the cutting edge should face up toward the deck. Tighten the bolt securely.
If you have the spec for your mower, use a torque wrench. If you do not, tighten firmly with a standard wrench, but do not go so hard that you strip threads or make future removal miserable.
Reconnect the spark plug wire or reinstall the battery only after the blade is mounted and your tools are clear.
Common sharpening mistakes
- Sharpening only one side on a standard rotary blade. Most have two cutting ends.
- Changing the bevel angle drastically. Match the existing grind.
- Grinding the edge paper-thin. It will dull faster and chip easier.
- Skipping balance. Vibration is not “normal”.
- Sharpening a damaged blade with cracks or big chips. Replace it.
- Installing the blade upside down. Take a photo before removal.
Signs your blade needs sharpening
- Grass tips look shredded rather than cleanly sliced
- The lawn looks tan within 24 to 48 hours of mowing
- Your mower vibrates or sounds rougher than usual
- You see uneven height even though your deck is level
- Clippings clump more than they used to (assuming grass is dry)
When to replace instead of sharpen
Sharpening is maintenance. Replacing is safety. Swap the blade out if you notice:
- Any crack, even a small one
- A bend you cannot confidently correct
- Large chunks missing from impact damage
- Extreme thinning from repeated sharpening over the years
Blades are relatively inexpensive compared to spindles, engines, or a trip to urgent care.
Quick FAQ
Should mower blades be razor sharp?
No. A razor edge dulls quickly and is more likely to nick and roll. Aim for a clean, crisp edge that feels sharp but not fragile.
Can I sharpen the blade without removing it?
I do not recommend it. You cannot balance it properly, and it is harder to sharpen evenly and safely under the deck.
Is a file good enough?
Absolutely. A file does a great job for routine sharpening, and it is easier to control than a grinder if you are new to this.
What if I hit a rock and the blade has a big nick?
If it is a small nick, you can often grind it out and then balance the blade. If the damage is deep or the blade is cracked, replace it.
The payoff: cleaner cuts, greener turf
When your blade is sharp, the lawn usually looks better immediately, and it stays healthier through summer stress. If you are chasing brown tips, uneven color, or that “beat up” look after mowing, sharpening is one of the fastest wins you can give your grass.
If you want one simple weekend routine: sharpen the blade, level the deck, and stick to a consistent mowing height. Your lawn will notice.