A homeowner-friendly, step-by-step guide to diagnosing brown lawn patches, repairing dead spots with seed, sod, or plugs, and preventing them from coming back.
lawn care
Lawn Patch Mixes vs. DIY Seed and Dirt
 Mark Vance
 is a former professional landscaper and the lead turf enthusiast at Yard Mentor. With over 15 years of experience in soil health, turf management, and residential landscaping, he is dedicated to helping homeowners transform frustrating dead patches into lush, healthy lawns. When he isn't testing new grass seed blends, you can find him enjoying a Saturday morning coffee looking out over his freshly striped yard.
Updated October 17, 2026
Created October 17, 2026
Mark Vance
Mark Vance is a former professional landscaper and the lead turf enthusiast at Yard Mentor. With over 15 years of experience in soil health, turf management, and residential landscaping, he is dedicated to helping homeowners transform frustrating dead patches into lush, healthy lawns. When he isn't testing new grass seed blends, you can find him enjoying a Saturday morning coffee looking out over his freshly striped yard.
Updated October 17, 2026
Created October 17, 2026
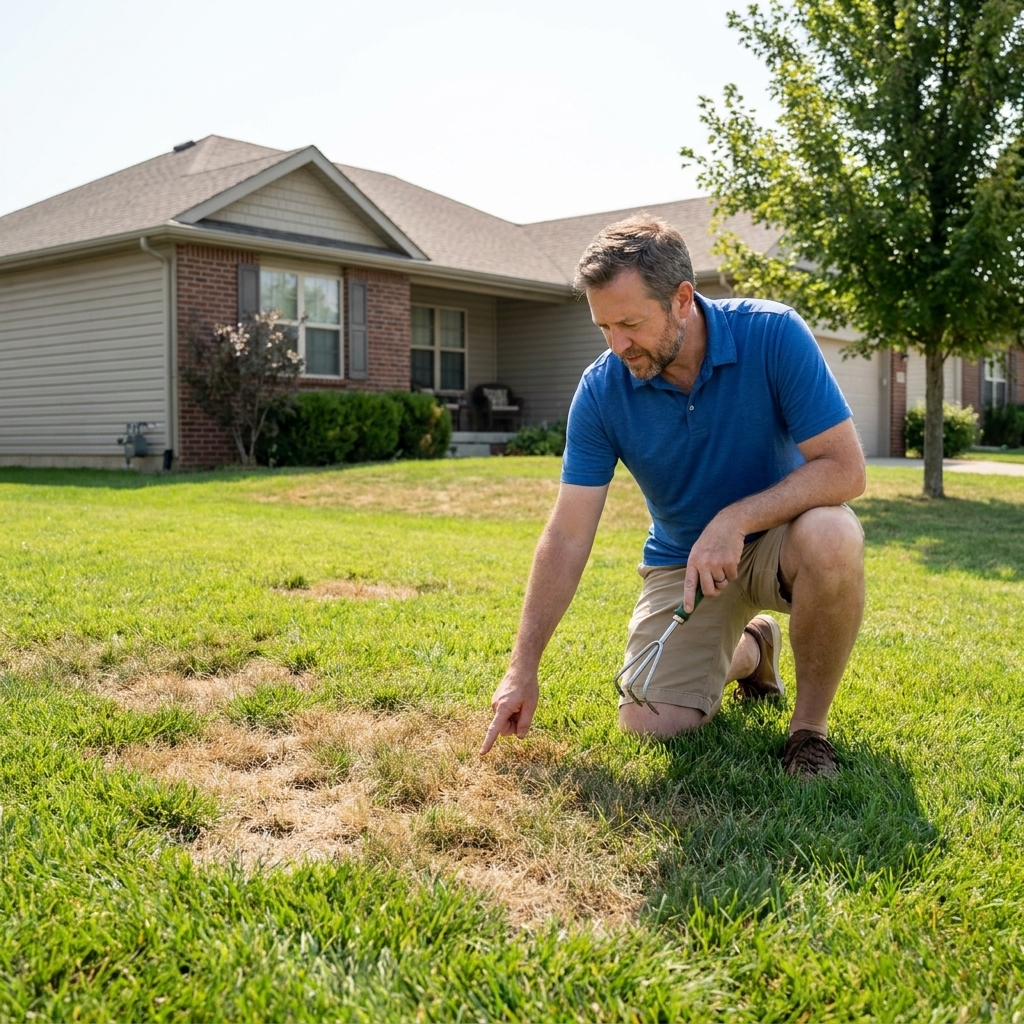
If you have ever stood in the aisle staring at the “fills in fast” patch products while your yard stares back with a dead spot the size of a pizza box, you are not alone. I have used the commercial lawn patch mixes and I have mixed my own seed, starter fertilizer, and peat moss more times than I can count. Both can work. The difference is why the spot went bare, how big it is, and whether you are willing to do a little prep.
This guide breaks down what is inside the bag, what actually drives successful germination, and which approach I reach for depending on the situation.
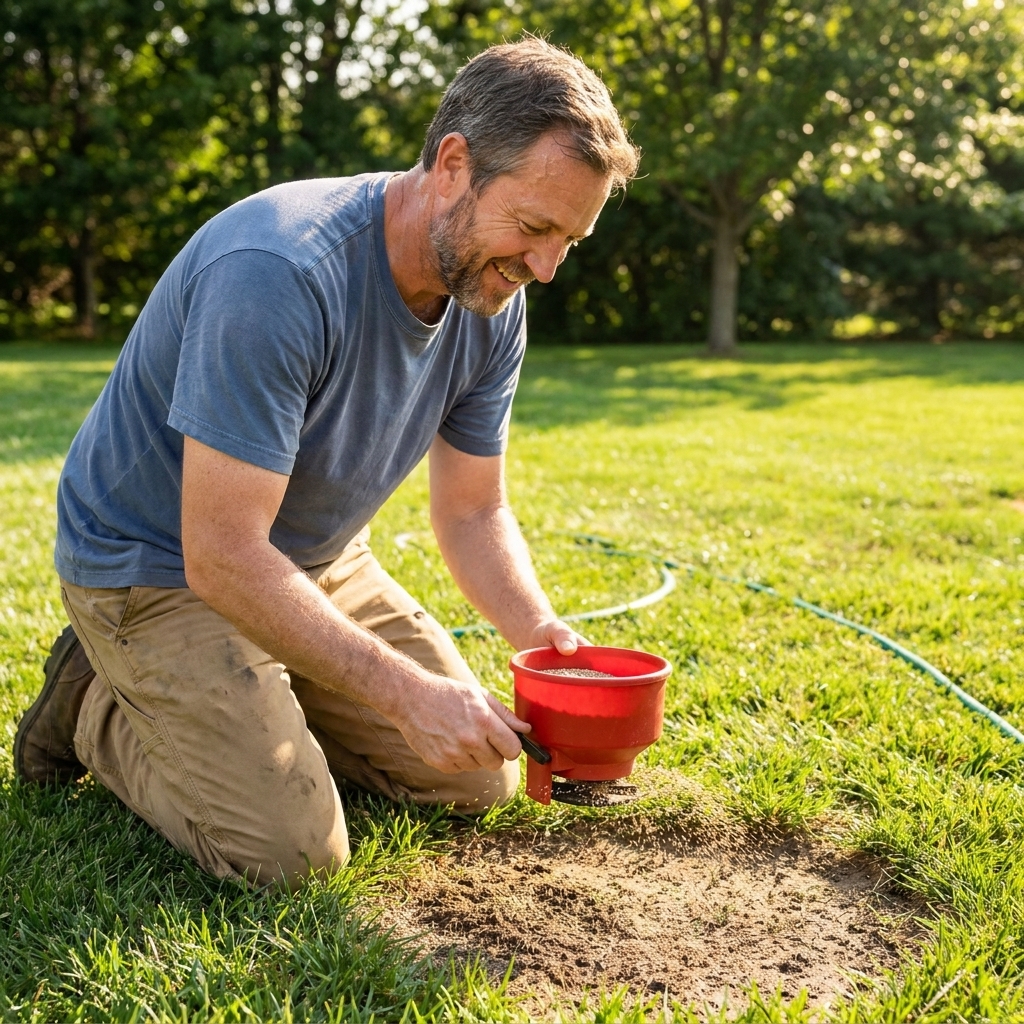
What patch mix products are
Commercial all-in-one patch products are usually some combination of:
- Grass seed (often coated, sometimes a blend)
- Mulch or fiber meant to hold moisture
- Tackifier (a binder so it clumps and resists washout)
- Fertilizer (typically starter-type nutrients)
- Sometimes a soil amendment like composted material
The value proposition is convenience. You shake it out, keep it watered, and the mulch layer is supposed to protect the seed while it sprouts.
Where patch mixes shine
- Small repairs where you do not want to haul materials
- Quick touch-ups right before guests, photos, or a home showing
- Slopes and runoff zones where the tackifier helps keep seed from migrating
- Busy homeowners who will realistically do “good enough” prep and consistent watering
What DIY seed and soil should mean
When people say DIY seed and dirt, the “dirt” part is where things go wrong. Dumping random topsoil over a bare spot and tossing seed on top can work, but it is not the most reliable way to get thick fill-in.
A better DIY patch is really three parts: the right seed, a good seedbed, and a thin topdressing layer that holds moisture without smothering anything.
A better DIY patch recipe is:
- Quality grass seed matched to your lawn type and sun conditions
- Starter fertilizer used lightly (or none if you are already fertilizing soon)
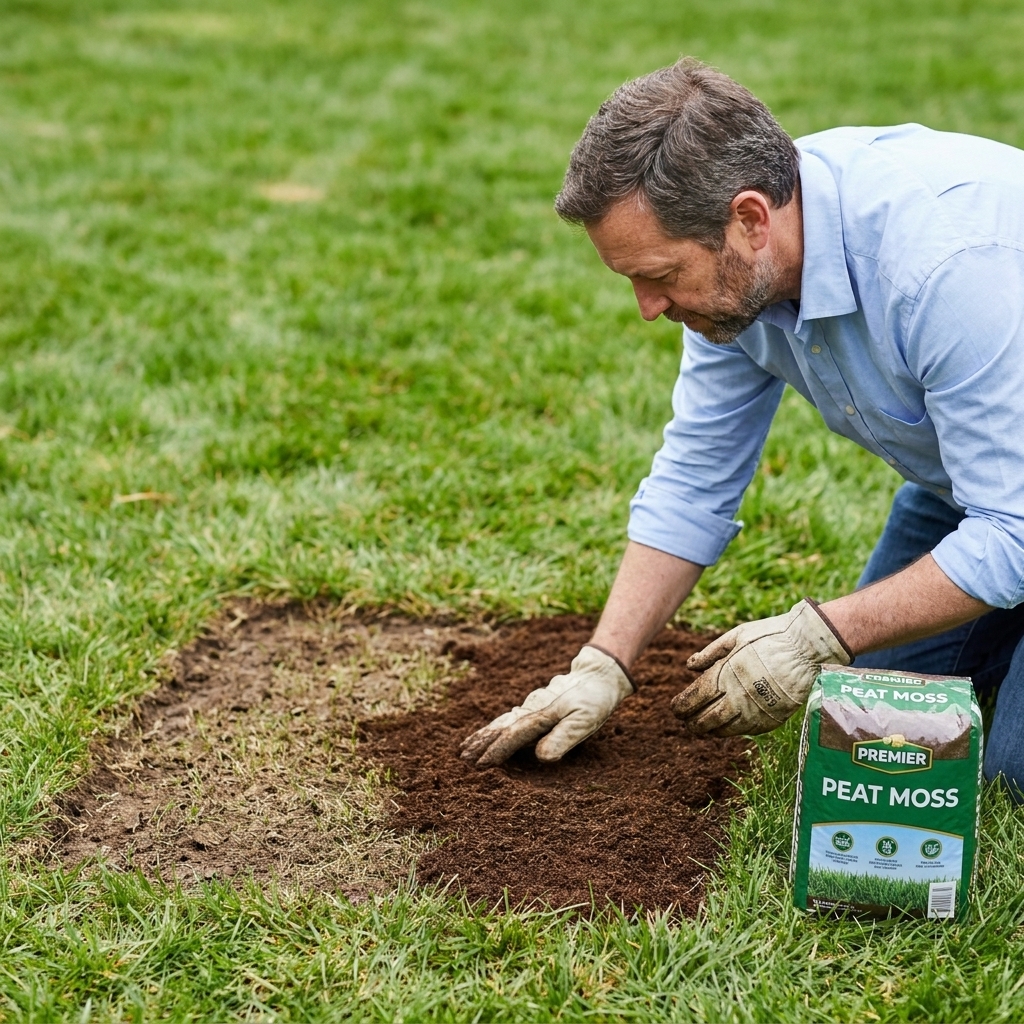
- Peat moss, coconut coir, or fine screened compost as a thin moisture-holding cover
- Good soil contact from raking and pressing the seed in
DIY wins because you control the seed quality and the soil layer. It is also usually far cheaper per square foot.
The deciding factors
No product can overcome these common patch killers. If you address them first, both patch mixes and DIY blends perform dramatically better.
1) Poor seed to soil contact
Seed that sits on fluff or thatch dries out fast and gets eaten by birds. The fix is simple: scratch up the surface with a metal rake and press the seed into the soil. I like to “heel it in” by gently stepping across the area after seeding.
2) Wrong grass type for the site
Many patch mixes use a one-size-fits-most blend. If your lawn is mostly tall fescue and your patch kit is heavy on perennial ryegrass, you may get a bright green patch that looks like a sticker for months. DIY lets you match what you already have.
3) Watering that is inconsistent
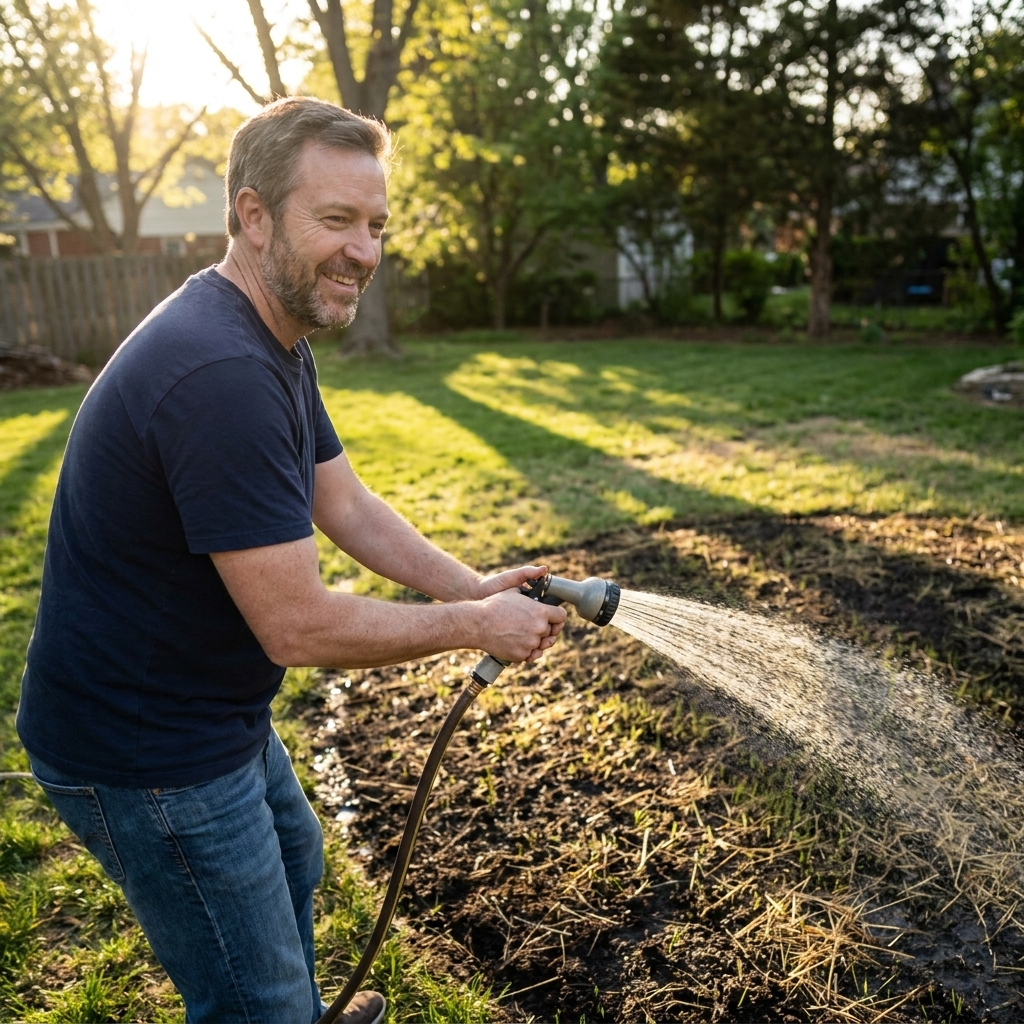
New seed needs a consistently damp surface during germination. If it dries out mid-germination, it can stall or die. Patch kits are a little more forgiving because the mulch holds moisture, but they are not magic. Plan for frequent light waterings until sprouts are established.
If you want a simple guideline: water just enough to keep the top layer from drying out. In mild weather that might be once or twice a day. In heat, sun, or wind it can take two or three short waterings a day.
4) Compaction, shade, pet urine, or grubs
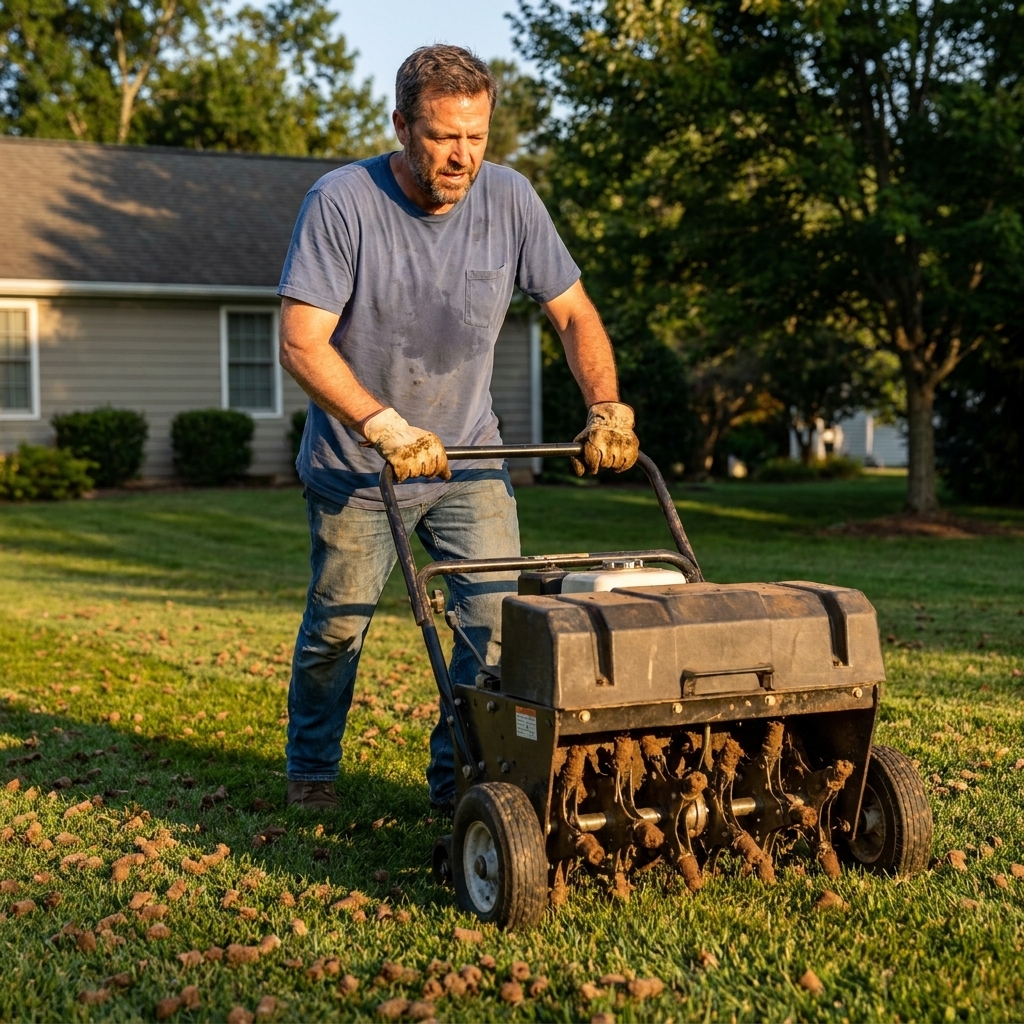
If the area died from traffic compaction, deep shade, dog spots, or insects, the “right” patch method is the one that fixes the cause. Otherwise you are just reseeding the same failure.
Patch mix vs DIY
Ease of use
Patch mix wins. It is fast, tidy, and forgiving if you are new to lawn repair. For a couple of spots, the convenience is real.
Cost per square foot
DIY wins. Patch products are expensive because you are paying for filler materials and packaging. If you are repairing more than a few small areas, a bag of seed plus a bale of topdressing goes much further.
Seed quality and what you are planting
DIY usually wins. With DIY, you can buy a cultivar blend that matches your region and your lawn (sun, shade, drought tolerance). With patch kits, the seed can be fine, but you have less control, and sometimes you pay for a lot of coating and mulch compared to pure seed.
Germination consistency
Tie, with a slight edge to DIY when prep is good. Patch mixes hold moisture well, but DIY can be extremely consistent if you rake, press, and cover lightly. The biggest driver is watering discipline, not the bag.
Washout resistance
Patch mix wins on slopes or where sprinklers hit hard. Tackifier and mulch help keep things in place. DIY can match it if you topdress correctly, but it takes a bit more care.
Appearance match
DIY wins because you can match your existing turf type and color better. If you do use a patch mix, expect the repaired area to look slightly different until it matures and you mow it several times.
Season matters
You can do everything right and still struggle if you seed at the wrong time.
- Cool-season lawns (like tall fescue, Kentucky bluegrass, perennial ryegrass): patching is easiest in early fall, with spring as a second-best option.
- Warm-season lawns (like bermuda, zoysia, centipede, St. Augustine): patching is easiest in late spring through summer when the grass is actively growing.
If you are trying to patch in the peak of summer heat or right before winter, convenience products do not save you. Timing is still the boss.
My rule of thumb
Use a commercial patch mix when:
- The bare spot is under 10 square feet and you want the simplest approach
- You have mild slope or water tends to move seed around
- You are patching multiple tiny dog digs or divots and want one grab-and-go product
- You are okay with a possible color mismatch until the grass blends in
Use DIY seed + starter fertilizer + topdressing when:
- You are repairing larger areas (10 to 200+ square feet)
- You care about matching the lawn closely
- You want the best value per square foot
- You are already doing overseeding and want to buy the same seed for patches
If you are repairing a truly bare area larger than a small rug
Neither approach works well if you skip grading and soil improvement. For anything bigger than a few square yards, I treat it like a mini renovation: loosen the top 1 to 2 inches, add a thin layer of screened compost if soil is poor, then seed and cover.
How to get the best results with a patch mix
If you go commercial, you can still improve your odds a lot with 10 minutes of prep.
- Rake out debris and dead grass. You want exposed soil, not thatch.
- Loosen the top inch. A stiff rake is usually enough.
- Apply patch mix evenly. Do not create a thick mound or bury it deeply. Seed needs good soil contact and consistent moisture, and a light cover is plenty.
- Press it in. Lightly step across the area so the seed settles against soil.
- Water lightly and frequently. Keep the surface damp until you see sprouts, then start watering a bit deeper but less often.
- Keep traffic off the patch. Give it time to root before kids, pets, or mower turns cut across it.
- Mow high once it reaches mowing height. First mow is a big milestone. Keep the blade sharp and do not scalp it.
How to build a DIY patch
This is my go-to method when I want the repair to disappear into the rest of the lawn.
DIY patch recipe (small spot)
- Seed: use the same type as the lawn (for many Midwest lawns, that is often tall fescue or a bluegrass blend)
- Starter fertilizer: optional but helpful, applied lightly per label
- Topdressing: peat moss, coconut coir, or fine screened compost
Steps
- Fix the cause. If it is a dog spot, flush with water and consider training a pee zone. If it is compaction, plan to aerate nearby.
- Rake and loosen. Create a crumbly surface 1 inch deep.
- Seed at the right rate. Heavier than overseeding, lighter than “pile it on.” Too much seed can create weak, crowded seedlings.
- Press the seed in. The goal is contact, not burial.
- Dust with topdressing. You should still see some seed through the cover. Thick layers can smother sprouts.
- Water for germination. Light and frequent until sprouting, then gradually transition to deeper watering.
- Protect the area. Keep foot traffic and pets off until the new grass can take a gentle tug without lifting.
Pro neighbor tip: If birds are a problem, a very light straw cover can help, but keep it thin so it does not block sunlight. For slopes, an erosion control blanket can be a great DIY alternative to tackifier. For tiny spots, even a piece of burlap laid loosely on top for a few days (and kept damp) can protect seed. Just remove it as soon as you see germination.
One quick peat note: Peat moss is consistent and effective for moisture control, but some homeowners prefer compost or coconut coir for sustainability reasons. Use what fits your priorities and your watering habits.
Common questions
Do patch products work without loosening the soil?
Sometimes, but it is a gamble. Seed needs contact with soil and steady moisture. If the area is hard-packed or thatchy, you can spread the best patch product on the planet and still get thin results.
Will patch mix grow over dead grass?
Not reliably. Pull or rake out the dead stuff first. New seedlings need space and moisture, and dead material can act like a sponge that dries out faster than soil underneath.
Is topsoil okay instead of peat moss?
It can be, but topsoil varies wildly. Some bags are mostly fines and can crust over after watering, which is rough on seedlings. Fine screened compost or coconut coir are more consistent. If you do use topsoil, keep it thin and avoid burying the seed.
Should I add fertilizer when patching?
If you are patching during a normal fertilizing window, a starter fertilizer applied lightly helps seedlings establish roots. Just do not overdo nitrogen, especially in heat. Too much fertilizer can stress new grass and feed disease.
How long until the patch blends in?
It depends on temperature, moisture, and grass type. Some grasses pop quickly, others test your patience. As a rough expectation, you can see decent fill-in in 4 to 8 weeks in good conditions. Kentucky bluegrass often takes longer to germinate and mature, so it can look slow even when it is doing fine.
The bottom line
Commercial patch mixes are convenient and can be very effective on small spots, especially where washout is a concern. DIY seed plus starter fertilizer and a light topdressing is the better long-term play for larger areas, better matching, and lower cost.
If you want my simplest advice as your lawn-obsessed neighbor: pick the method you will actually water correctly. Prep the soil, press the seed in, keep it consistently damp, and your patch is far more likely to turn into turf instead of another frustrating do-over.