A simple, homeowner-friendly guide to testing lawn soil pH and adjusting it with lime or sulfur for healthier turf and better fertilizer results.
lawn care
How to Test Your Lawn Soil at Home
 Mark Vance
 is a former professional landscaper and the lead turf enthusiast at Yard Mentor. With over 15 years of experience in soil health, turf management, and residential landscaping, he is dedicated to helping homeowners transform frustrating dead patches into lush, healthy lawns. When he isn't testing new grass seed blends, you can find him enjoying a Saturday morning coffee looking out over his freshly striped yard.
Updated October 17, 2026
Created October 17, 2026
Mark Vance
Mark Vance is a former professional landscaper and the lead turf enthusiast at Yard Mentor. With over 15 years of experience in soil health, turf management, and residential landscaping, he is dedicated to helping homeowners transform frustrating dead patches into lush, healthy lawns. When he isn't testing new grass seed blends, you can find him enjoying a Saturday morning coffee looking out over his freshly striped yard.
Updated October 17, 2026
Created October 17, 2026
If you have a lawn that looks like it should be healthy, but it keeps thinning out, going yellow, or growing weeds like it’s their job, I almost always start with the same question: what does your soil say?
Soil testing sounds like something you need a lab coat for. You do not. With a few basic tools and 20 minutes, you can pull a solid sample, run a simple test, and finally stop guessing at fertilizer and lime.
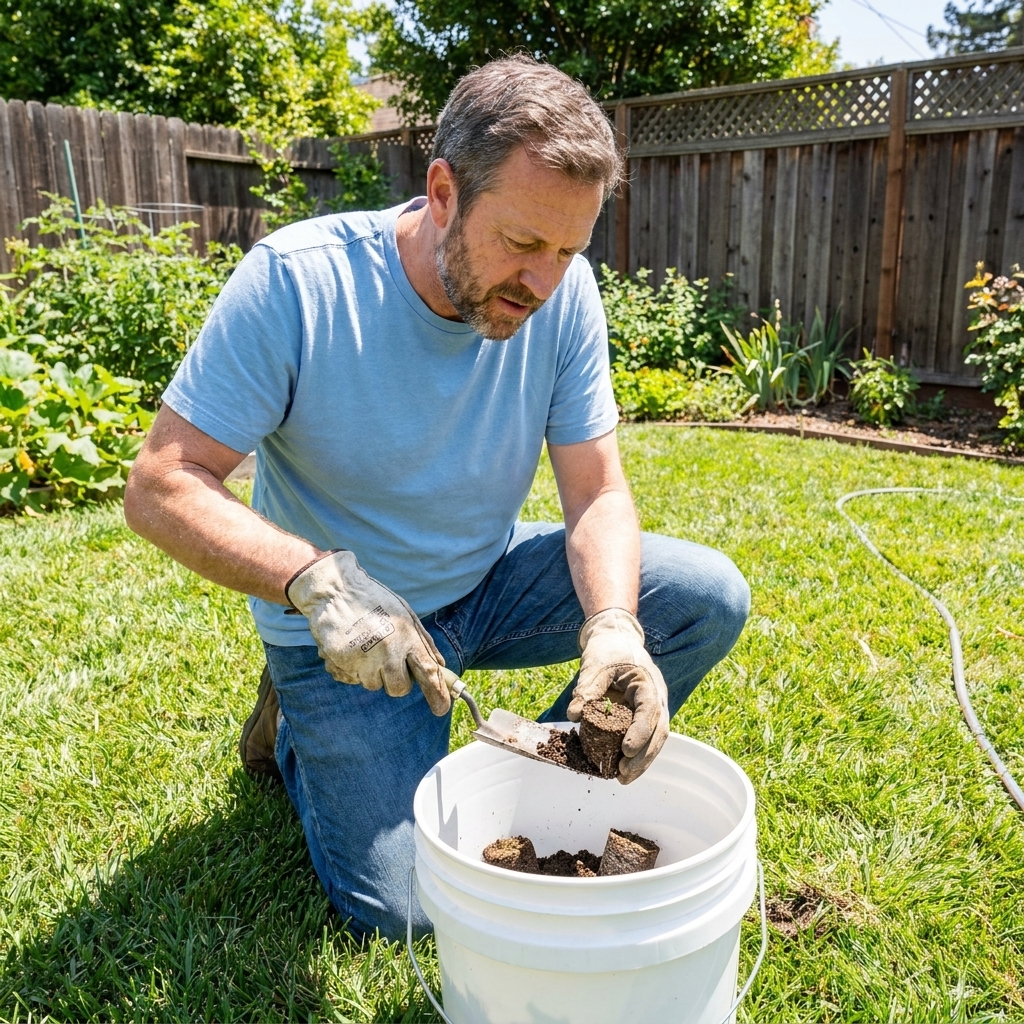
What a soil test tells you
A soil test is your lawn’s report card for chemistry. It helps you answer:
- pH: How acidic or alkaline your soil is, which controls how easily grass can use nutrients.
- P and K (and sometimes more): Phosphorus (P) and potassium (K), plus other nutrients depending on the lab.
- Often included with lab tests: organic matter, cation exchange capacity (CEC), soil texture, calcium, magnesium, sulfur, sodium, micronutrients, and buffer pH (used to calculate lime needs).
What a soil test does not do is diagnose everything. Compaction, shade, irrigation coverage, mower issues, disease, grubs, and pet spots can still be the real culprit even if your chemistry looks fine. Think of soil testing as the smartest first step, not the only step.
When to test your lawn soil
For most homeowners, testing once every 2 to 3 years is plenty. Test more often if you are actively correcting a big pH issue or renovating the lawn.
Best times to sample:
- Early spring before heavy fertilizing
- Early fall before overseeding and fall feeding
Try to avoid sampling right after you fertilize, apply lime, or topdress compost. Give it at least 4 to 6 weeks so the test reflects your baseline soil, not a fresh application. If you applied lime, waiting longer is often better, so follow your lab or local extension guidance.
How to take a soil sample
Most inaccurate soil tests are not a lab problem. They are a sampling problem. Here is my method from years of diagnosing lawns for clients.
What you need
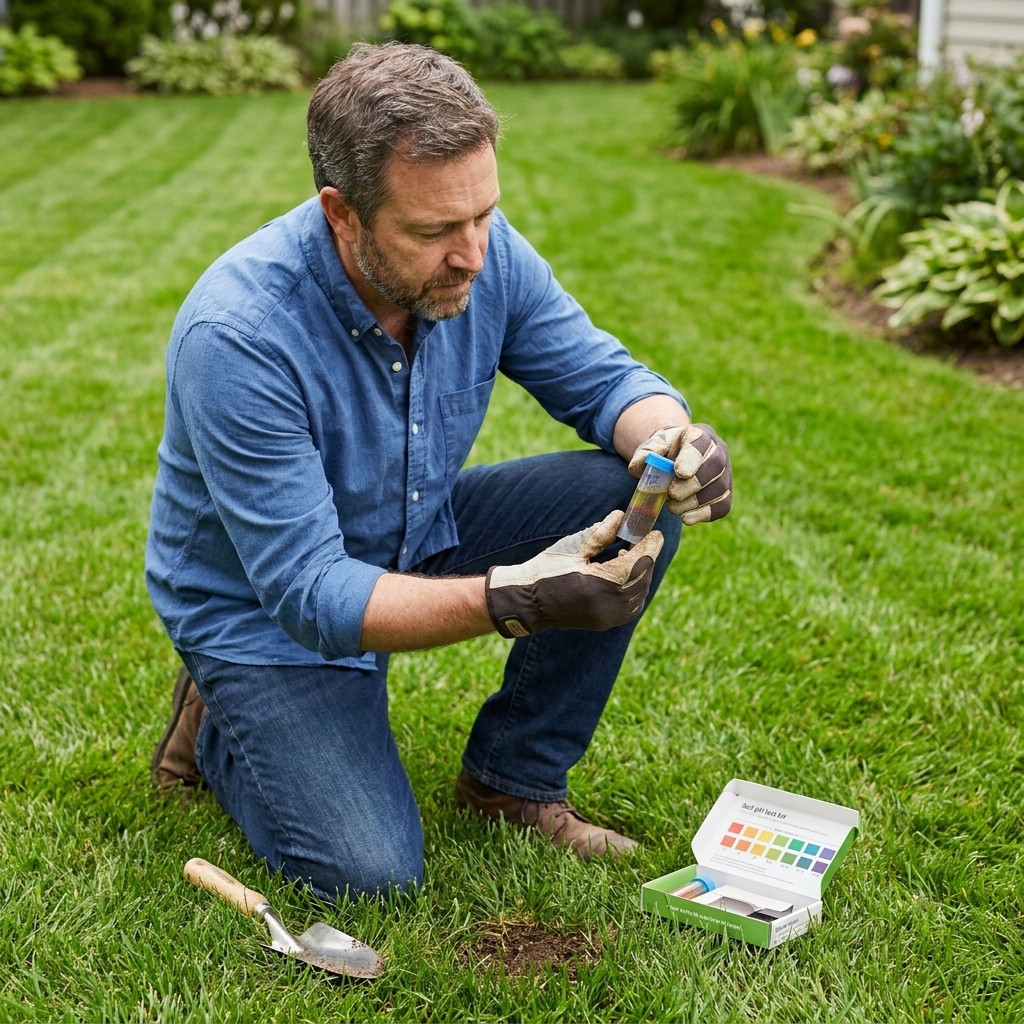
- Clean plastic bucket (or a very clean container)
- Hand trowel or soil probe
- Zip-top bag or the soil test kit container
- Marker for labeling
- Gloves (optional, but nice)
Note on buckets: If you are doing a lab test that includes micronutrients, avoid rusty or galvanized metal containers. A clean plastic bucket is the safest, easiest option.
Step-by-step sampling
- Pick the right areas. For a typical front yard or backyard, pull a combined sample from that area. If the front and back behave differently (shade, irrigation, slope), treat them as separate samples.
- Skip weird spots. Avoid pet urine spots, compost piles, burn piles, edges where you dump fertilizer, or places you recently amended.
- Collect 10 to 15 subsamples. Walk a loose zig-zag pattern and take small slices or cores from each spot. More subsamples equals a more representative result.
- Go to the proper depth. For established turf, aim for about 3 inches (or follow your lab’s instructions). Some labs call for 2 to 3 inches, others allow up to 4 inches. Consistency across subsamples matters most.
- Remove the thatch layer. You want mineral soil, not just dead grass and roots at the surface.
- Mix thoroughly in the bucket. Break up clumps and stir well so your final sample truly represents the whole area.
- Take the final sample. Pull about 1 to 2 cups of the mixed soil and put it in your bag or kit container.
- Let it air-dry if required. Many lab tests prefer soil that is crumbly and not soaking wet. Spread it on clean paper indoors for a day if it is muddy. Do not bake it or set it in direct heat.
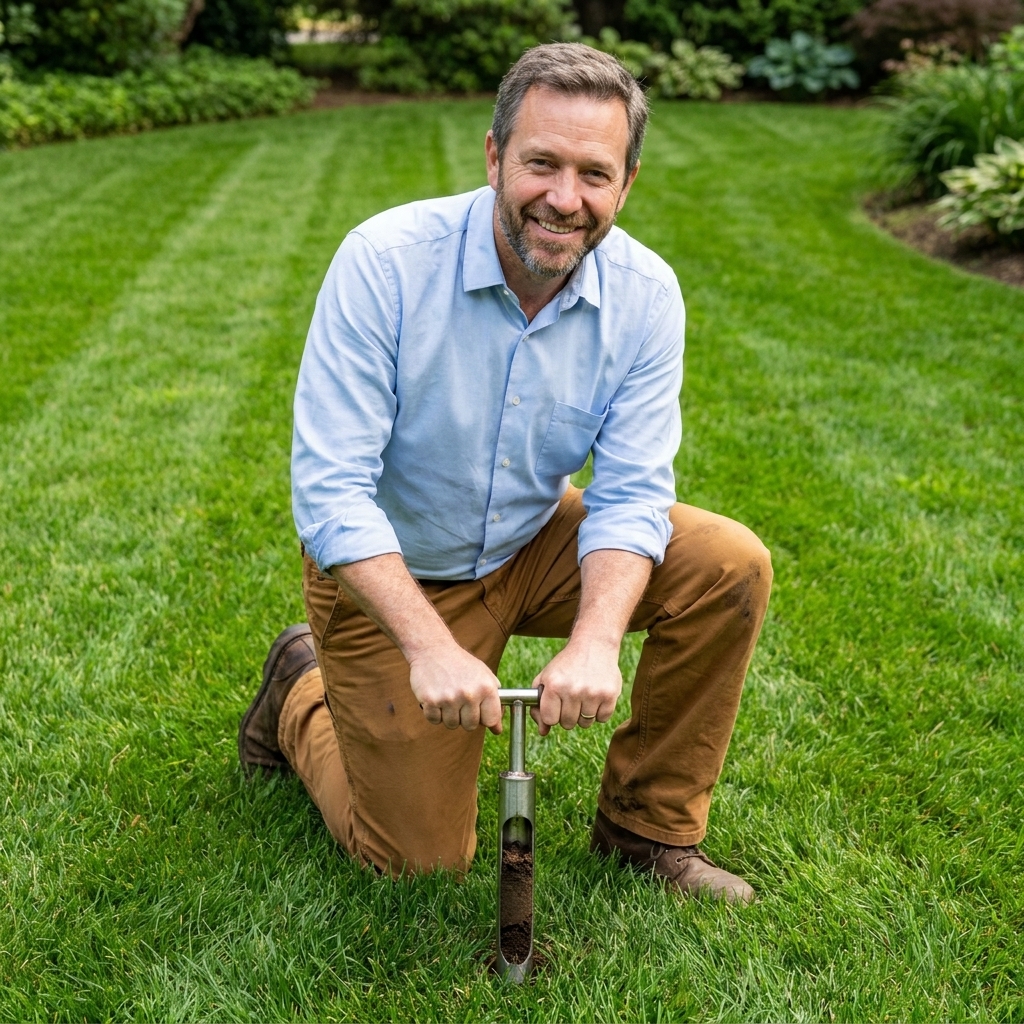
DIY kits vs lab tests
You can get useful information from both. The right choice depends on how precise you want to be and what you are trying to fix.
DIY kits
DIY kits typically test pH and sometimes NPK using color changes. They are good for:
- Getting a rough sense of whether pH is low, high, or in range
- Spot-checking before a lawn renovation
- Homeowners who mainly need a direction, not precision
Downsides:
- Color matching can be subjective, especially indoors
- NPK results are usually broad ranges
- You do not get buffer pH or a true lime recommendation
Lab tests
A lab test is what I recommend if you are serious about improving the lawn efficiently. It is especially helpful when:
- You have recurring thin turf or chronic yellowing
- Weeds keep winning no matter what you do
- You are establishing new grass seed
- You suspect your pH is off
- You want to stop wasting money on the wrong fertilizer
Lab reports usually include clearer target ranges and specific amendment rates. Many also provide recommendations based on turfgrass, not just gardens.
My practical advice: If you only do one test every few years, spend it on a lab test. You will make that money back quickly by buying the right products once.
Where to get a lab test
If you want a lab test, you have a few good options:
- County extension offices: Many offer soil testing programs or partner with a state lab. This is often the most straightforward route.
- State land-grant university labs: These are a solid choice, and their recommendations are usually designed for your region.
- Reputable private labs: Great when you want expanded results, fast turnaround, or turf-specific reporting.
Typical cost is often in the ballpark of $15 to $50 per sample depending on what you include, with turnaround commonly ranging from about a week to a few weeks.
Understanding pH for lawns
Soil pH controls nutrient availability. Your grass can be sitting on plenty of fertilizer, but if pH is off, the plant struggles to use it.
Ideal pH ranges
- Cool-season grasses (Kentucky bluegrass, fescue, ryegrass): roughly 6.0 to 7.0
- Warm-season grasses (bermuda, zoysia, centipede, St. Augustine): often do well around 5.5 to 7.0, depending on species and soil. Centipedegrass is a good example of a lawn that often prefers the low end, commonly around 5.0 to 6.0.
If you are not sure what you have, do not panic. Many lawns perform well in the 6 to 7 range, but species and local conditions matter. The biggest problems show up at the extremes.
What low pH means
Acidic soil can reduce availability of key nutrients and may increase solubility of aluminum and manganese in ways grass does not love.
Common clues: moss, weak growth, fertilizer that seems to do very little.
Typical fix: lime, but the amount matters. Too much lime can create new problems, so follow a lab recommendation when possible.
What high pH means
Alkaline soil can tie up iron and other micronutrients, leading to yellowing even when nitrogen is adequate.
Common clue: persistent yellow grass that does not green up much after fertilizing.
Typical fixes: choosing the right fertilizer sources, adding organic matter, and sometimes using sulfur-based products cautiously. High pH correction is slower and more nuanced than low pH correction.
Understanding NPK results
NPK is where most homeowners get tripped up, because nitrogen behaves differently than phosphorus and potassium.
N: Nitrogen
Nitrogen fuels top growth and color. Here is the catch: many soil tests do not reliably predict nitrogen needs because N moves and changes forms easily in soil.
How to use N information: Treat it as a clue, not the final answer. Your mowing frequency, grass type, season, and goals matter more. Many labs avoid making precise nitrogen recommendations from soil numbers alone, and some provide only general programs. When in doubt, lean on local extension guidance and turf-specific seasonal feeding schedules.
P: Phosphorus
Phosphorus is most valuable when establishing grass, repairing bare spots, or developing roots. Many established lawns need little to none, and some regions restrict phosphorus use unless a soil test shows a need.
If P is low: Use a fertilizer with some middle number (the P) during seeding. If you are not seeding, go lighter and follow the report.
If P is high: Avoid phosphorus. Choose a fertilizer with a zero in the middle number, like 24-0-10 or similar, depending on your needs.
K: Potassium
Potassium supports overall toughness, including drought tolerance, wear tolerance, and winter hardiness for cool-season lawns.
If K is low: Consider a fertilizer with potassium (third number). Fall is often a great time to address potassium for cool-season turf.
Turn results into a plan
A soil test is only useful if you use it. This is the simple, methodical way I recommend.
1) Fix pH first
If your pH is meaningfully out of range, correcting it makes everything else work better. Apply lime or sulfur-based amendments at the recommended rate and be patient. pH change is measured in months, not days.
2) Choose fertilizer based on what is low
Match your fertilizer analysis to your needs:
- Low P: Use a starter fertilizer for seeding projects.
- High P: Go with a zero-phosphorus lawn fertilizer.
- Low K: Add potassium with your normal feeding schedule.
3) Add organic matter if your soil struggles
If your lawn dries out fast, struggles in heat, or never seems to hold nutrients, organic matter can be a game changer. Topdressing with compost, mulching leaves in fall, and leaving grass clippings can gradually improve soil structure and nutrient holding capacity.
4) Retest after major changes
If you apply significant lime or you overhaul fertilizer strategy, retest in 6 to 12 months to confirm you moved the needle.
Common sampling mistakes
- Sampling right after fertilizing or liming: gives a distorted snapshot.
- Only taking 1 to 3 scoops: your results represent that one spot, not your lawn.
- Sampling too shallow: thatch and surface debris can skew readings.
- Mixing problem spots with normal turf: if a corner is struggling, test it separately.
- Using dirty containers: residues can contaminate results.
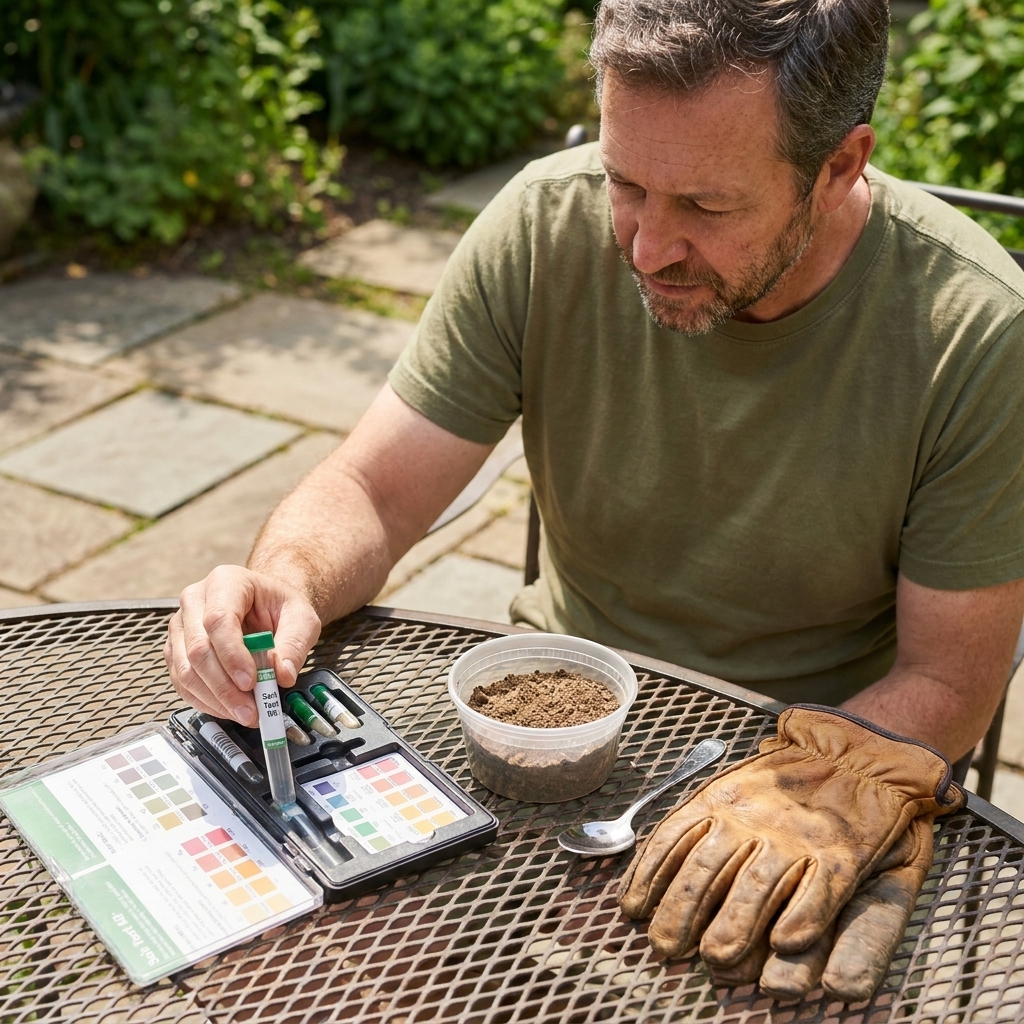
Quick reference
Every lab uses different extraction methods and target ranges, so always follow the ranges on your specific report. That said, here is the homeowner-friendly translation.
- pH below target: nutrients are harder for grass to use, consider lime per recommendation.
- pH above target: watch for iron chlorosis and tied-up micronutrients, focus on appropriate fertilizer sources and gradual improvement.
- Phosphorus high: avoid P to protect waterways and prevent nutrient imbalance.
- Potassium low: increase K for better stress tolerance.
A quick report tip: You will see results reported in units like ppm, mg/kg, or lbs/acre. Do not try to force a one-size-fits-all chart from the internet onto your numbers. Use the recommendation section from your lab, based on their methods.
If your lawn keeps failing in the same way every season, odds are good you are treating symptoms. A soil test helps you treat the cause.
FAQ
Can I test soil from just the brown patch area?
Yes, and it is often smart. Test the problem area as a separate sample, and also test a nearby healthy area for comparison. If results are similar, the issue is likely not soil chemistry.
How deep should I sample for an established lawn?
About 3 inches is the usual sweet spot for turfgrass, but follow your lab’s instructions if they specify something different. Consistency matters more than perfection, so keep depth similar across subsamples.
Do I need to test every year?
Not usually. Every 2 to 3 years is fine for most lawns. Test more often if you are correcting pH, renovating, or dealing with persistent issues.
Will a soil test tell me what fertilizer to buy?
A lab test often will, especially for phosphorus and potassium. It may recommend nutrient amounts rather than a brand, but you can translate that into an NPK choice pretty easily once you know what is low and what is already high.
What if my pH is fine but my lawn still looks bad?
Then you move to the next likely culprits: compaction, watering coverage, mowing height, shade, disease, insects, or poor seed cultivar. Soil chemistry is just one piece of the lawn puzzle.