A step-by-step, homeowner-friendly guide to diagnosing low soil pH and applying lime the right way for healthier grass and better fertilizer performance.
lawn care
Test Lawn Soil pH and Fix It for Greener Grass
 Mark Vance
 is a former professional landscaper and the lead turf enthusiast at Yard Mentor. With over 15 years of experience in soil health, turf management, and residential landscaping, he is dedicated to helping homeowners transform frustrating dead patches into lush, healthy lawns. When he isn't testing new grass seed blends, you can find him enjoying a Saturday morning coffee looking out over his freshly striped yard.
Updated October 17, 2026
Created October 17, 2026
Mark Vance
Mark Vance is a former professional landscaper and the lead turf enthusiast at Yard Mentor. With over 15 years of experience in soil health, turf management, and residential landscaping, he is dedicated to helping homeowners transform frustrating dead patches into lush, healthy lawns. When he isn't testing new grass seed blends, you can find him enjoying a Saturday morning coffee looking out over his freshly striped yard.
Updated October 17, 2026
Created October 17, 2026
If your lawn has “that one area” that never looks right, even after you fertilize and water, I want you to think like the grass. Turf can only use nutrients when the soil pH is in a workable range. When pH drifts too acidic or too alkaline, your fertilizer can be sitting there like a locked pantry. The grass is hungry, but it cannot get in.
The good news is that soil pH is one of the easiest lawn problems to diagnose and fix. You do not need a fancy lab setup to get started, and you can make smart, budget-friendly corrections with lime or sulfur once you know where you stand.
What soil pH means for your lawn
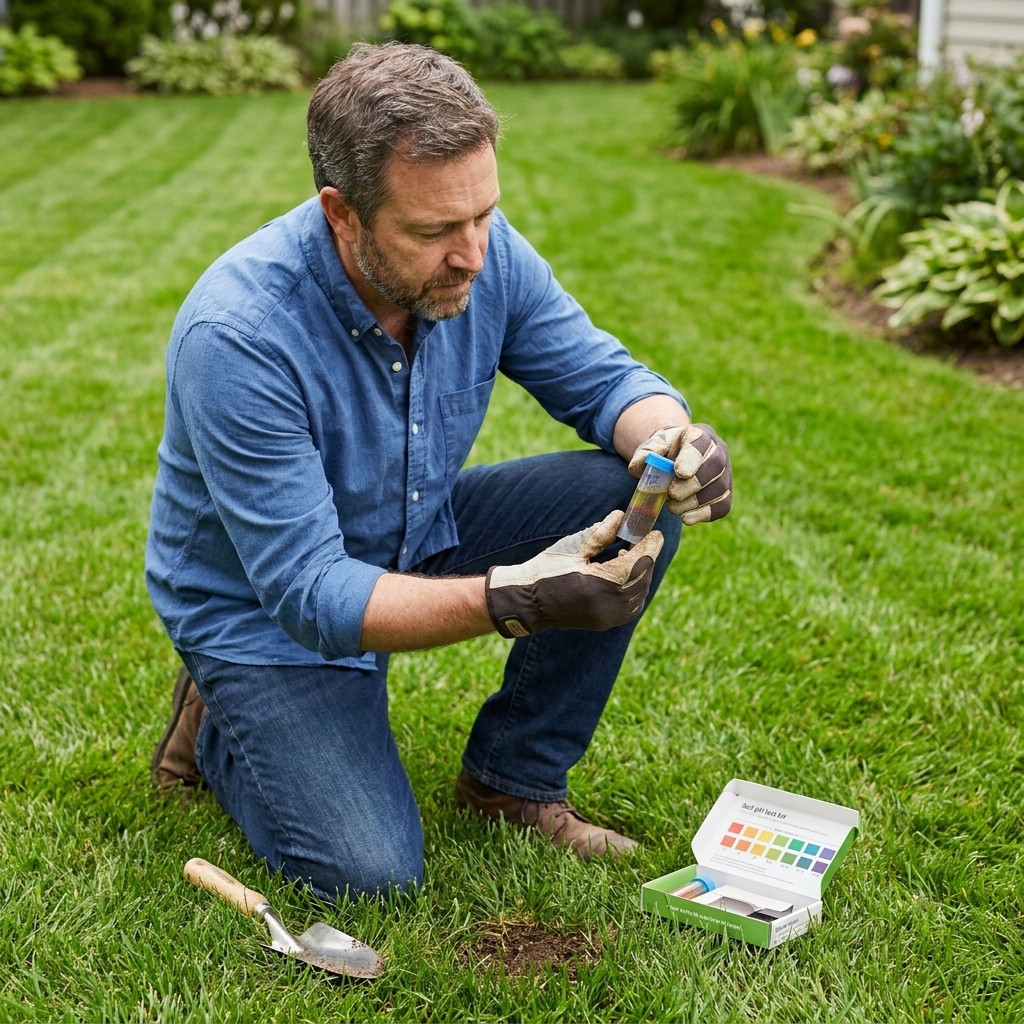
Soil pH is a measure of how acidic or alkaline your soil is on a scale of 0 to 14. Most turfgrasses do best when soil pH is slightly acidic to near neutral, because that is where nutrients are most available.
- Acidic soil (low pH) can make nutrients like phosphorus less available and can increase aluminum and manganese availability, which can stress grass in some soils.
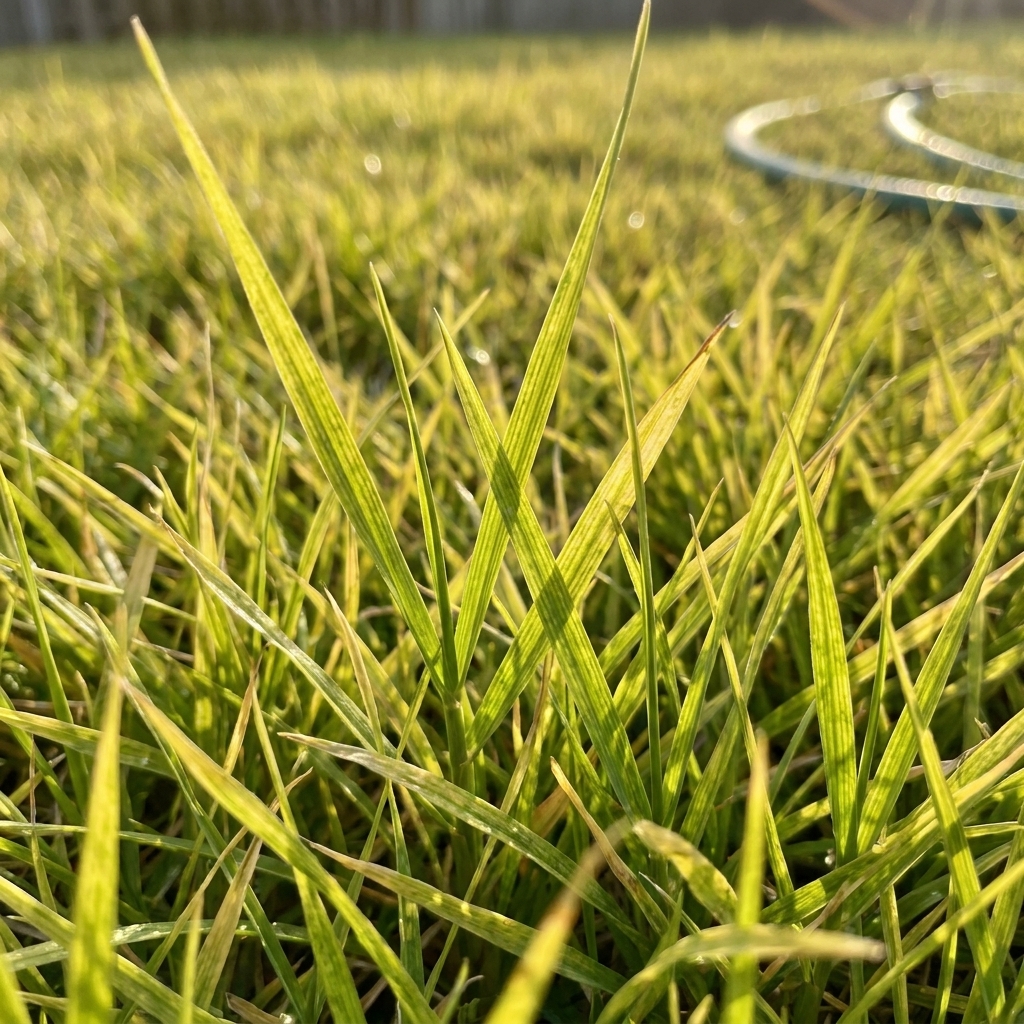
- Alkaline soil (high pH) can tie up iron and other micronutrients, often showing up as yellowing even when you are feeding the lawn.
A solid target for many lawns is roughly 6.0 to 7.0. Many cool-season lawns often look best around about 6.2 to 6.8, and many warm-season grasses can tolerate a bit higher (or even a bit lower) depending on your soil and how you manage it. If you only remember one thing, remember this: you are not chasing a perfect number, you are trying to stay in the “nutrient available” zone.
Also, your region matters. Areas with naturally acidic soils and rainfall can trend lower over time, while lawns watered with high-bicarbonate irrigation water can slowly creep higher. Testing keeps you from guessing.
When to test pH
I like to test lawn soil pH when I can actually do something about the results.
- Best times: early spring or early fall. Those seasons line up well with lime or sulfur applications, overseeding, and fertilizing.
- How often: every 2 to 3 years for a stable lawn. If you are actively correcting pH or you just moved into a new house with unknown soil history, test yearly until things settle.
- After major changes: test again after big projects like regrading, bringing in topsoil, or installing new sod.
One note: avoid testing right after you apply lime, sulfur, or fertilizer. Give it several weeks at minimum, and ideally a couple of months, so you are measuring the soil, not the fresh amendment sitting near the surface.
How to take a good soil sample
Most “bad” pH results are really just bad sampling. A good sample is boring and consistent, and that is exactly what you want.
Tools
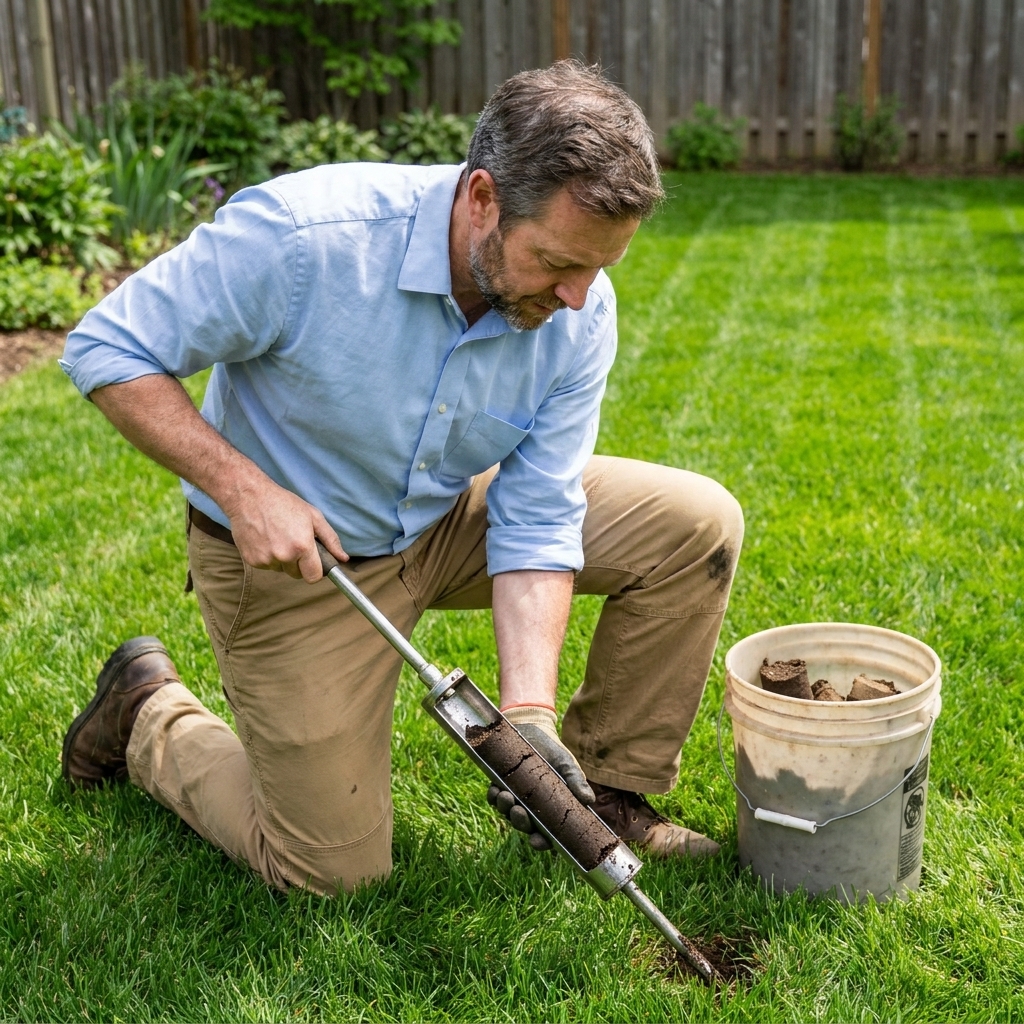
- Clean trowel or soil probe
- Bucket (plastic is fine)
- Gloves (optional)
- Zip-top bag if you are sending to a lab
Where and how deep
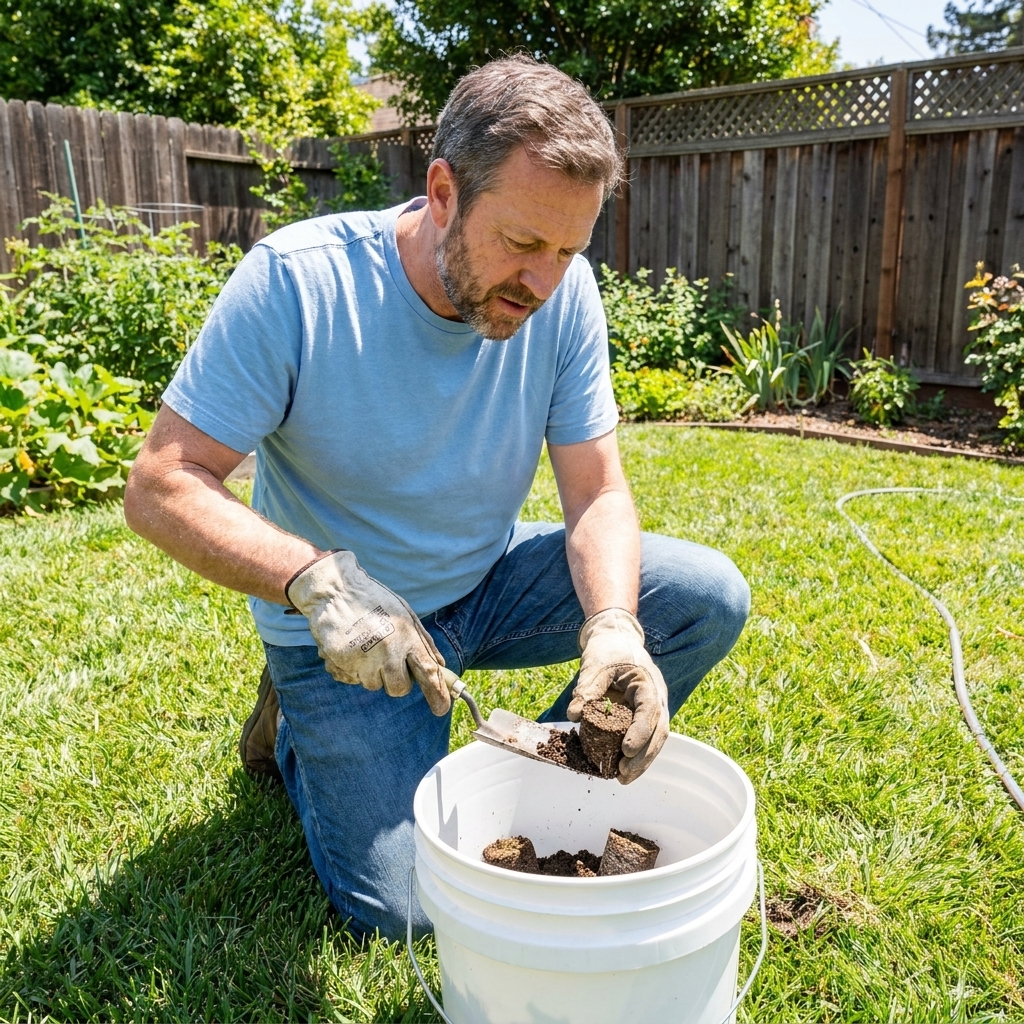
For an established lawn, pull soil cores from the top 3 to 4 inches. That is the root zone where most turf action happens. Some labs and extension services prefer a specific depth (often right around 3 inches), so if you are mailing a sample, follow their instructions.
If your lawn has very different zones, for example front yard full sun vs backyard shade, or a strip along the driveway that struggles, sample them separately.
How many plugs per sample
Aim for 10 to 15 small samples from the same zone, mixed together in the bucket. Avoid obvious oddballs like dog spots, compost piles, low puddling areas, or where you spilled fertilizer last month. Those are their own stories.
At-home pH test options
You have three realistic paths, and all of them can work.
1) Inexpensive color-change test kits
These are the little kits with a vial, a capsule or powder, and a color chart. They are affordable and good enough to tell if you are clearly low, clearly high, or in the ballpark.
- Pros: cheap, quick, decent for pH direction
- Cons: color interpretation can be fuzzy, not great for precision
One important limitation: these kits can tell you where you are, but they cannot tell you how much lime or sulfur your soil needs. That depends on your soil’s buffering capacity.
2) Digital pH meters
A quality digital meter can be accurate, but only if you calibrate it and use it correctly. The cheap “stick it in dry soil” probes sold online are often inconsistent for true pH measurement.
- Pros: quick readings, repeatable when calibrated
- Cons: needs calibration solutions, can drift, dirt and moisture affect readings
3) Mail-in lab soil test (my favorite when you want the full picture)
A lab test gives you pH plus nutrients and buffer pH or lime requirement, depending on the lab. If you are serious about correcting pH, this is the easiest way to avoid guessing the lime or sulfur rate.
- Pros: most accurate, often includes recommended amendment rates
- Cons: costs more and takes time
If you have battled the same thin, pale lawn for years, a lab test is usually cheaper than one more season of throwing the wrong fertilizer at the problem.
How to read your pH results
Use these as practical buckets:
- Below 5.5: strongly acidic. Grass can struggle and lime is often needed.
- 5.5 to 6.0: moderately acidic. Many lawns improve with lime, depending on grass type and soil.
- 6.0 to 7.0: the sweet spot for most turf.
- 7.0 to 7.5: slightly alkaline. Usually manageable, but iron availability can dip.
- Above 7.5: alkaline. Consider sulfur and focus on iron and organic matter strategies.
Important: pH is not the only thing. Two yards can both test at pH 5.5, but one may need a little lime and the other needs a lot. That difference is due to buffering capacity, which is largely driven by clay and organic matter. This is why lab recommendations are so helpful.
Raise soil pH with lime
If your soil is too acidic, lime is the standard fix. Lime adds calcium (and sometimes magnesium) and neutralizes acidity over time.
Pick the right lime
- Calcitic lime: mostly calcium. Great general choice.
- Dolomitic lime: calcium plus magnesium. Useful if a soil test shows low magnesium.
Most homeowners do well with pelletized lime because it is easier to spread and less dusty than pulverized ag lime. Pulverized lime can react faster, but it is messier and harder to apply evenly without pro equipment.
How much lime to apply
The honest answer is: apply what your soil test recommends. Lime recommendations depend on your soil’s lime requirement (buffer pH) and the product itself (neutralizing value varies).
- Typical homeowner-safe approach: unless a lab report or product label directs otherwise, many people cap a single application at about 40 to 50 lb of pelletized lime per 1,000 sq ft.
- If you need more: split the total into two applications, often one in fall and one the following spring.
It is much easier to add more later than to undo an over-liming mistake.
How to apply lime
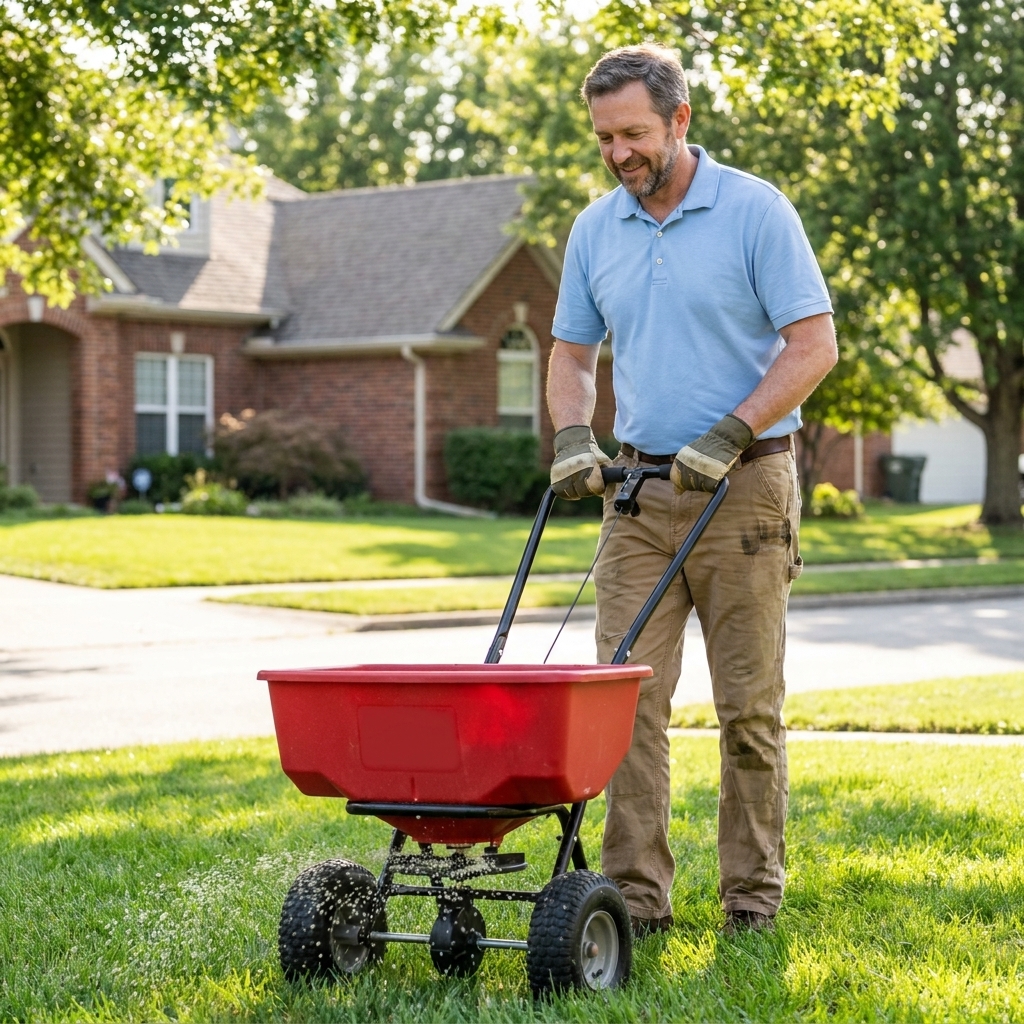
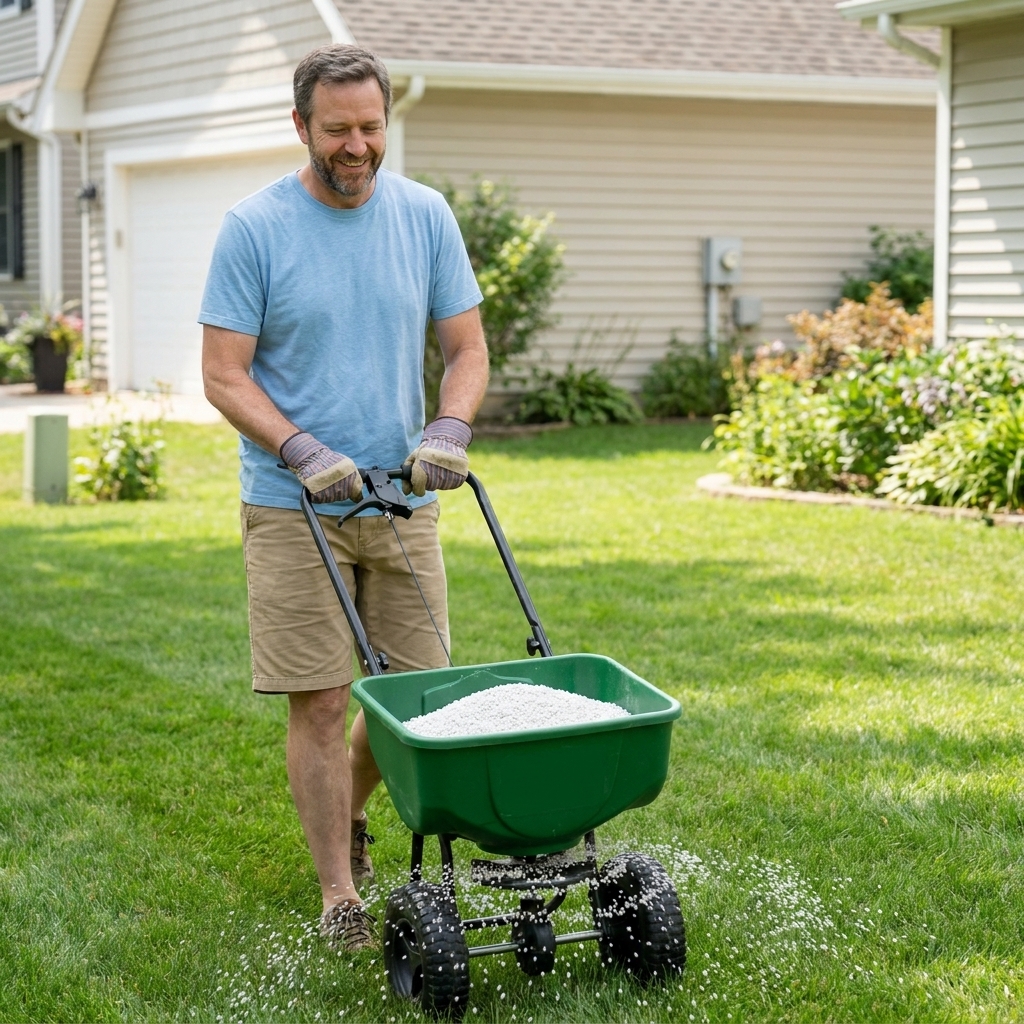
- Use a broadcast spreader for even coverage.
- Apply to dry grass.
- Water it in with about 1/4 to 1/2 inch of irrigation or rainfall.
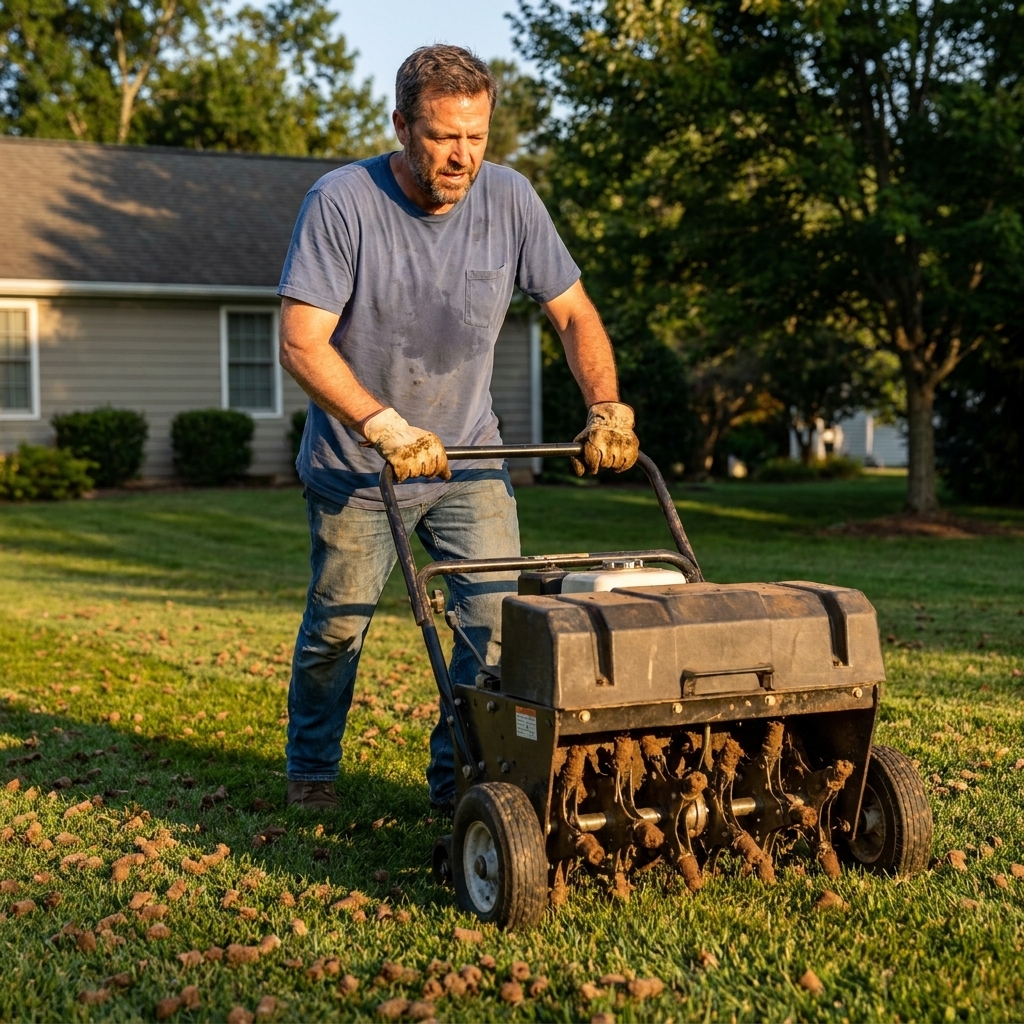
- For faster results, core aerate first so lime can work its way into the root zone.
Quick cleanup note: keep lime off sidewalks and driveways, and sweep up any spills so it does not wash into storm drains.
Lower soil pH with sulfur
If your soil is too alkaline, elemental sulfur is the most common way to nudge pH downward. Soil microbes convert sulfur to sulfuric acid over time, which is what lowers the pH. That means it is not instant, and it depends on warm, moist soil conditions (it really starts to move once soils are consistently above about 55°F).
What to use
- Elemental sulfur: the typical lawn product for pH reduction.
- Do not use aluminum sulfate casually: it can drop pH quickly but may add aluminum to the soil. In turf, I prefer elemental sulfur unless a soil professional advises otherwise.
How much sulfur to apply
Rates vary a lot by soil texture, starting pH, and your target pH. Follow a lab recommendation when possible, and always follow your product label.
- Conservative guideline: many home lawn programs do not exceed 5 lb elemental sulfur per 1,000 sq ft in one application, and even less may be appropriate on sandy soils.
- Split applications: if you need more, do multiple treatments spaced 6 to 8 weeks apart during the growing season.
Sulfur can burn turf if overapplied or applied during heat stress. I like spring and early fall best.
How to apply sulfur
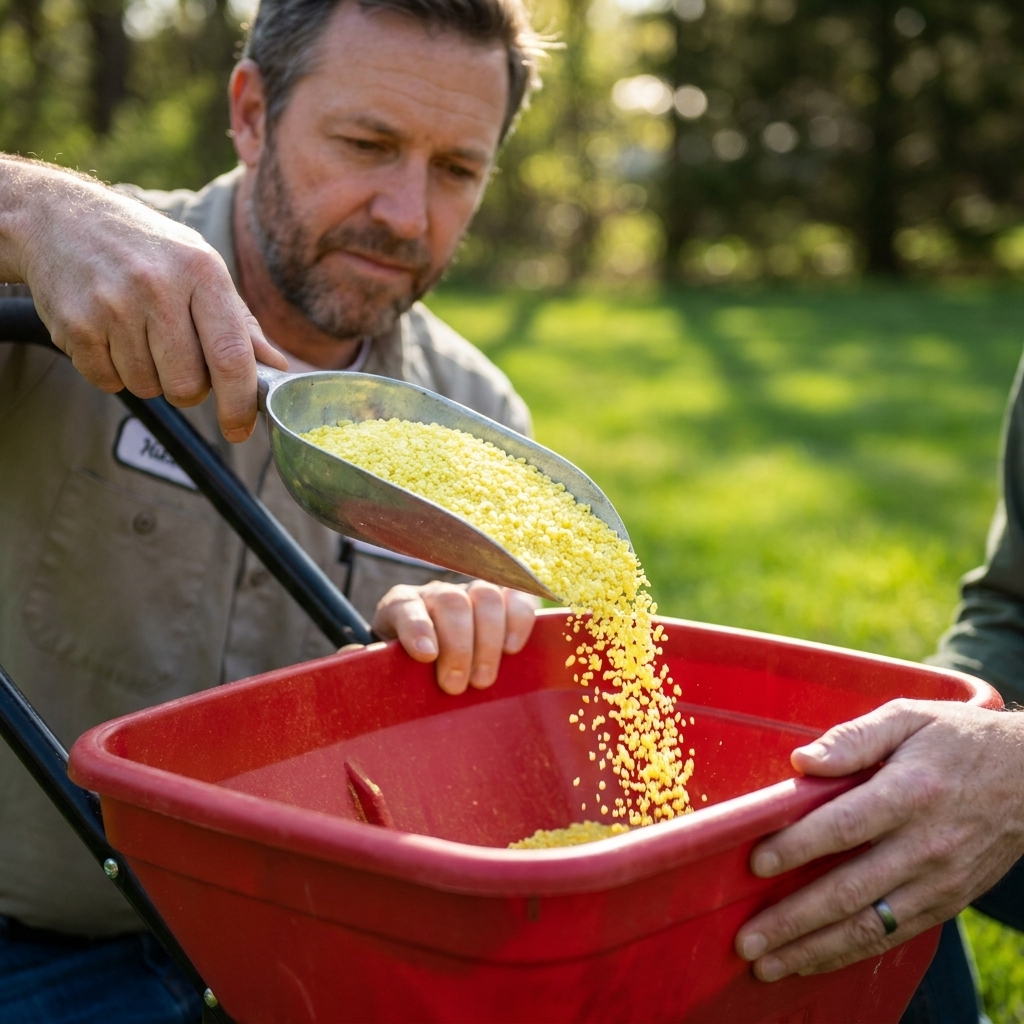
- Use a broadcast spreader, and overlap your passes slightly for even coverage.
- Water it in.
- Avoid applying right before a heat wave.
Quick cleanup note: keep granules off hard surfaces and sweep up spills to prevent runoff into storm drains.
How long pH changes take
pH adjustment is a slow cook, not a microwave.
- Lime: you may see measurable change in 2 to 3 months, with fuller effect over 6 to 12 months depending on soil, moisture, and particle size.
- Elemental sulfur: often takes 1 to 3 months to begin moving, with continued change over the season depending on temperature, moisture, and microbial activity.
The lawn signs are often subtle at first: better color, improved response to fertilizer, fewer mystery thin areas. The best confirmation is a retest.
Retest timing: generally 3 to 6 months after an amendment, or the next season if you amended late in the year.
Pair pH correction with basics
When pH is off, it can make every other lawn chore feel like it is not paying off. When pH is reasonable, your routine maintenance starts working like it should.
Mowing
- Mow high for your grass type, and avoid scalping.
- Keep blades sharp. Ragged tips lose water and look brown faster.
Fertilizing
Once pH is in range, a normal seasonal fertilizer plan makes more sense. If you were over-fertilizing to “force” color, you can often back off once pH is corrected.
Watering
Deep, infrequent watering encourages deeper roots. That makes pH swings less stressful because roots can explore more soil volume.
Core aeration and organic matter
If you want a long-term buffer against pH headaches, build soil. Core aeration plus topdressing with compost helps stabilize moisture, feeds microbes, and can make pH management less dramatic over time.
Iron at high pH
If your pH is high and your lawn stays pale or yellow, an iron product (often a chelated iron or a foliar iron spray) can be a helpful short-term cosmetic fix while sulfur and soil-building do the long-term work. Think of it as treating the symptom while you correct the cause.
Common pH mistakes
- Applying lime every year “just because”: you can push soil too alkaline, especially if your irrigation water is already high in bicarbonates.
- Treating the whole yard the same: front and back yards can be totally different soils.
- Skipping the spreader calibration: uneven application leads to patchy results and higher burn risk with sulfur.
- Expecting instant results: pH changes are slow, and that is normal.
- Confusing pH problems with disease: if you have circular brown patches or lesions on blades, diagnose that separately before you keep amending soil.
Quick FAQ
Can I test soil pH with vinegar and baking soda?
You can get a rough “acidic vs alkaline” hint, but it is not reliable enough to base lime or sulfur rates on. A basic test kit is cheap insurance.
My pH is fine but my grass is still yellow. Now what?
Check mowing height, watering habits, compaction, and nitrogen timing. Also consider an iron issue (common in higher pH soils), shade stress, or poor drainage. A full soil test for nutrients can save a lot of guessing.
Is lime safe for pets and kids?
Pelletized lawn lime is generally low risk when used as directed, but keep pets and kids off the lawn during application and until it is watered in and the surface is dry. Store bags sealed and out of reach.
Will gypsum change soil pH?
No. Gypsum adds calcium and can help with certain soil structure or sodium issues, but it does not reliably raise pH like lime does.
A simple weekend plan
- Step 1: Pick one to three lawn zones and pull 10 to 15 plugs per zone.
- Step 2: Test pH with a kit, or send a mixed sample to a lab for recommendations.
- Step 3: If pH is low, apply pelletized lime per label and, ideally, per lab guidance. If pH is high, apply elemental sulfur per label and consider splitting applications.
- Step 4: Water it in, then get back to basics: mow high, fertilize seasonally, and water deeply.
- Step 5: Retest in 3 to 6 months, or next season, and adjust gradually.
If you take nothing else from this, take this: test first, then amend slowly. That one habit turns pH from a mystery into a routine maintenance win, and it is one of the fastest ways I know to make fertilizer dollars actually show up as greener grass.