Follow this beginner-friendly fertilizing plan for spring, summer, and fall. Includes cool-season vs warm-season timing, safe application rates, and burn-pro...
lawn care
How to Prevent and Repair Fertilizer Burn on Your Lawn
 Mark Vance
 is a former professional landscaper and the lead turf enthusiast at Yard Mentor. With over 15 years of experience in soil health, turf management, and residential landscaping, he is dedicated to helping homeowners transform frustrating dead patches into lush, healthy lawns. When he isn't testing new grass seed blends, you can find him enjoying a Saturday morning coffee looking out over his freshly striped yard.
Updated October 17, 2026
Created October 17, 2026
Mark Vance
Mark Vance is a former professional landscaper and the lead turf enthusiast at Yard Mentor. With over 15 years of experience in soil health, turf management, and residential landscaping, he is dedicated to helping homeowners transform frustrating dead patches into lush, healthy lawns. When he isn't testing new grass seed blends, you can find him enjoying a Saturday morning coffee looking out over his freshly striped yard.
Updated October 17, 2026
Created October 17, 2026
Fertilizer is supposed to make your lawn greener, thicker, and tougher. But when the rate is too high or the product is applied unevenly, it can do the opposite fast. Fertilizer burn is basically a fertilizer salt overload, often driven by nitrogen, that pulls moisture out of the grass plant and can scorch leaf blades, crowns, and even roots.
The good news: most fertilizer burn can be stopped if you catch it early, and even the ugly brown patches can be repaired with a straightforward reseed plan. I have helped plenty of homeowners bounce back from a “weekend fertilizing mistake” without tearing up the whole yard.
What fertilizer burn looks like
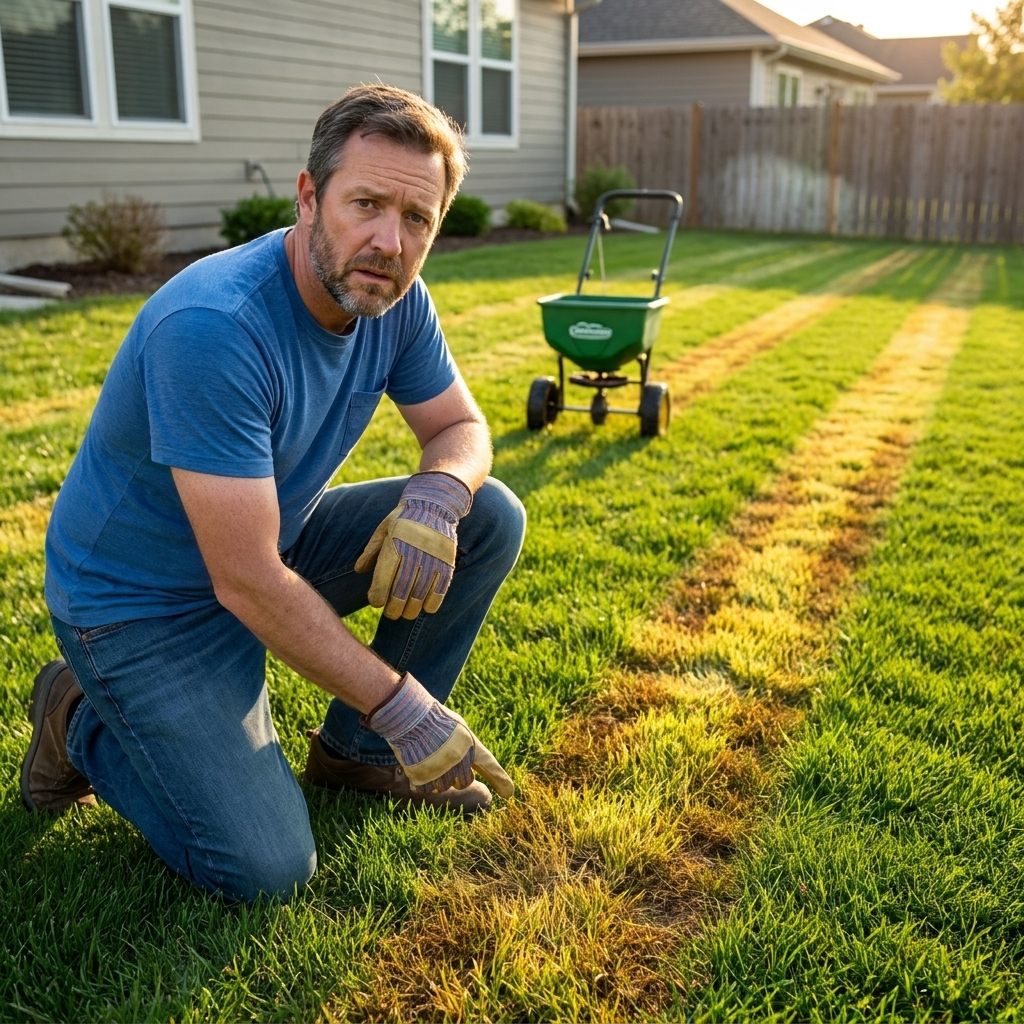
Fertilizer burn can mimic drought stress and disease, so it helps to look for a pattern. Over-fertilization often shows up within 24 to 72 hours in warm weather when fast-release nitrogen is involved or when there was a spill. Slow-release products can take longer to show symptoms.
Early signs of over-fertilization
- Bright neon green that turns yellow within a few days. That initial “pop” can be the first hint you went heavy.
- Leaf tip scorch where the ends of blades look singed or straw-colored.
- Crunchy, dry-feeling turf even though the soil is not bone dry, especially if you have been watering normally.
- Streaks, stripes, or lines that match your spreader passes. Dark green next to yellow is a classic clue.
- Burn spots near driveways and sidewalks where fertilizer bounces and concentrates.
How to tell fertilizer burn from fungus or drought
- Timing: If symptoms appear soon after fertilizing, suspect burn first.
- Pattern: Fungal issues tend to be circular or irregular patches. Fertilizer burn often follows straight lines or shows “hot spots.”
- Soil feel: With burn, the grass can look droughty even when the ground is damp because salts are pulling water out of the plant.
One more look-alike: pet urine
Small, scattered straw-brown spots (sometimes with a darker green ring) can be pet urine burn. Fertilizer burn is more likely to appear as stripes, broad patches, or spill-shaped blobs that match where product landed.
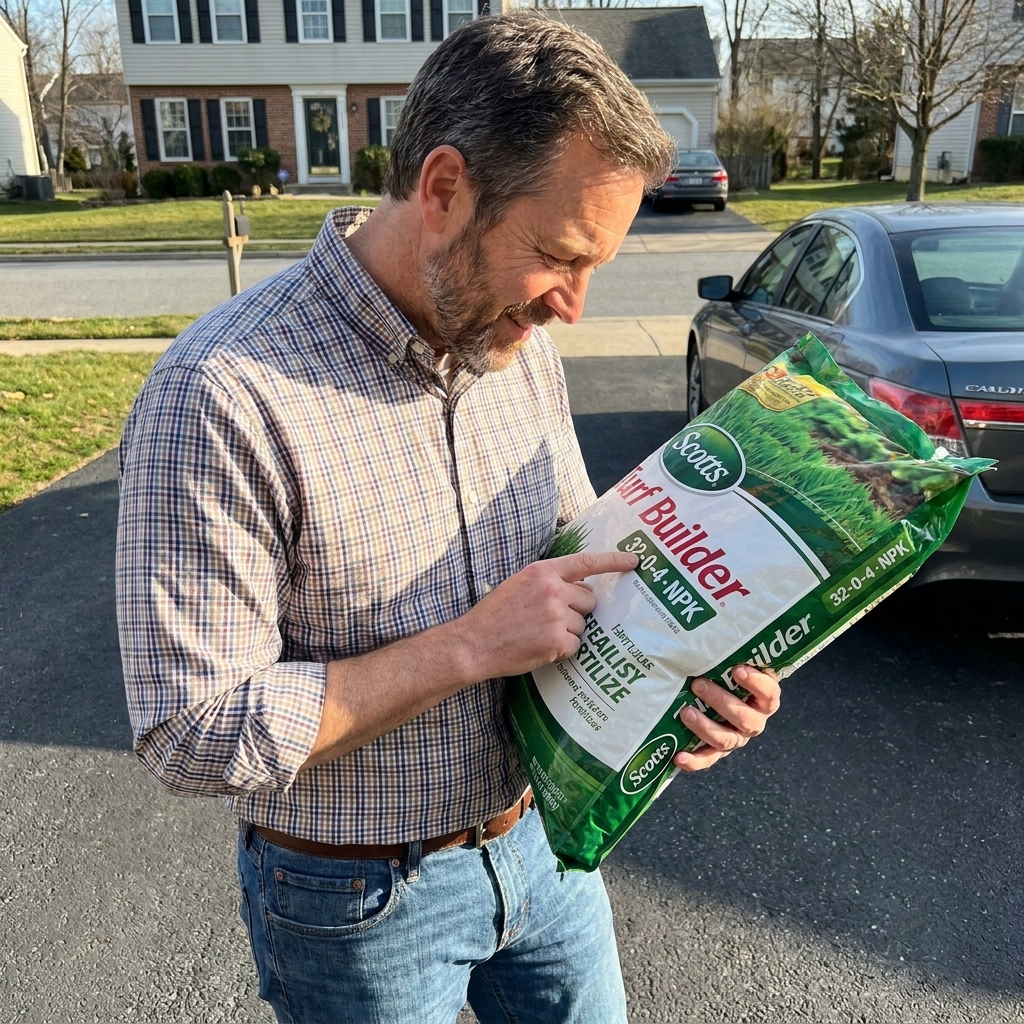
If you still are not sure, think back to what was applied and how. A quick check of the bag label, your lawn size calculation, and the product type (quick-release vs slow-release) can be very revealing.
Why fertilizer burn happens
Most fertilizers are salts. In the right amount, nutrients like nitrogen and potassium are a lawn’s best friend. In excess, the salt concentration around the plant increases and creates an osmotic effect that dehydrates the grass. Some products also contain fast-release nitrogen forms that hit hard in warm weather.
Common causes I see all the time
- Applying too much product because the lawn square footage was overestimated, or the spreader setting was too high.
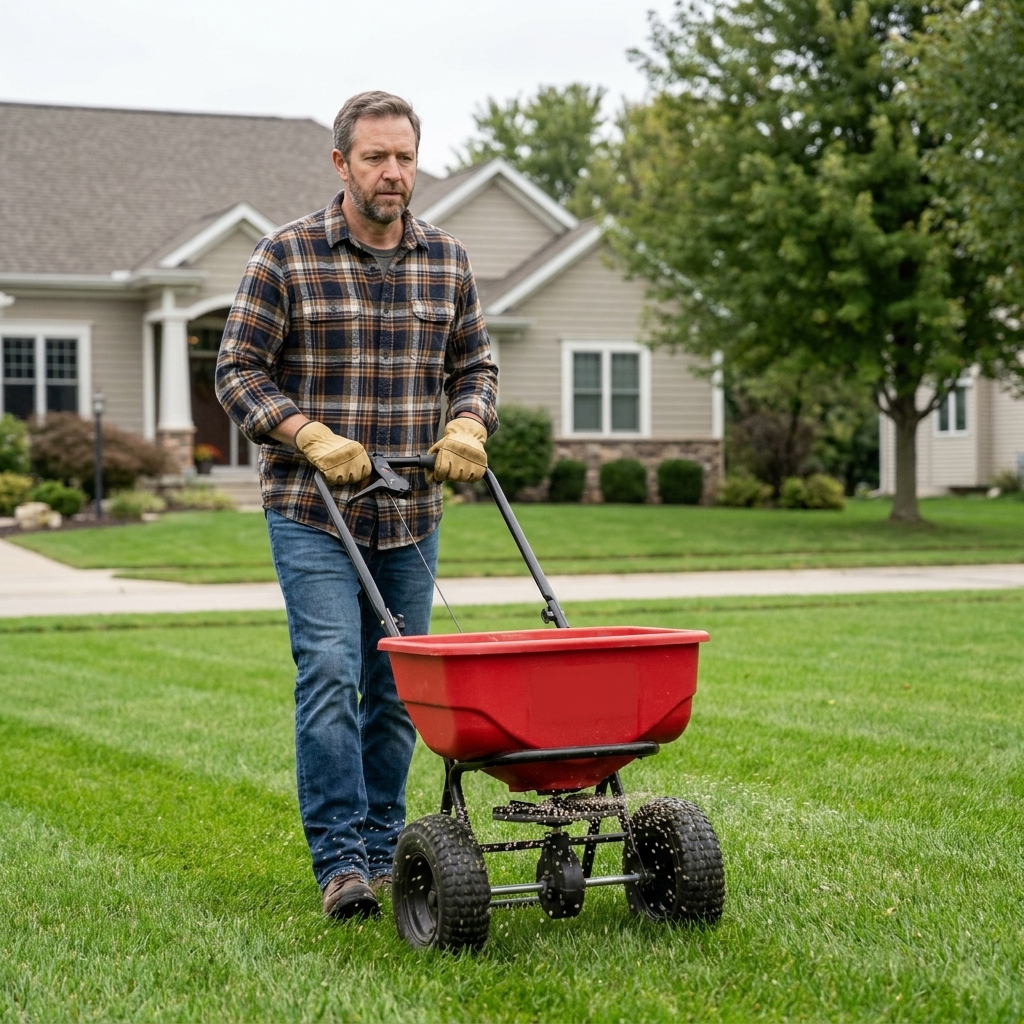
- Uneven distribution from walking speed changes, turning too tightly, or overlapping passes too much.
- Spills and dumps when the spreader is filled on the lawn or when a bag tears.
- Fertilizing a stressed lawn during heat, drought, or after a scalp cut.
- Using quick-release nitrogen at the wrong time of year, especially in summer.
- Not watering in when the label calls for it, which can leave salts sitting on leaf blades.
One more sneaky one: “weed and feed” products. Many have very specific label directions about whether grass should be damp or dry at application, and when you should water after. If that timing is missed and the application runs heavy, you can end up with herbicide stress plus fertilizer burn. Follow the label to the letter.
First aid: what to do right away
If you suspect fertilizer burn, act quickly. Your goal is to dilute excess salts, move fertilizer off the leaf surface, and push it deeper into the soil profile without causing runoff.
Step 1: Stop fertilizing and stop “fixing” with more products
Do not add lime, more fertilizer, compost starter, or weed killer right now. You want the lawn to recover, not juggle multiple stressors. In most cases, wait until you see new healthy growth, or until new seed is established, before you consider feeding again.
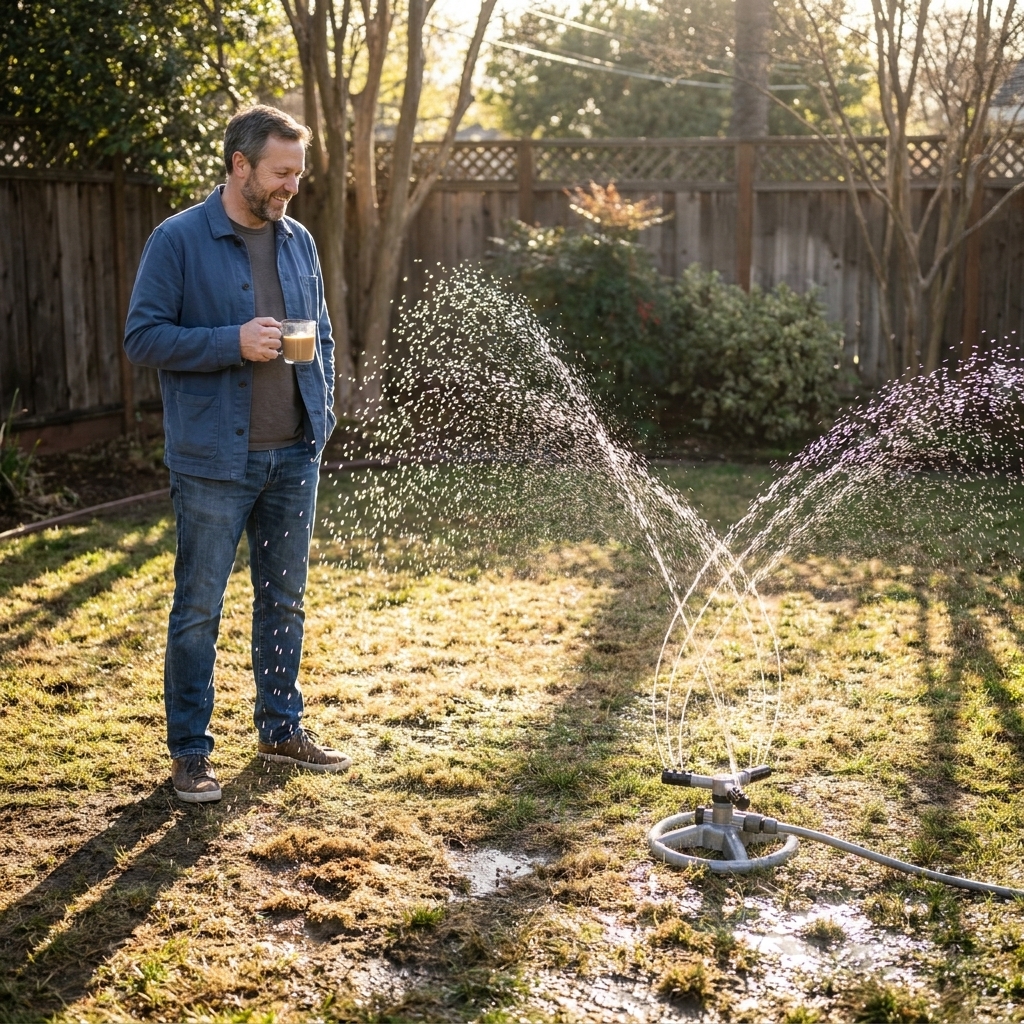
Step 2: Water to dilute and flush
If the product was just applied and you did not water it in, begin irrigation immediately.
- For mild burn: Water enough to thoroughly soak the root zone, then repeat daily for 2 to 3 days if temperatures are high.
- For moderate burn: Water deeply, let it soak in, then check the area later the same day. Only repeat if the soil can take it without puddling or runoff.
- For severe burn or spills: Focus on the affected area with extra water in short cycles, but avoid creating runoff into storm drains or down slopes.
A practical target is up to about 1 inch of water over the affected area applied in split cycles so it soaks in rather than running off. In clay soils or on slopes, shorter cycles with breaks in between work best. Always stay within local watering restrictions and stop if you see puddling or water moving off-site.
Step 3: Pick up visible granules (if you can)
If you still see fertilizer pellets sitting on the turf, you can carefully sweep, blow, or rake them off the grass and into a container. Then water. Do not grind the granules deeper into the canopy.
Step 4: Pause mowing for a few days
Burned grass is already stressed. Let it recover before mowing, and when you do mow, keep the blade sharp and take off as little as possible.
How to gauge damage
This is the part homeowners always want answered fast. Here is my rule of thumb:
- Yellowing with some green at the base: Often recoverable with careful watering and time.
- Tan or brown blades but the crown is alive: Likely recoverable, though it may take 2 to 4 weeks.
- Completely brown, brittle turf that lifts like a rug: The roots and crowns are probably dead. Plan to reseed or resod.
To check crowns, gently tug on the grass in the burned area. If it pulls out easily with little to no roots attached, that section is done and you are in repair mode.
Repairing dead patches
Once grass is dead, watering alone will not bring it back. You need to remove damaged material, correct the surface, and re-establish turf.
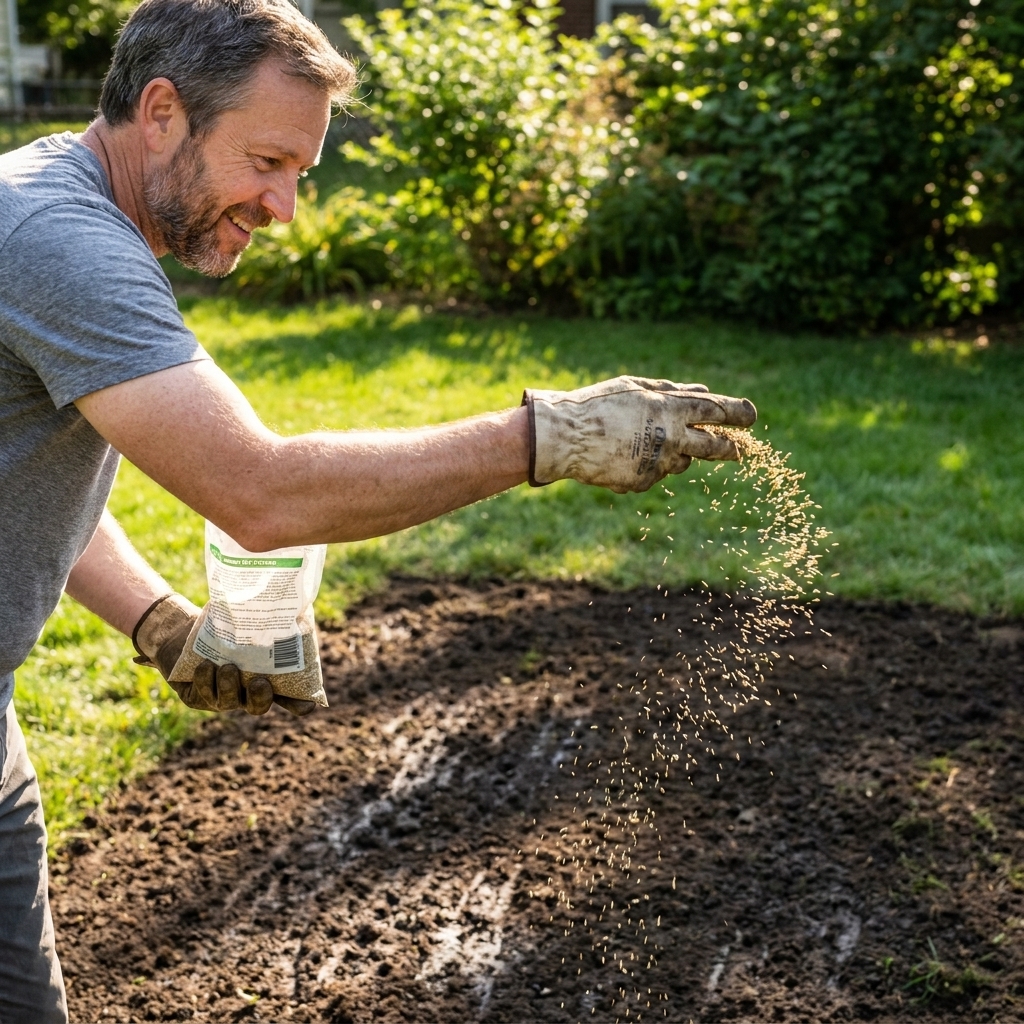
Step 1: Remove dead grass and loosen the topsoil
- Rake out dead, matted turf until you can see soil.
- Loosen the top 1 to 2 inches with a hand rake or cultivator.
- If the area feels crusty or you see a white residue, water again and let it drain before seeding.
Step 2: Add a thin layer of clean topsoil or compost
A quarter inch to a half inch is plenty. You are creating seed-to-soil contact and a friendlier surface for germination. Avoid thick layers that bury existing grass edges.
Step 3: Reseed with the right grass for your region
Match what you already have when possible.
- Cool-season lawns (Kentucky bluegrass, perennial rye, fescues): Best reseeding window is late summer into early fall.
- Warm-season lawns (Bermuda, zoysia, centipede, St. Augustine): Best repair window is late spring through summer when growth is active.
If you are out of season, you can still prep the area and protect the soil, but you may need to wait for ideal temperatures for the seed to perform.
Step 4: Starter fertilizer, only if it makes sense
After a burn event, homeowners often want to “feed” the new seed aggressively. Resist that urge.
- If you use starter fertilizer, choose one with low to moderate nitrogen and follow label rates exactly.
- If you recently applied a heavy fertilizer dose, consider skipping starter for 2 to 3 weeks and letting the soil settle.
Step 5: Keep the seed consistently moist
Light, frequent watering is the move during germination. Think “damp like a wrung-out sponge,” not muddy.
- Water 1 to 3 times per day depending on heat and wind until germination.
- Then taper to deeper watering as seedlings mature.
Step 6: Mow new grass the right way
First mow when the new grass is about one-third taller than your target mowing height. Use a sharp blade and avoid turning aggressively on the repaired area.
How long recovery takes
- Mild burn: 1 to 3 weeks to green up after careful watering, depending on weather and grass type.
- Moderate burn: 2 to 6 weeks, often with some thinning that may need overseeding.
- Severe burn: Dead spots will not recover. Seeded repairs typically take 3 to 8 weeks to look decent, longer to fully blend in.
If you reseed, be patient. New grass looks “stringy” before it thickens. The goal is healthy roots first, perfect color second.
Preventing fertilizer burn
Most fertilizer burn is avoidable. The fix is not fancy, it is methodical.
Measure your lawn
Know your square footage. Then apply fertilizer based on the label’s coverage rate. If you are between settings, go lighter and plan a follow-up application later.
Calibrate your spreader
Different spreaders throw product differently. A simple calibration approach that works well: apply half the product in one direction and the other half perpendicular. This two-pass method reduces striping and hot spots.
Choose slower-release nitrogen
Look for fertilizers that contain slow-release nitrogen sources. They are more forgiving and feed more evenly.
Do not fertilize during heat stress
If daytime highs are pushing into the upper 80s and 90s, especially for cool-season lawns, postpone nitrogen. It is not worth the risk.
Follow the watering directions
Some fertilizers are meant to be watered in soon after application. Others, including certain weed-and-feed products, may call for a specific delay. Either way, the label is the boss. Correct watering timing reduces burn risk and improves uptake.
Keep fertilizer off hard surfaces
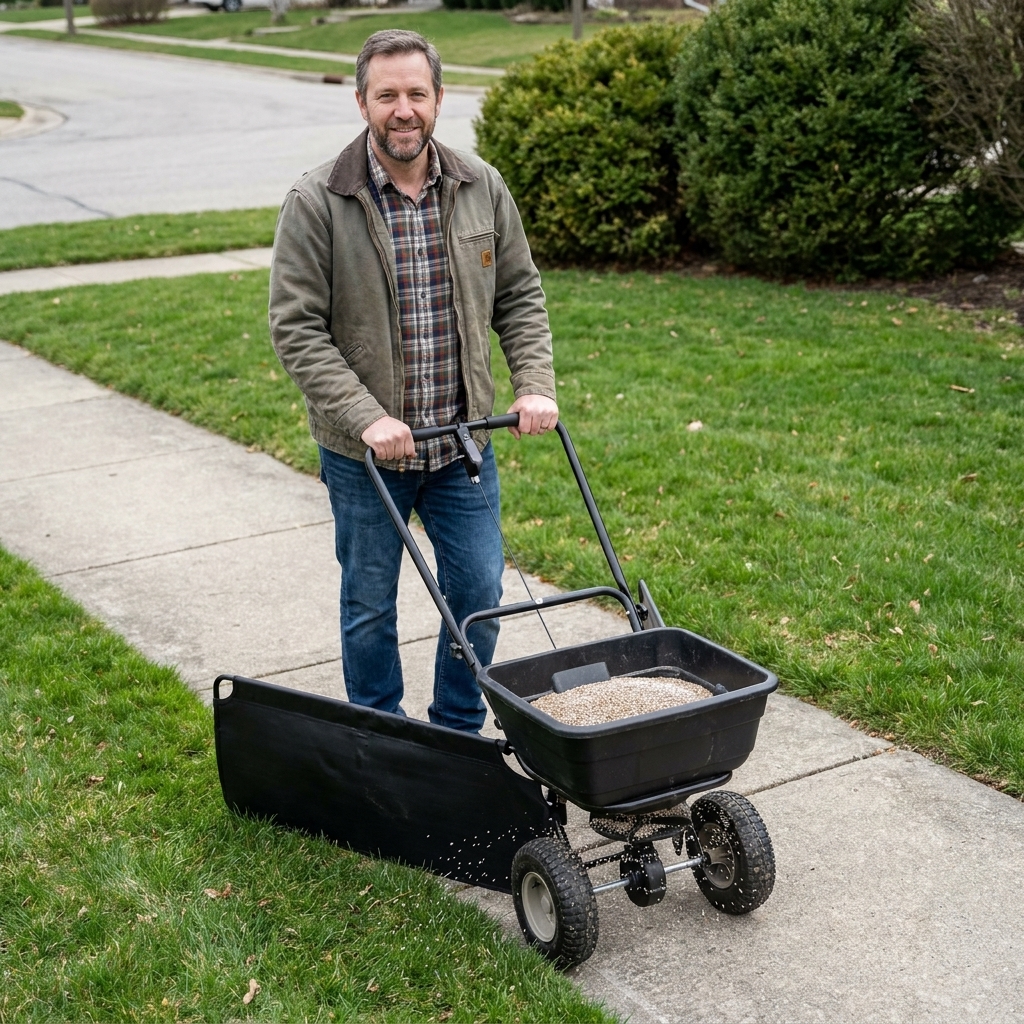
Spreader deflectors help along sidewalks and driveways. If granules land on pavement, sweep them back into the lawn. Do not hose them into the street.
Quick checklist
- Suspect burn? Water enough to move fertilizer off blades and into the soil, without runoff.
- See granules sitting on blades? Remove what you can, then water.
- Yellowing only? Water carefully and wait 1 to 3 weeks.
- Brown and crispy, pulls up easily? Rake out and plan to reseed or resod.
- Repairing with seed? Focus on soil contact and consistent moisture, go easy on fertilizer.
FAQ
Can too much fertilizer permanently ruin soil?
A one-time over-application usually does not permanently damage soil structure, but it can temporarily raise salt levels and stress roots. Careful watering and time typically correct it. Repeated over-fertilization can contribute to long-term issues like shallow roots and nutrient imbalance.
Will rain fix fertilizer burn?
Sometimes. A good soaking rain can dilute salts and reduce burn, especially if it happens soon after application. Light rain often is not enough. If you are seeing symptoms, do not wait on the forecast. Water it in yourself, as long as you can do it without runoff and within local restrictions.
Should I apply lime after fertilizer burn?
Not as a burn cure. Lime is for adjusting pH based on a soil test. Applying lime without knowing pH can create new problems.
Is liquid fertilizer more likely to burn than granular?
Both can burn. Liquids can scorch quickly if mixed too strong or applied during heat, and granules can create hot spots if spread unevenly. The safest approach is correct rates, even coverage, and label-appropriate watering.
When is it better to sod instead of seed?
If the burned area is large, erosion is a risk, or you need quick coverage, sod can be the simpler fix. For smaller patches and patient homeowners, seed is usually more economical and blends in well over time.