A simple, homeowner-friendly guide to testing lawn soil pH and adjusting it with lime or sulfur for healthier turf and better fertilizer results.
lawn care
How to Apply Lime to Your Lawn to Fix Acidic Soil
 Mark Vance
 is a former professional landscaper and the lead turf enthusiast at Yard Mentor. With over 15 years of experience in soil health, turf management, and residential landscaping, he is dedicated to helping homeowners transform frustrating dead patches into lush, healthy lawns. When he isn't testing new grass seed blends, you can find him enjoying a Saturday morning coffee looking out over his freshly striped yard.
Updated October 17, 2026
Created October 17, 2026
Mark Vance
Mark Vance is a former professional landscaper and the lead turf enthusiast at Yard Mentor. With over 15 years of experience in soil health, turf management, and residential landscaping, he is dedicated to helping homeowners transform frustrating dead patches into lush, healthy lawns. When he isn't testing new grass seed blends, you can find him enjoying a Saturday morning coffee looking out over his freshly striped yard.
Updated October 17, 2026
Created October 17, 2026
If your lawn looks tired even though you fertilize, water, and mow “by the book,” there is a good chance your soil is working against you. When soil is too acidic, key nutrients can get tied up in the soil chemistry. Your grass can be sitting on a buffet and still go hungry.
Lime is the fix, but only when you apply the right product at the right rate based on an actual soil test. In this guide, I will show you how to confirm low pH, pick between fast-acting and pelletized lime, and apply it without wasting money or stressing your turf.
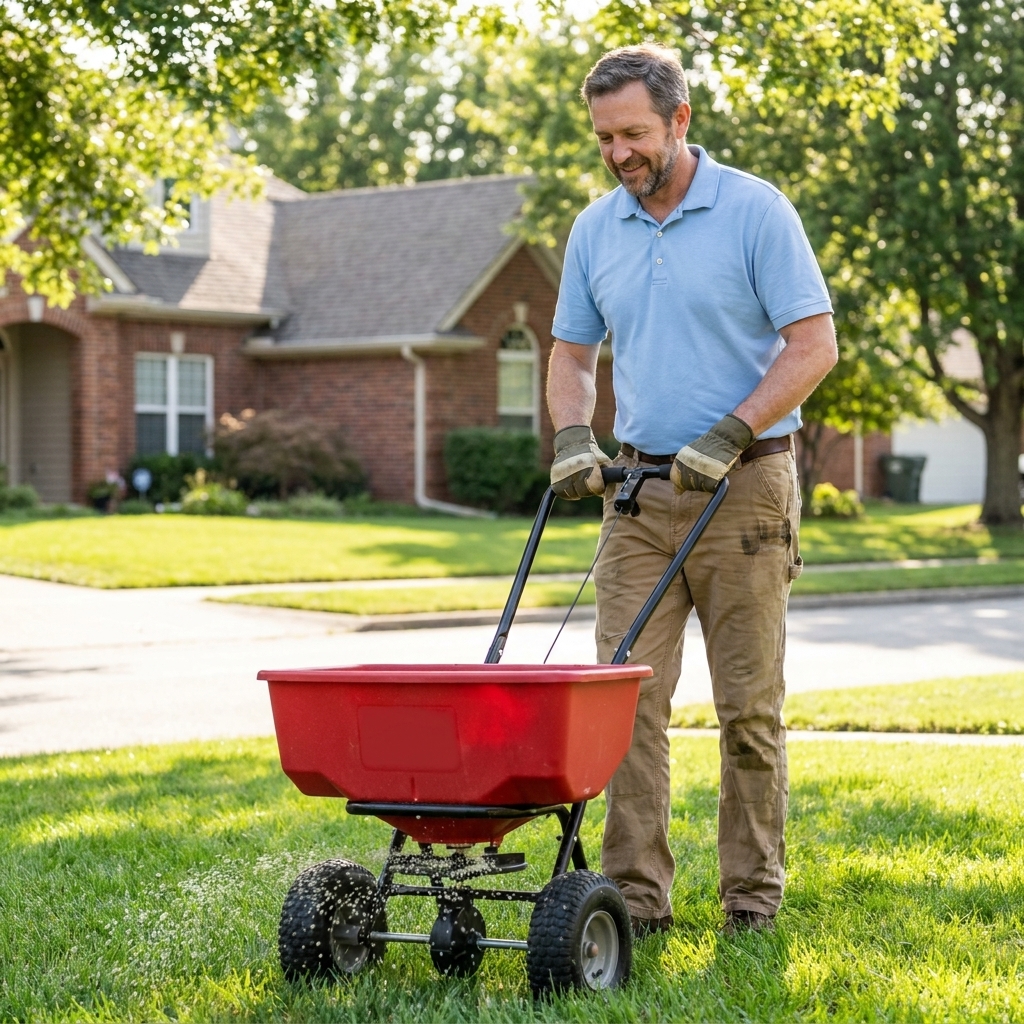
What lime does
Soil pH is a measure of how acidic or alkaline your soil is. Most turfgrasses are happiest in slightly acidic soil, and for many home lawns that sweet spot is roughly pH 6.0 to 7.0. Cool-season lawns often perform great around 6.2 to 6.8. Many warm-season grasses tolerate a little more acidity and can still do fine slightly below 6.0 depending on the soil and region, but they struggle when pH gets too low.
When pH drops, a few things happen:
- Nutrients get tied up. Phosphorus can bind with iron and aluminum compounds in acidic soils and become less available, so fertilizer results look disappointing.
- Microbial activity slows down. That means slower breakdown of organic matter and less natural nutrient cycling.
- Aluminum and manganese can become more soluble at very low pH, which can stress roots.
Lime raises pH by neutralizing acidity and adding calcium (and sometimes magnesium). The goal is not to make your soil “alkaline.” The goal is to move it into the turf comfort zone where nutrients and roots can do their job.
Signs you might need lime
You cannot diagnose pH with your eyes alone, but acidic soil tends to show up as a pattern of nagging issues that do not respond well to normal lawn care.
- Fertilizer seems to “do nothing,” especially products with phosphorus.
- Thin turf and slow recovery after stress.
- More moss pressure in shady, damp areas (moss likes acidic conditions, but shade and moisture are also major factors).
- More weeds that tolerate acidic soil, depending on your region.
- You live in an area with naturally acidic soils or lots of rainfall, which gradually leaches calcium and magnesium.
Still, the only responsible next step is a soil test.
Test first
Option 1: lab soil test (best)
If you want to lime once and get it right, a lab test is the best option. Many county extension offices and private labs will report pH and include a lime recommendation based on your soil type and buffer capacity.
Buffer capacity is basically your soil’s resistance to pH change. Clay and organic-rich soils often need more lime to move the needle than sandy soils.
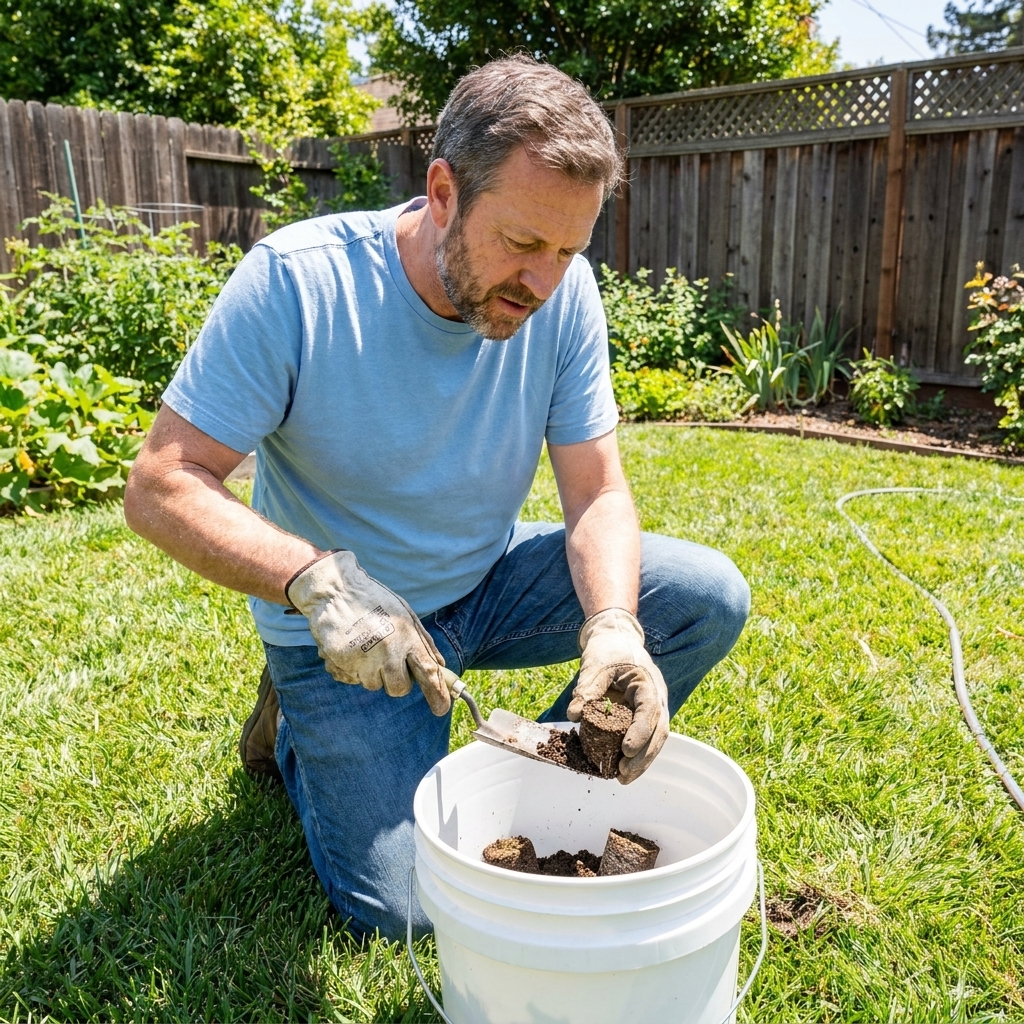
How to sample like a pro:
- Use a clean trowel or soil probe.
- Take 10 to 15 small samples across the lawn area you are treating.
- Sample depth: 3 to 4 inches for established turf.
- Avoid odd spots (dog runs, compost piles, along driveways where de-icer lands).
- Mix in a clean bucket and send the combined sample.
Practical logistics: tests are easy to order through an extension office or an online lab, and results often come back in about a week or two. Costs vary, but many homeowner tests land somewhere in the general “meal out” price range, not a major project expense.
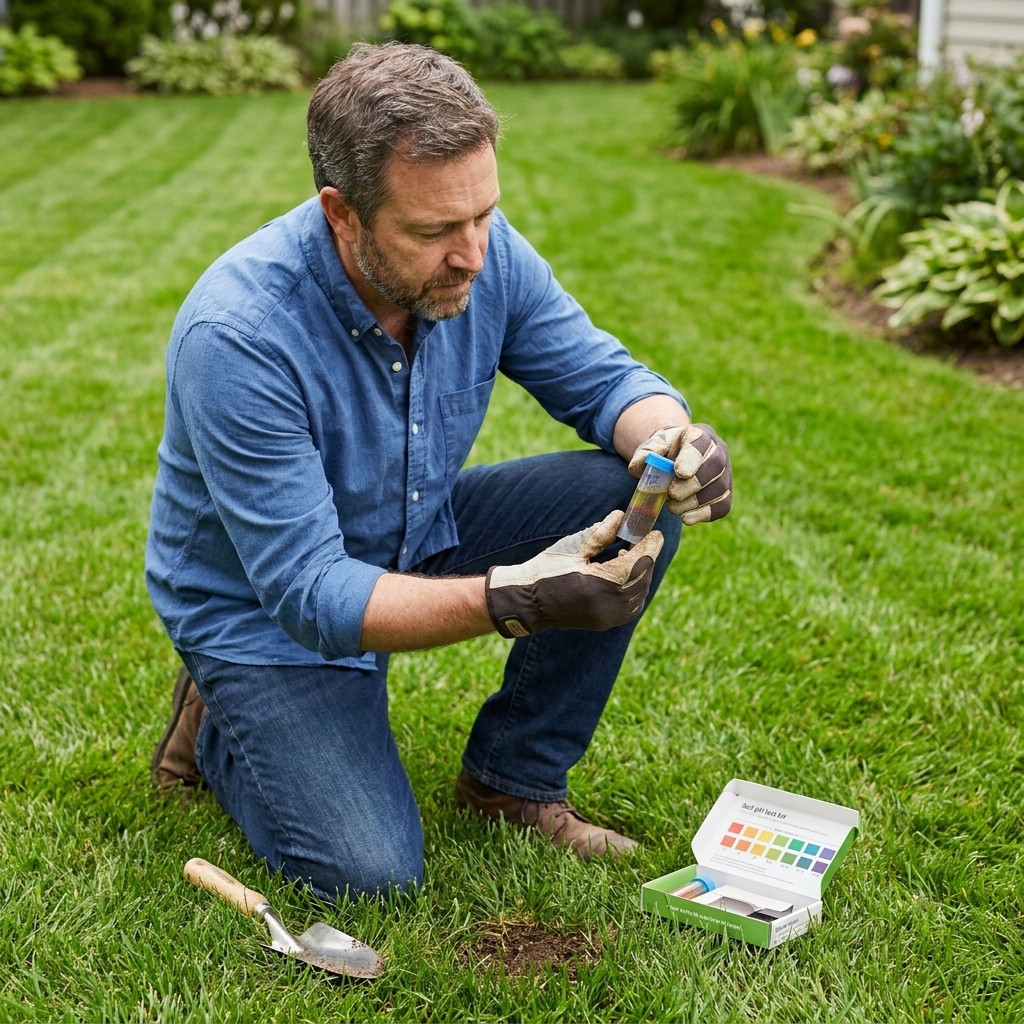
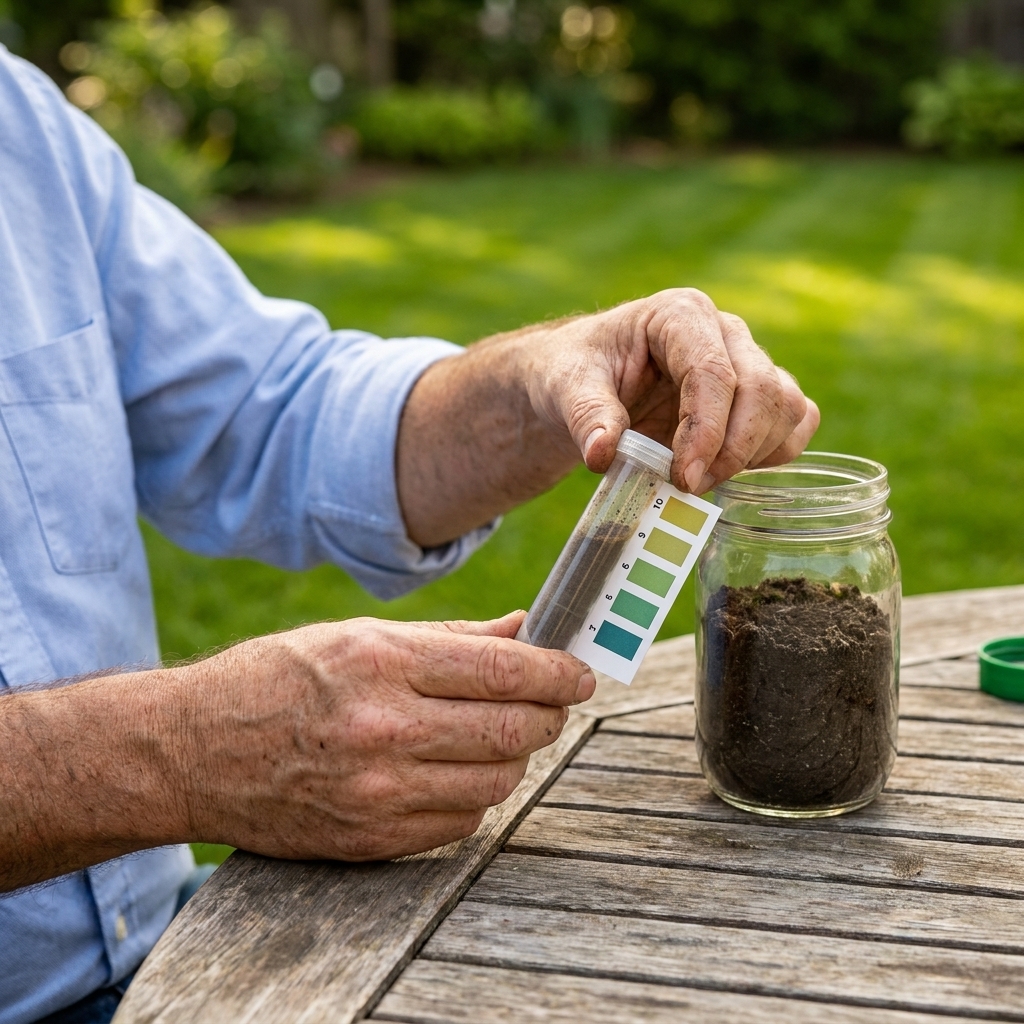
Option 2: at-home pH test kit (quick read)
Home kits are fine to confirm “low vs not low,” but they often miss the lime-rate part, which is where most mistakes happen. If you use a kit and it reads below 6.0, treat that as your cue to get a lab test before applying a heavy dose.
Pick the right lime
When homeowners say “lime,” they usually mean one of these products. The best choice depends on your timeline, your soil test, and what your spreader can handle.
Pelletized calcitic lime (easy for homeowners)
- What it is: finely ground calcitic limestone formed into pellets.
- Why people like it: clean to apply, spreads evenly with a normal fertilizer spreader, less dusty.
- How fast it works: gradual. You may see improvement over weeks to months, with full pH change taking longer.
If you have also seen terms like “ag lime” or “pulverized limestone,” that is typically the same basic material in a more powdery form that is often applied with larger equipment. Pelletized lime is popular for homeowners because it flows through typical spreaders more consistently.
Fast-acting lime (faster response)
- What it is: often very finely ground lime, sometimes processed or enhanced for quicker reaction.
- Why people like it: faster response than standard pelletized products.
- Watch-outs: it is easier to overdo if you are guessing. Follow the label and your soil test.
Dolomitic lime (adds magnesium too)
- What it is: limestone that supplies both calcium and magnesium.
- When to use it: when a soil test shows low magnesium.
- When to avoid it: if magnesium is already adequate. Extra magnesium can contribute to tighter soil structure in some soils, especially when calcium is relatively low.
My rule: If you do not have magnesium numbers, default to calcitic lime. If a test says magnesium is low, use dolomitic.
How much to apply
Application rate depends on:
- Your current pH and target pH
- Your soil texture (sand changes faster than clay)
- The product’s neutralizing value (sometimes listed as CCE, ENV, or NV)
Best-case: use the lab recommendation
Labs often give a rate in pounds per 1,000 square feet. Follow that first, and then match your lime product to the recommendation.
If you only have a bag label
Many pelletized lime bags include a general rate such as 25 to 50 lb per 1,000 sq ft. Use the lower end if:
- You are not sure how low your pH is
- You have sandy soil
- You plan to re-test and apply again later
Important safety rail: for many lawns, it is smart to avoid applying more than 50 lb of pelletized lime per 1,000 sq ft in a single application unless a soil test specifically supports a higher rate and the product label allows it. If your lawn needs more, split it into multiple applications spaced out over time.
When to apply lime
Lime can be applied almost any time the ground is not frozen and you can spread evenly, but a few windows are especially convenient. I also try to avoid applying during extreme heat or drought stress, simply because the lawn is already dealing with enough.
- Fall: My favorite. Soil stays warmer longer, moisture is more consistent, and you are often already doing aeration and overseeding.
- Spring: Works well too. Just avoid piling it on right before heavy pre-emergent schedules if you are already juggling multiple applications.
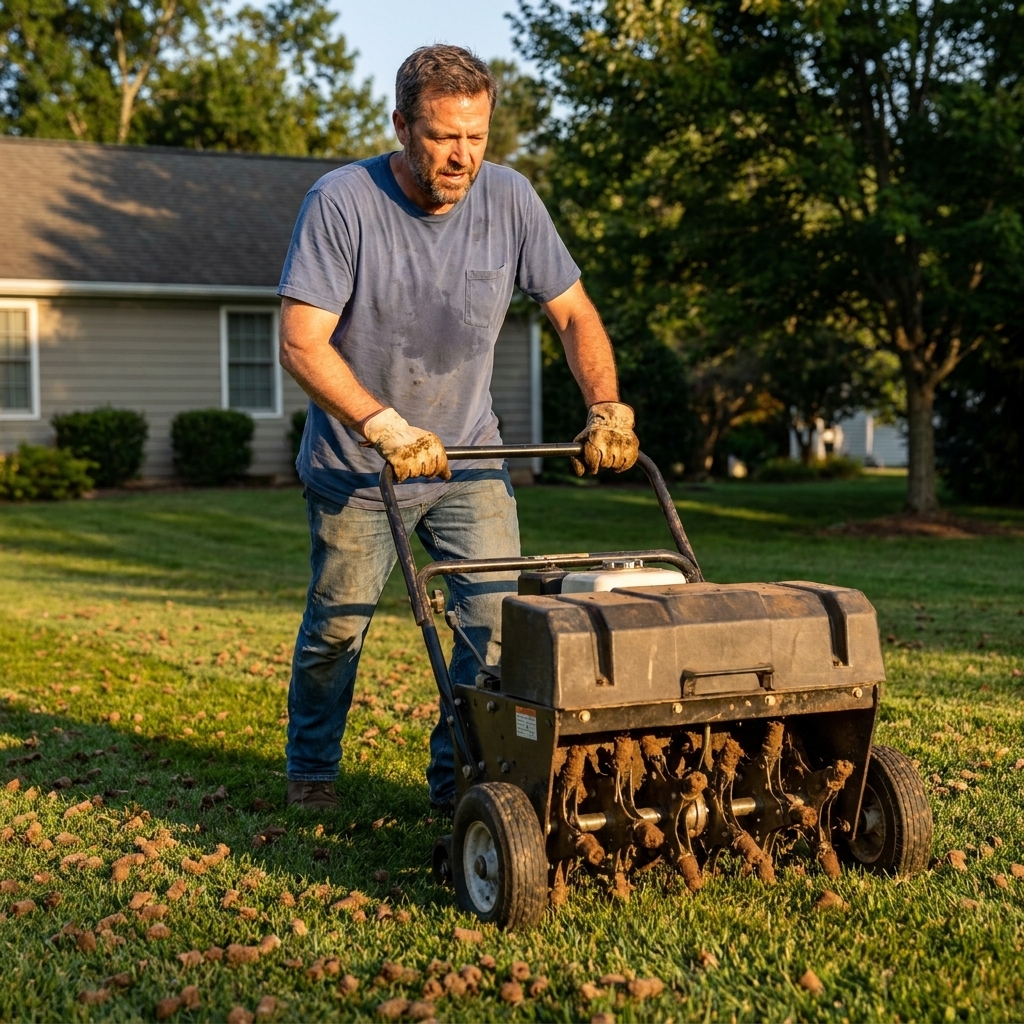
- After aeration: Excellent timing. Lime can work its way into the soil profile a little faster through the holes.
Try not to apply right before heavy rain that could wash product into hardscape and storm drains.
How to apply lime
1) Measure your lawn
You cannot set a correct spreader rate if you do not know your square footage. Break the yard into simple rectangles and add them up, or use an online mapping tool.
2) Pick the right spreader
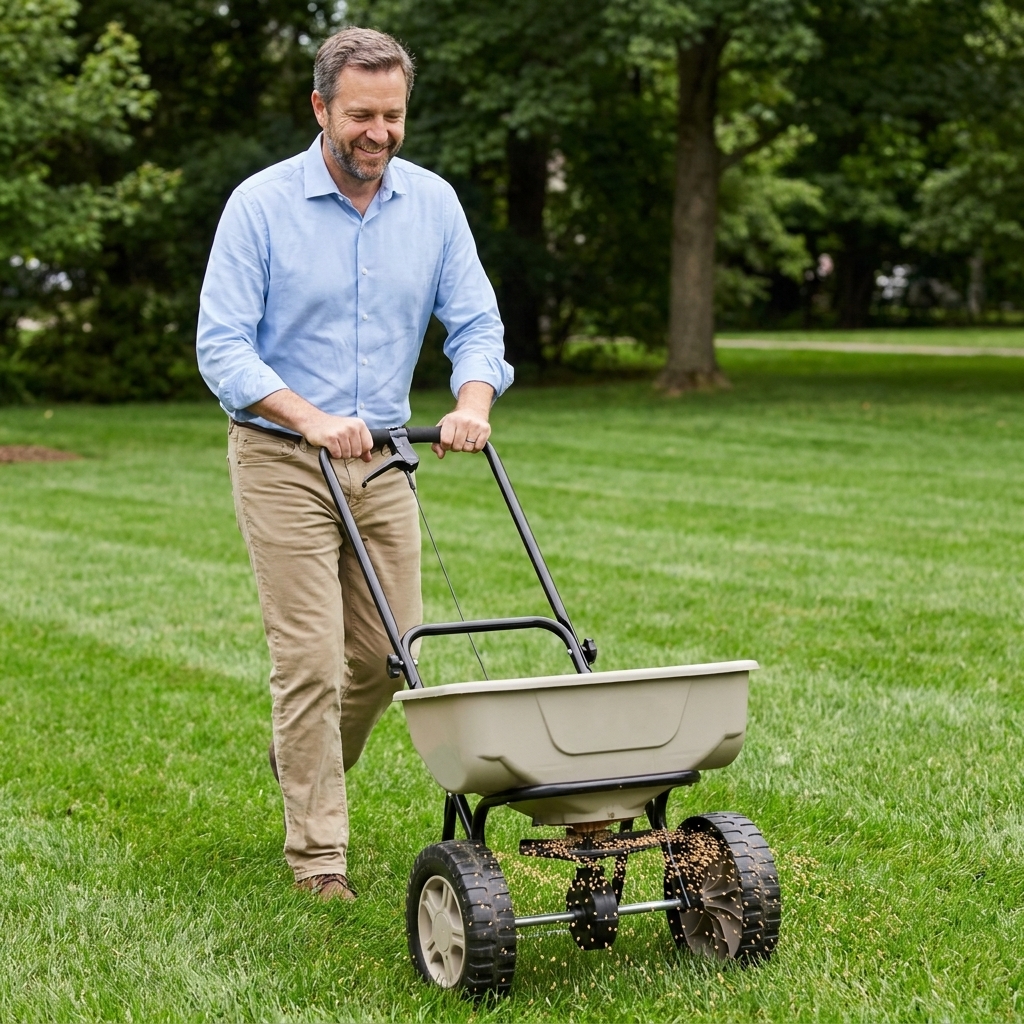
- Broadcast spreader: best for most lawns and most lime products.
- Drop spreader: useful for tight areas and edging near beds and sidewalks.
3) Calibrate your spreader
Bag settings are a starting point, not a promise. Here is my homeowner-friendly calibration method:
- Set the spreader to the bag’s recommended setting.
- Pour in enough lime for 1,000 sq ft (based on your target rate).
- Spread a known 1,000 sq ft area using steady walking speed.
- If you run out early, lower the setting a bit. If you have a lot left, open it slightly, then use the adjusted setting for the remaining sections.
4) Apply in two directions
Spread half your product north to south, then the other half east to west. This prevents stripes and skips.
5) Keep it off hard surfaces
Lime can leave a light residue on dark concrete or pavers. If you spill, sweep it up right away rather than hosing it into the street.
6) Water it in lightly
Most pelletized limes benefit from a light watering to help the pellets break down and start reacting. You do not need to flood the lawn. Think: enough to dampen the surface and dissolve pellets.
Lime and fertilizer
Usually, yes, you can apply lime and fertilizer in the same general time window, but it depends on the products and your schedule.
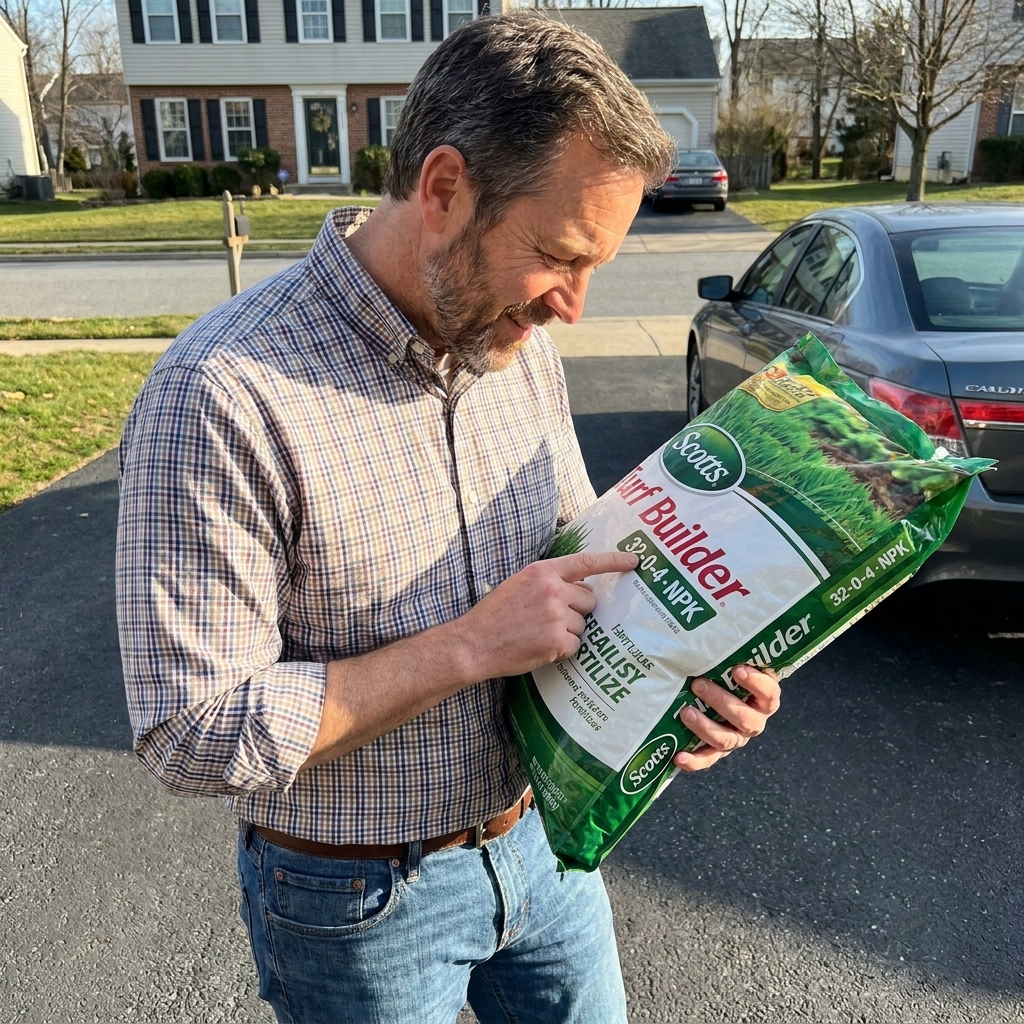
- Pelletized lime plus most fertilizers: typically fine on the same day if you are spacing applications sensibly and watering in properly.
- Lime with urea or ammonium-based nitrogen: do not blend them together in the hopper. And if your goal is maximum nitrogen efficiency, it is often smarter to separate applications by a week or two to reduce the risk of ammonia loss at the surface (especially with urea) and to avoid clumping and uneven distribution.
- Lime and phosphorus: raising pH can make phosphorus more available over time. That is one reason liming often makes fertilizer “start working again.”
If you are trying to keep it simple, apply lime first, water it in, then apply fertilizer a week or two later. Your lawn does not need everything all at once to improve.
How long it takes
Lime is not a same-week fix like a quick nitrogen feeding. The timeline depends on soil type, moisture, and product.
- Fast-acting lime: you may measure pH movement sooner, sometimes within a few weeks.
- Pelletized lime: expect gradual change. Meaningful soil improvement often shows up across a season.
- Full correction for very acidic soils: can take multiple applications across 6 to 12 months or longer.
The win you are looking for is not just a pH number. It is better color, better density, improved response to fertilizer, and fewer mystery thin spots.
Common mistakes
- Applying lime without a test: If your pH is already fine, lime can push you too high and create new nutrient problems.
- Using dolomitic lime by default: extra magnesium is not always helpful. Let the soil test decide.
- Overapplying to speed it up: higher doses do not necessarily mean faster results, and they can create imbalance.
- Uneven spreading: skipped stripes lead to patchy improvements and make diagnosing problems harder later.
- Expecting lime to fix shade or drainage: it can unlock nutrients, but it cannot replace sunlight or solve standing water.
- Using lime on high pH soil: if your soil is already alkaline, lime is the wrong tool. That is a different problem with a different solution.
Re-test and maintain
Once you apply lime, plan to re-test in 6 to 12 months, especially if your initial pH was below 6.0. After that, testing every couple of years is usually enough for most home lawns.
Acidic soil tends to drift back over time due to rainfall, certain fertilizers, and natural soil processes. Many lawns do well with occasional maintenance liming based on test results rather than a yearly habit.
FAQ
What pH is too low?
Many lawns start struggling as pH drops below 6.0. Severe issues often show up below 5.5. Exact tolerance depends on grass type, region, and soil conditions.
Is lime safe for pets and kids?
Pelletized lawn lime is generally safe once watered in and once dust has settled. I still recommend keeping pets and kids off the lawn during application and until you have watered it in and the grass is dry again.
Will lime green up my lawn?
Lime is not a fertilizer, so it does not feed your lawn directly the way nitrogen does. What it often does is make existing nutrients available again, so your lawn can look greener and thicker over time.
Can I apply lime when I overseed?
Yes. Fall overseeding plus aeration plus lime is a great combo when a soil test shows low pH. Just keep your seed-to-soil contact solid and stay consistent with watering. If you are seeding bare soil, avoid burying seed under heavy material. Spread lime evenly and water it in rather than trying to work it in like topdressing.
Do I need to dethatch first?
Not usually. Lime moves into soil with water. If you have a very thick thatch layer, addressing thatch through proper mowing, core aeration, and occasional dethatching can help everything you apply perform better, including lime.
My simple plan
If you want the most reliable results with the least guesswork, here is the plan I give neighbors all the time:
- Test soil pH with a lab test.
- Choose calcitic vs dolomitic based on magnesium in the report.
- Apply the recommended rate with a broadcast spreader in two directions.
- Water it in lightly.
- Re-test in 6 to 12 months and adjust.
Get the pH right, and suddenly your fertilizer, mowing schedule, and watering routine feel like they are working with you instead of against you.